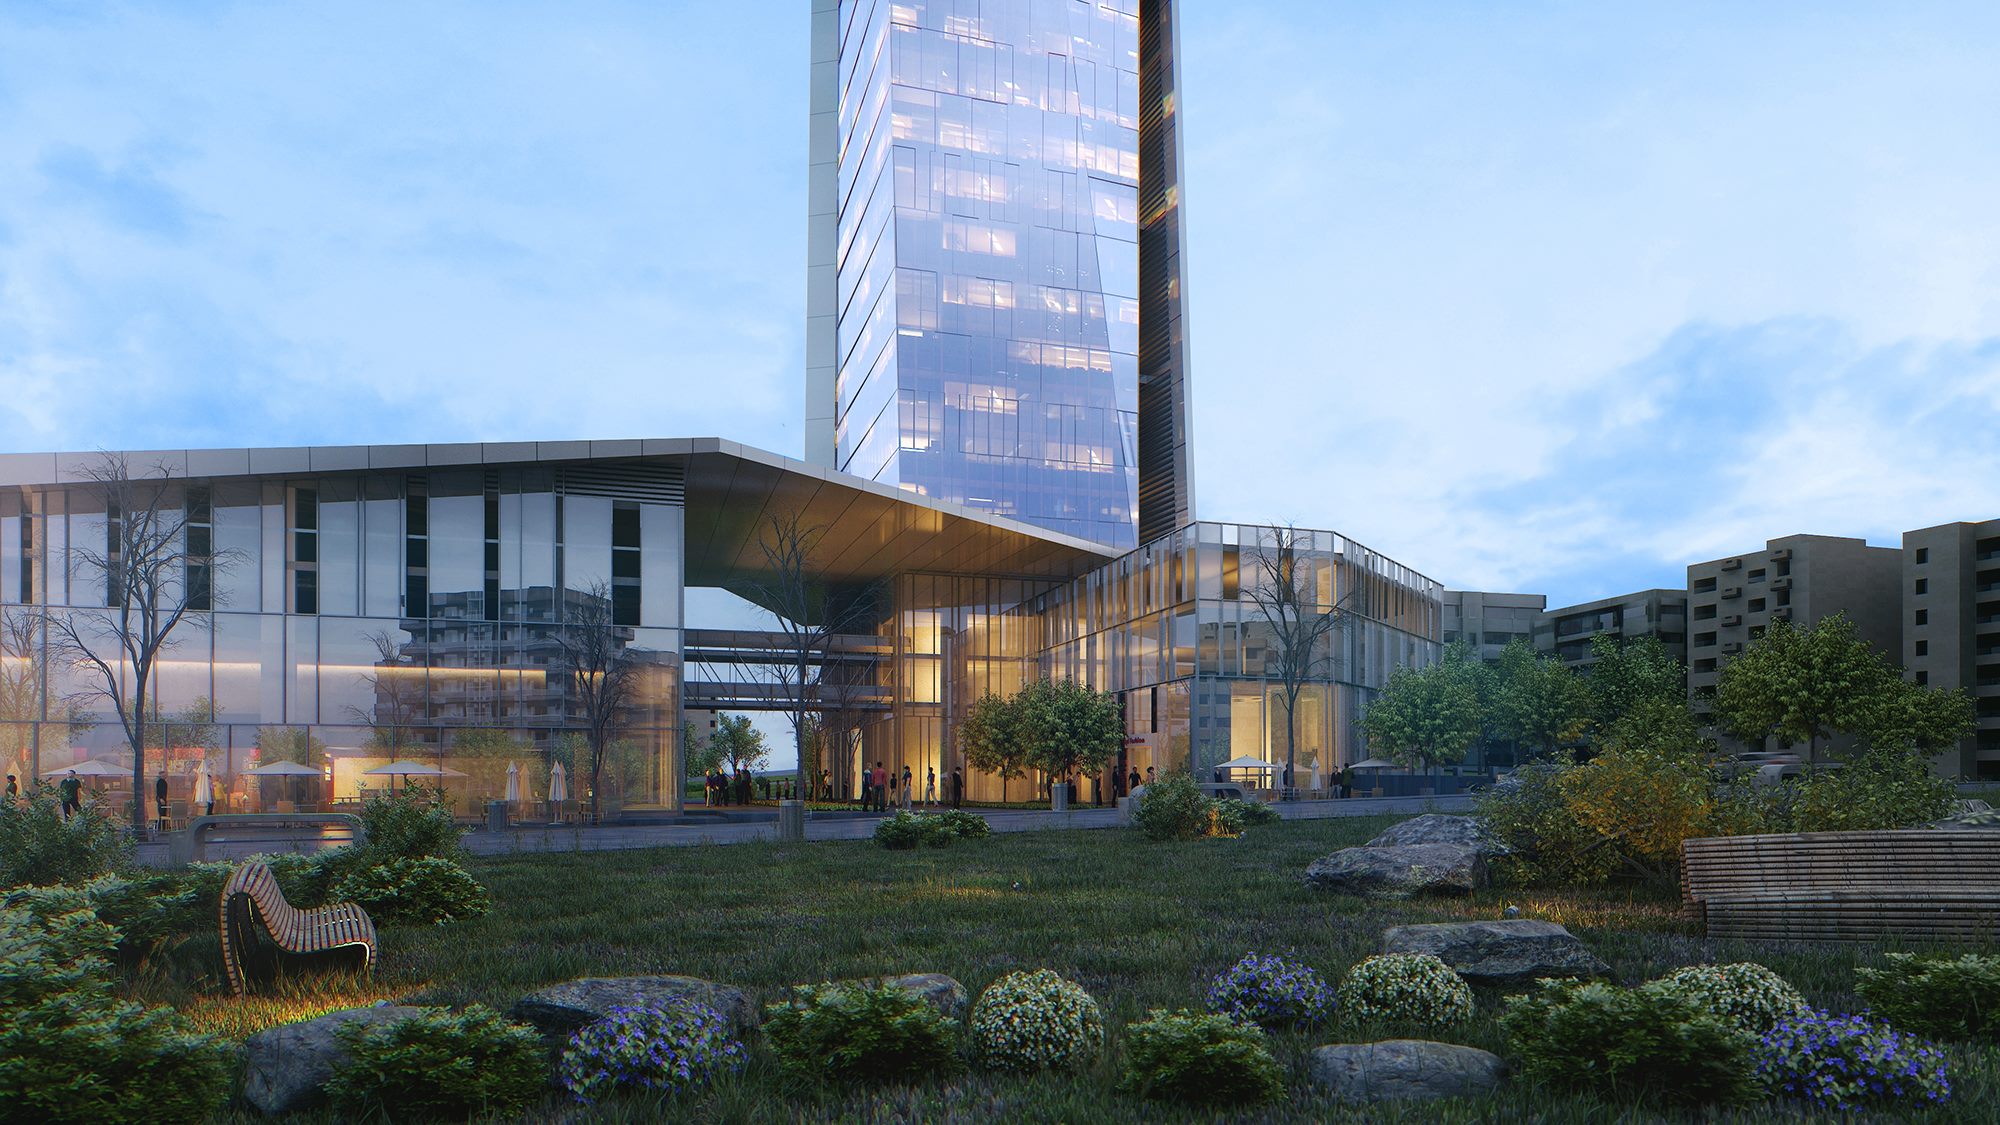
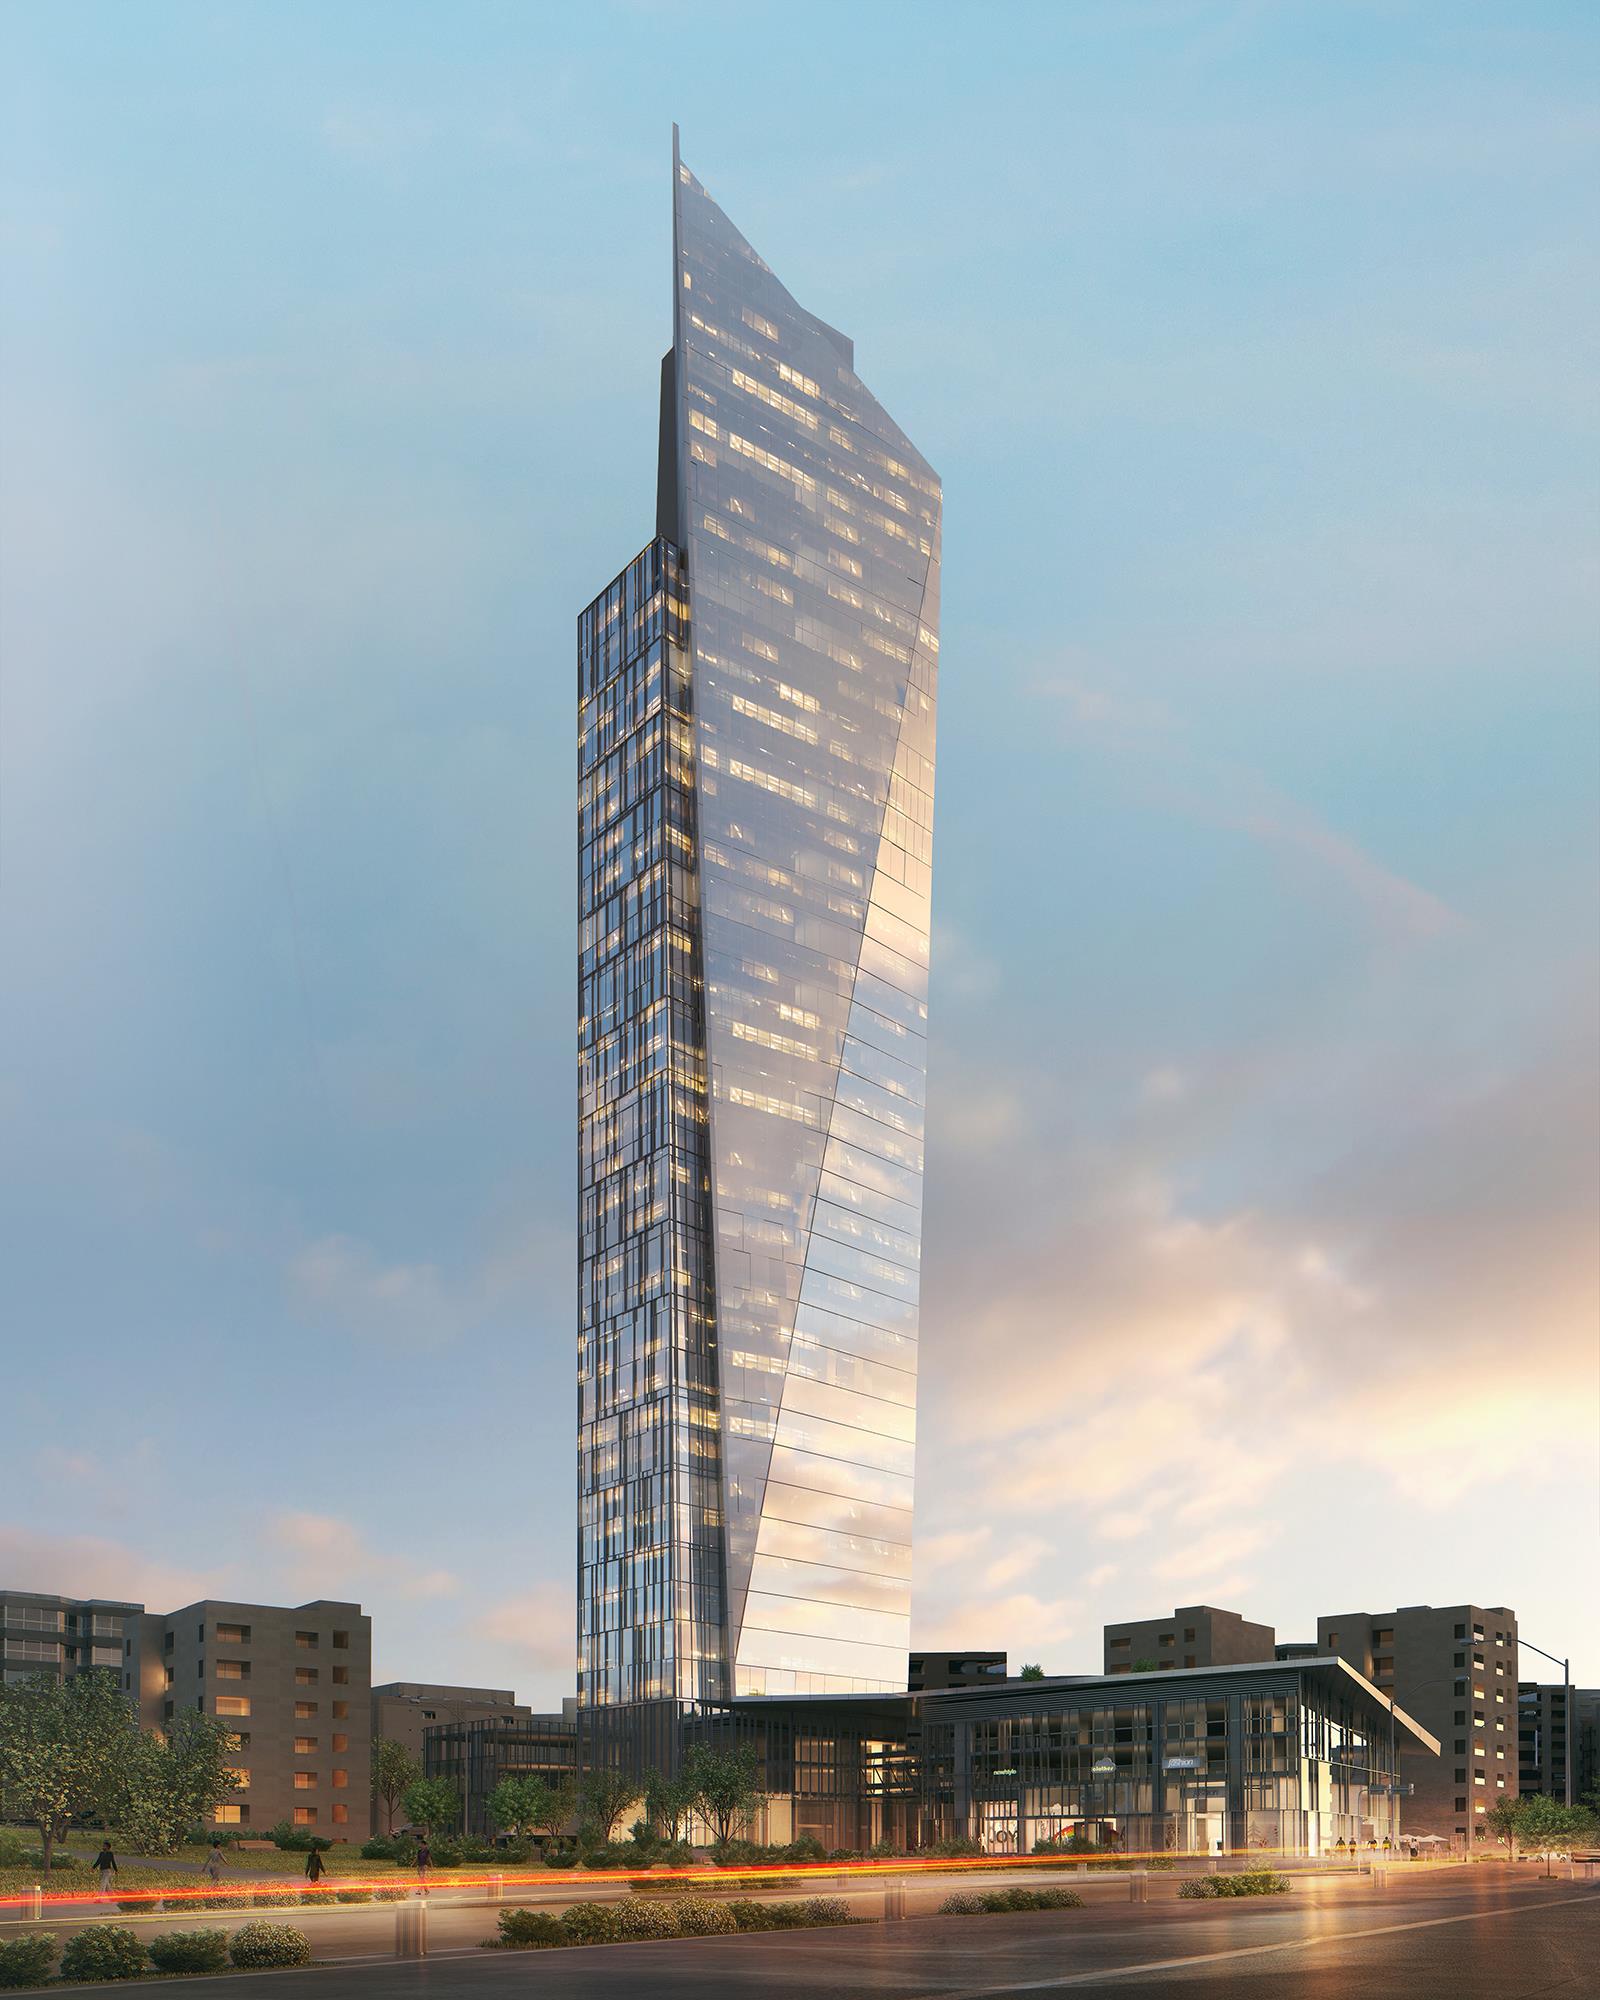
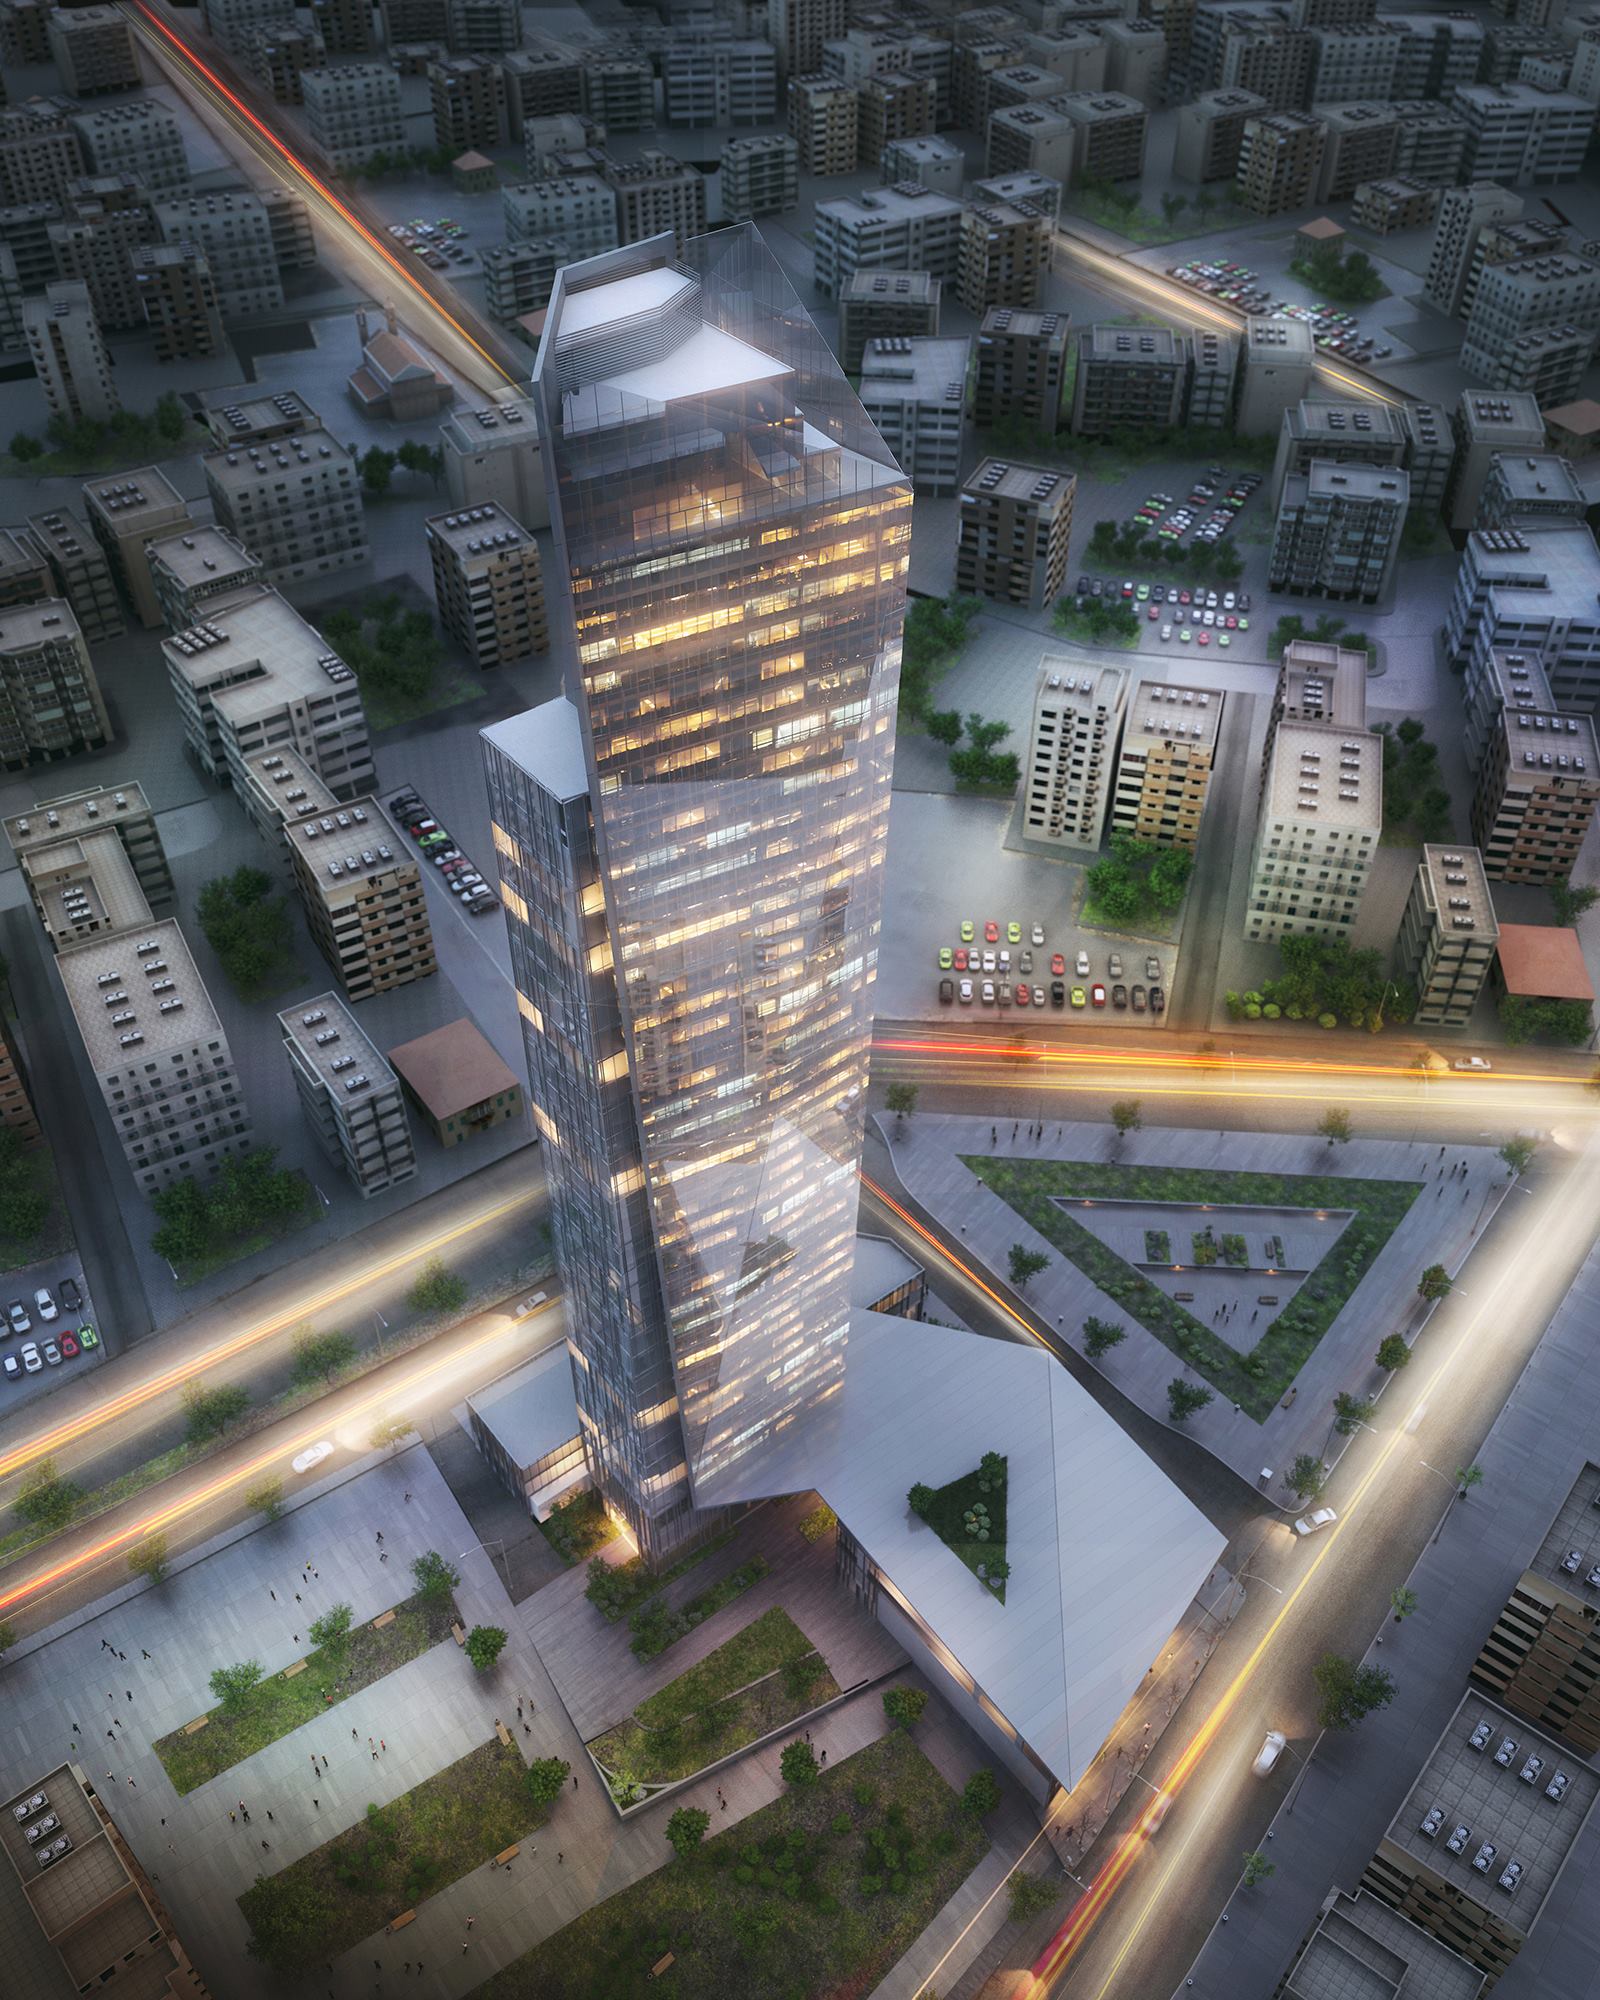
50 Rise Tower is a project that we have really enjoyed as it includes a nice environment creation, an atmospheric lighting and finally a spectacular architectural form. We asked from Wassim and Alfred to share with us their project's workflow and thus this making of article has been created. Enjoy it!

Hello everyone!
First of all I would like to thank you for taking the time and read this making of, also thanks to VW Artclub for giving me the opportunity to present my project through this process.
My name is Wassim Alam and I am a 3D artist from Lebanon. Self-Taught and driven by my passion in 3d visualization for the past eight years. About this project now, I worked in conjunction with Alfred Bou Dagher, a passionate individual 3d artist, who helped me with the modeling phase.
First of all I had received a cad model of the tower but the glass was not accurate and I need to remodel it as I had to apply a Vray glass material to an unclean mesh and this could produce artifacts during render time.

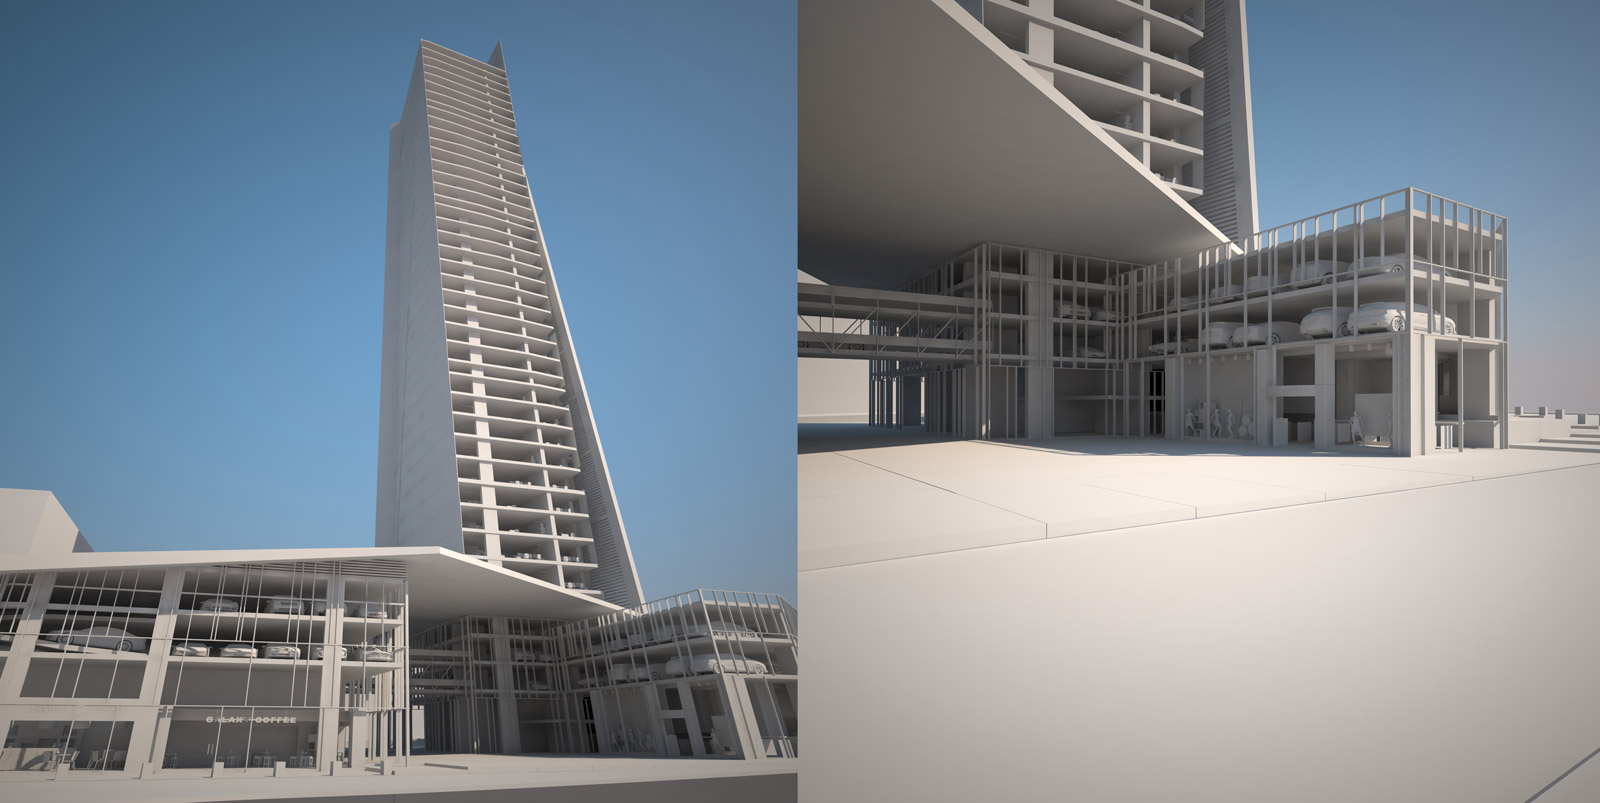
The tower had to be filled with offices, so for this process I have downloaded a few models of offices from 3dsky and some offices from Evermotion. These offices has been converted to Vray proxy in order to save memory and enhance the file’s performance. Then the models has been also scattered into the various floors of the building by simply copying different layout variations throughout the whole tower.
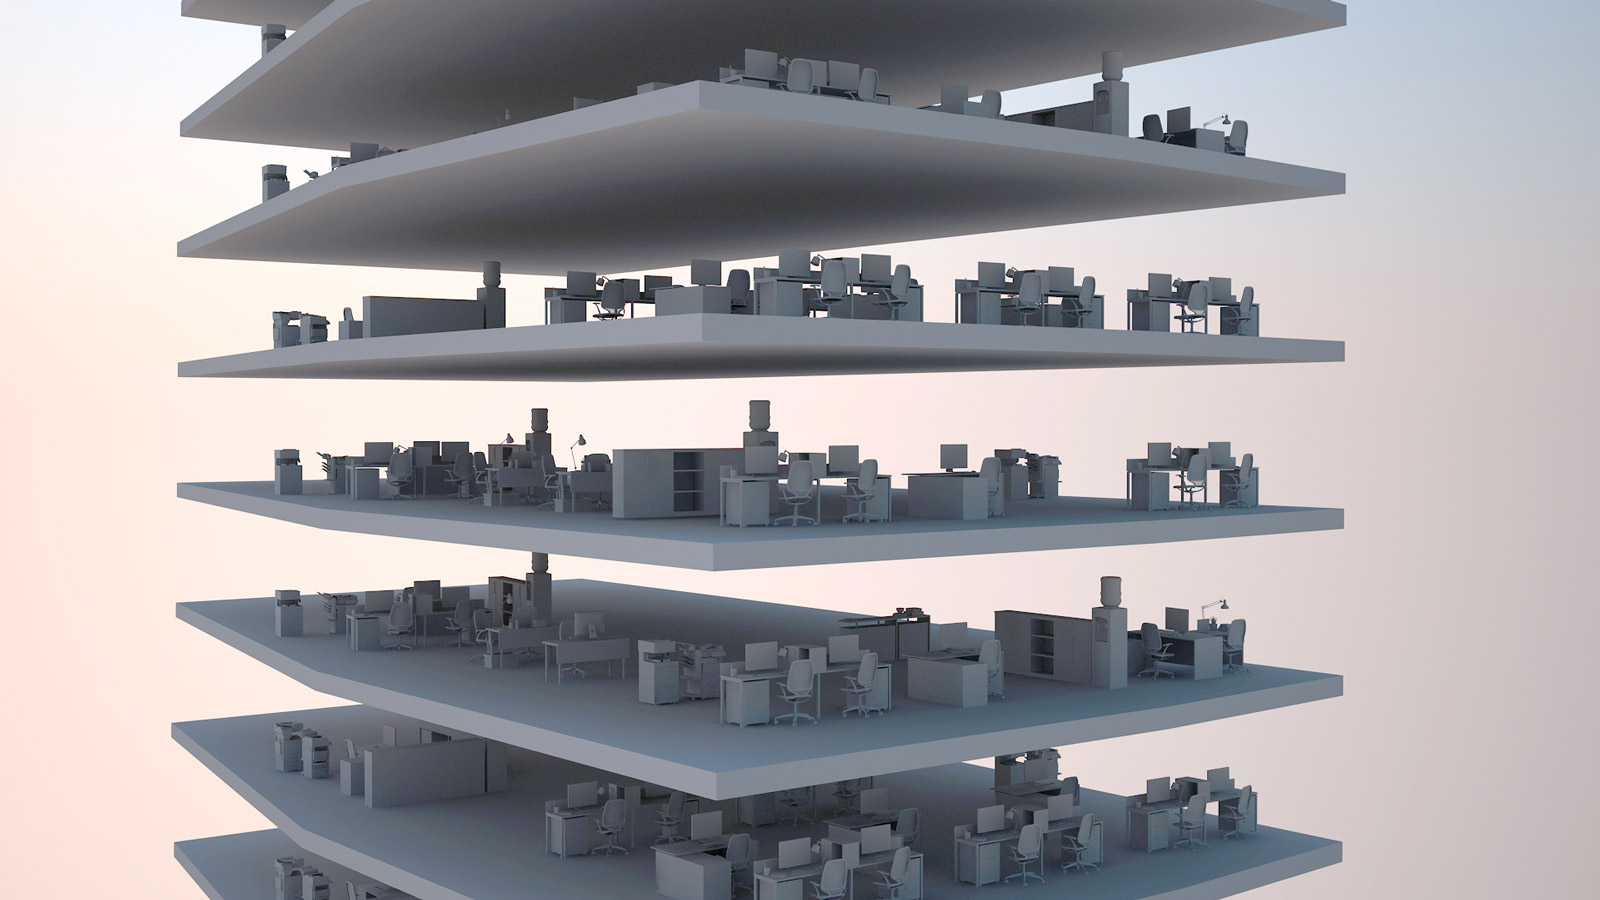
For the cars I have used VizPeople's models which are really light and high quality, along with some cars from various sources and I also converted them to Vray proxy and scattered into the parking area above the retails.

For the retails I have used Vizpeople's 3d mall equipment. I opened the shops separately in max files and then I attached everything into a single model. Finally I used FFD 2X2 modifier in order to fit the retails to the existing spaces.
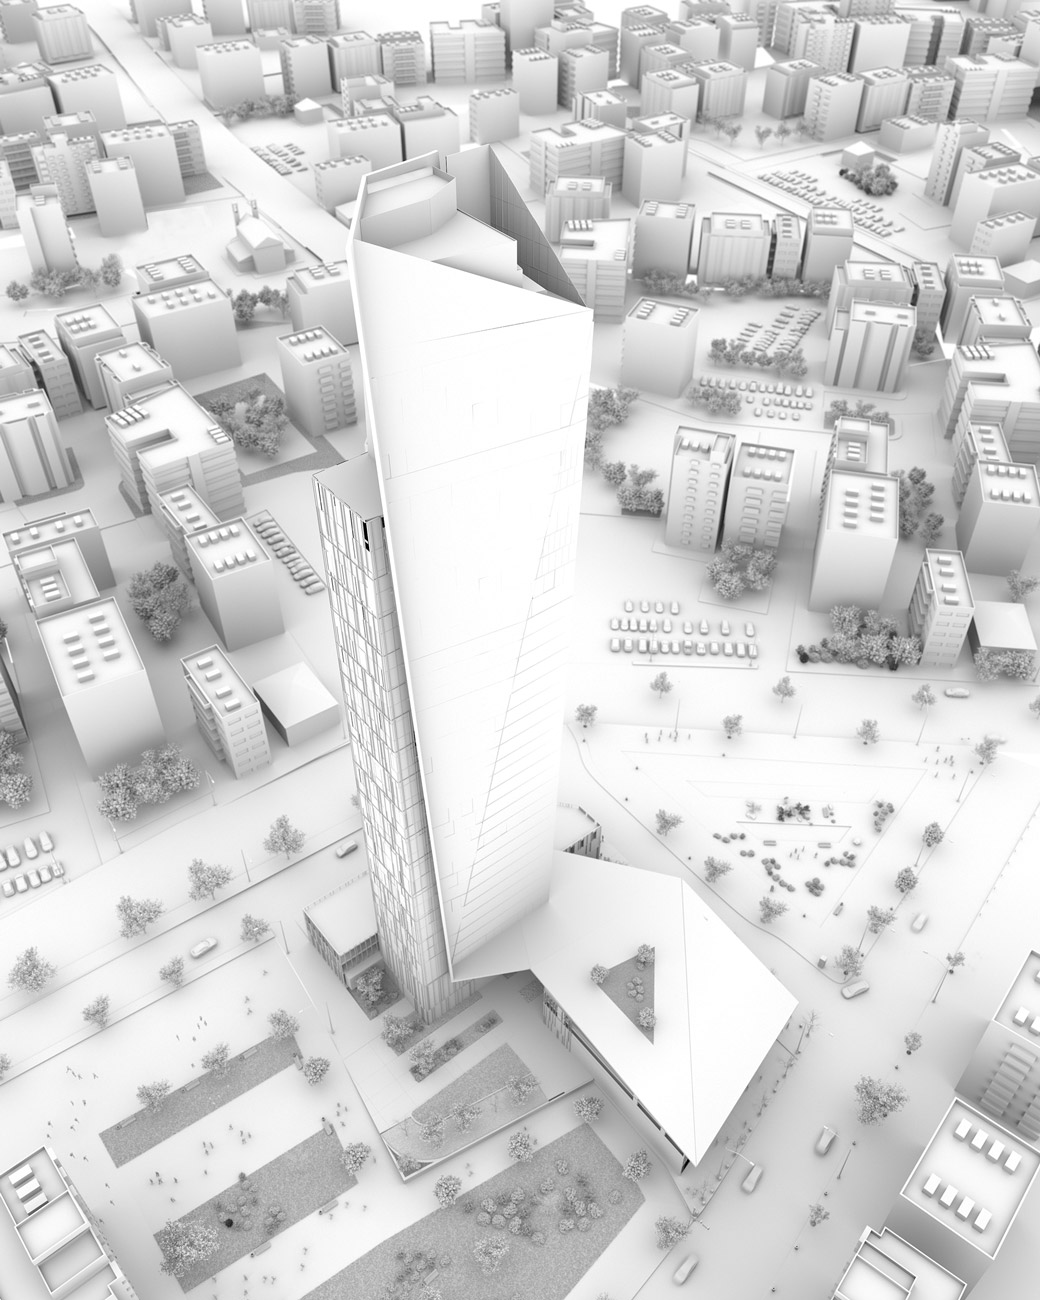
As for the surrounding buildings we have used readymade models, some of them modeled for previous projects and some other buildings already existed, so we scattered them according to the cameras that we had to render.
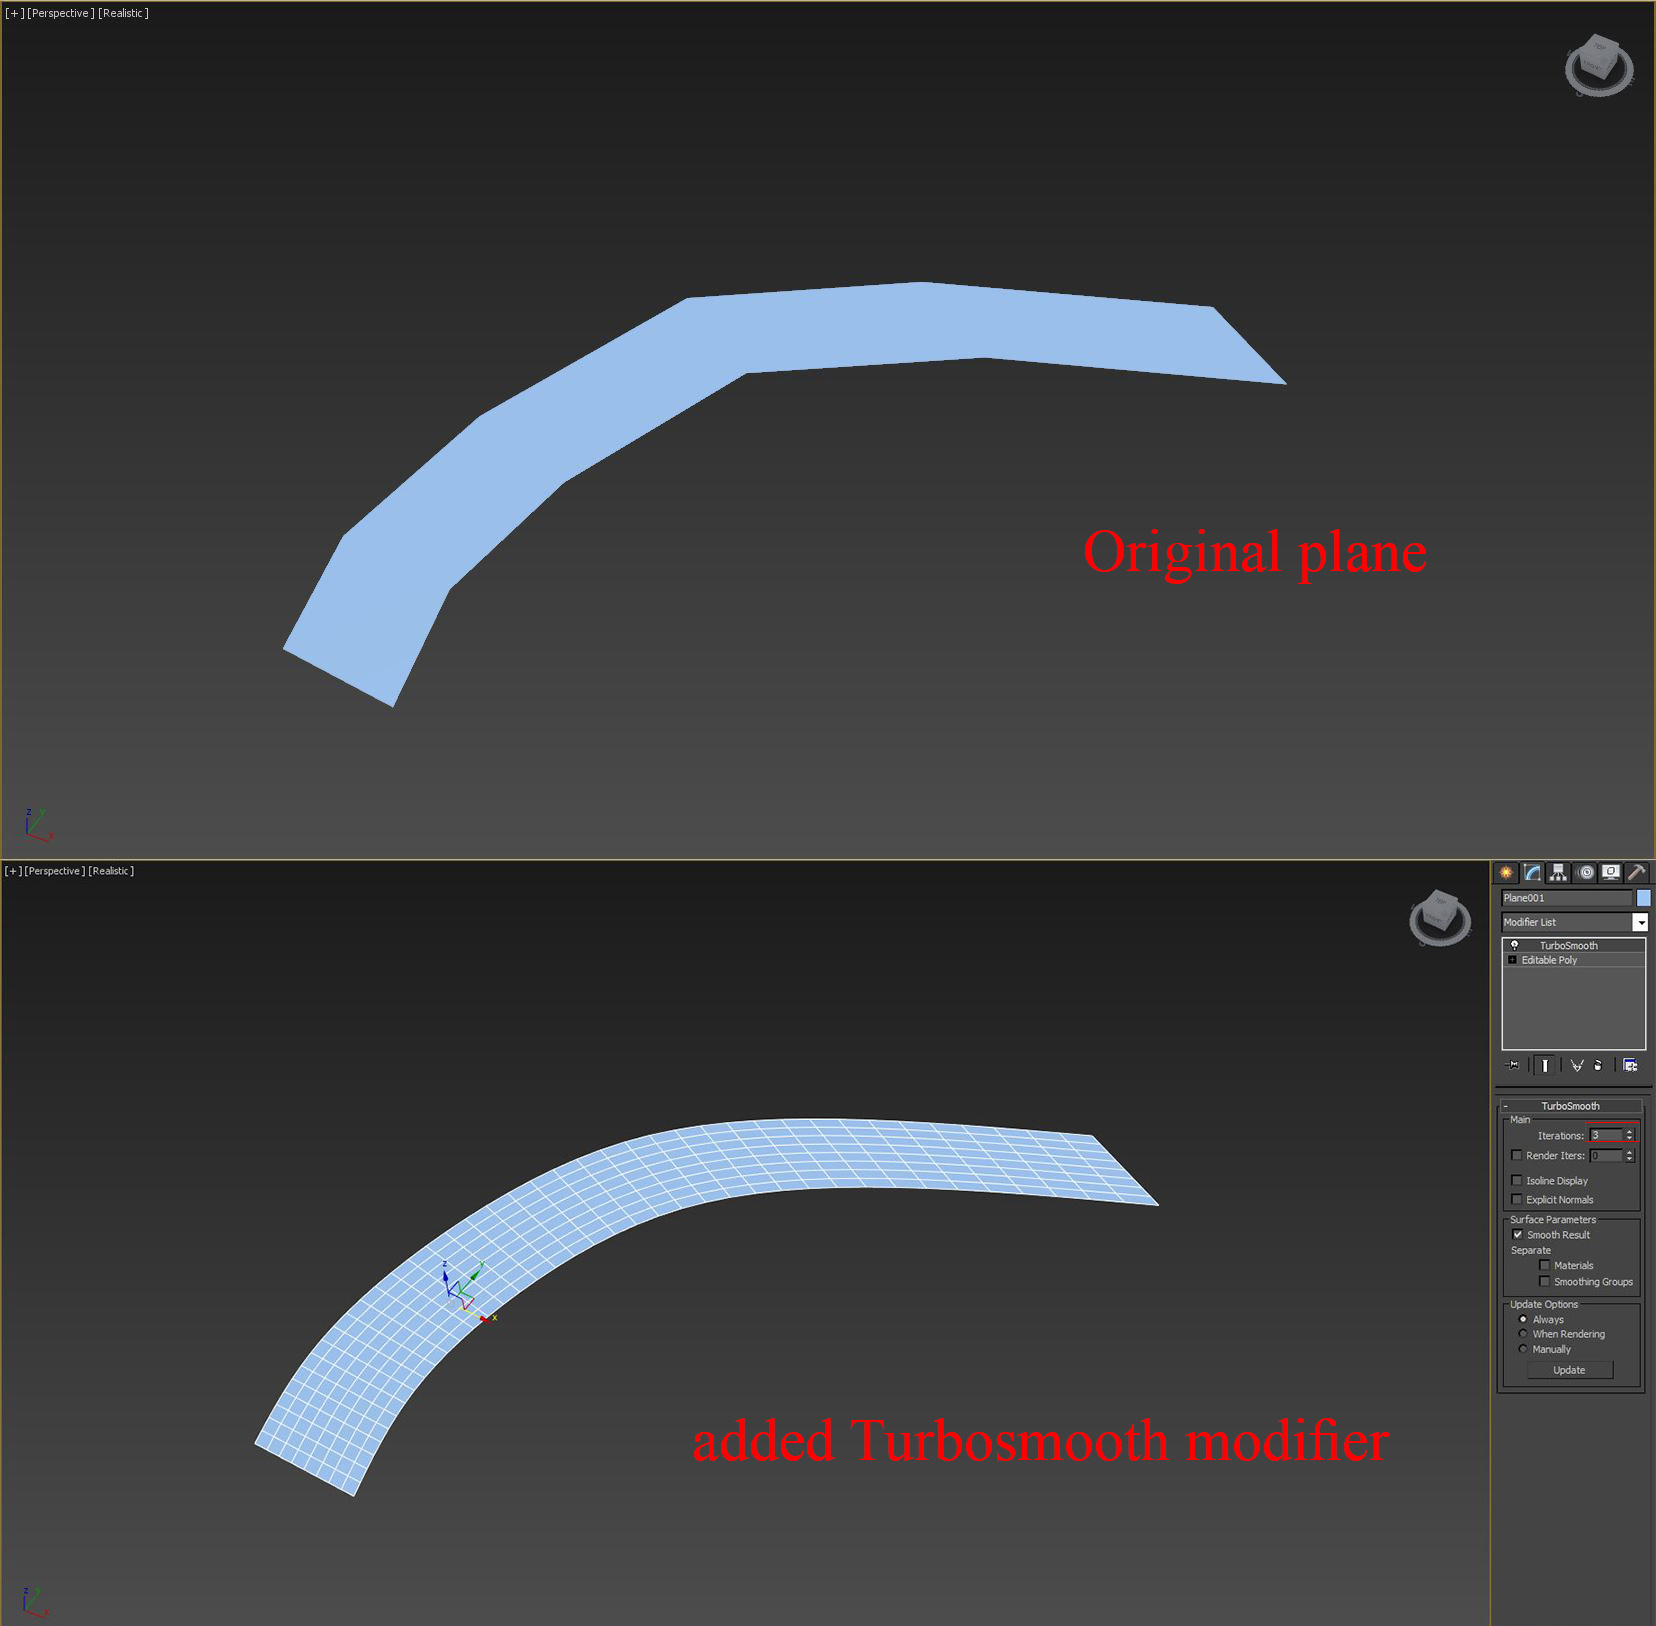
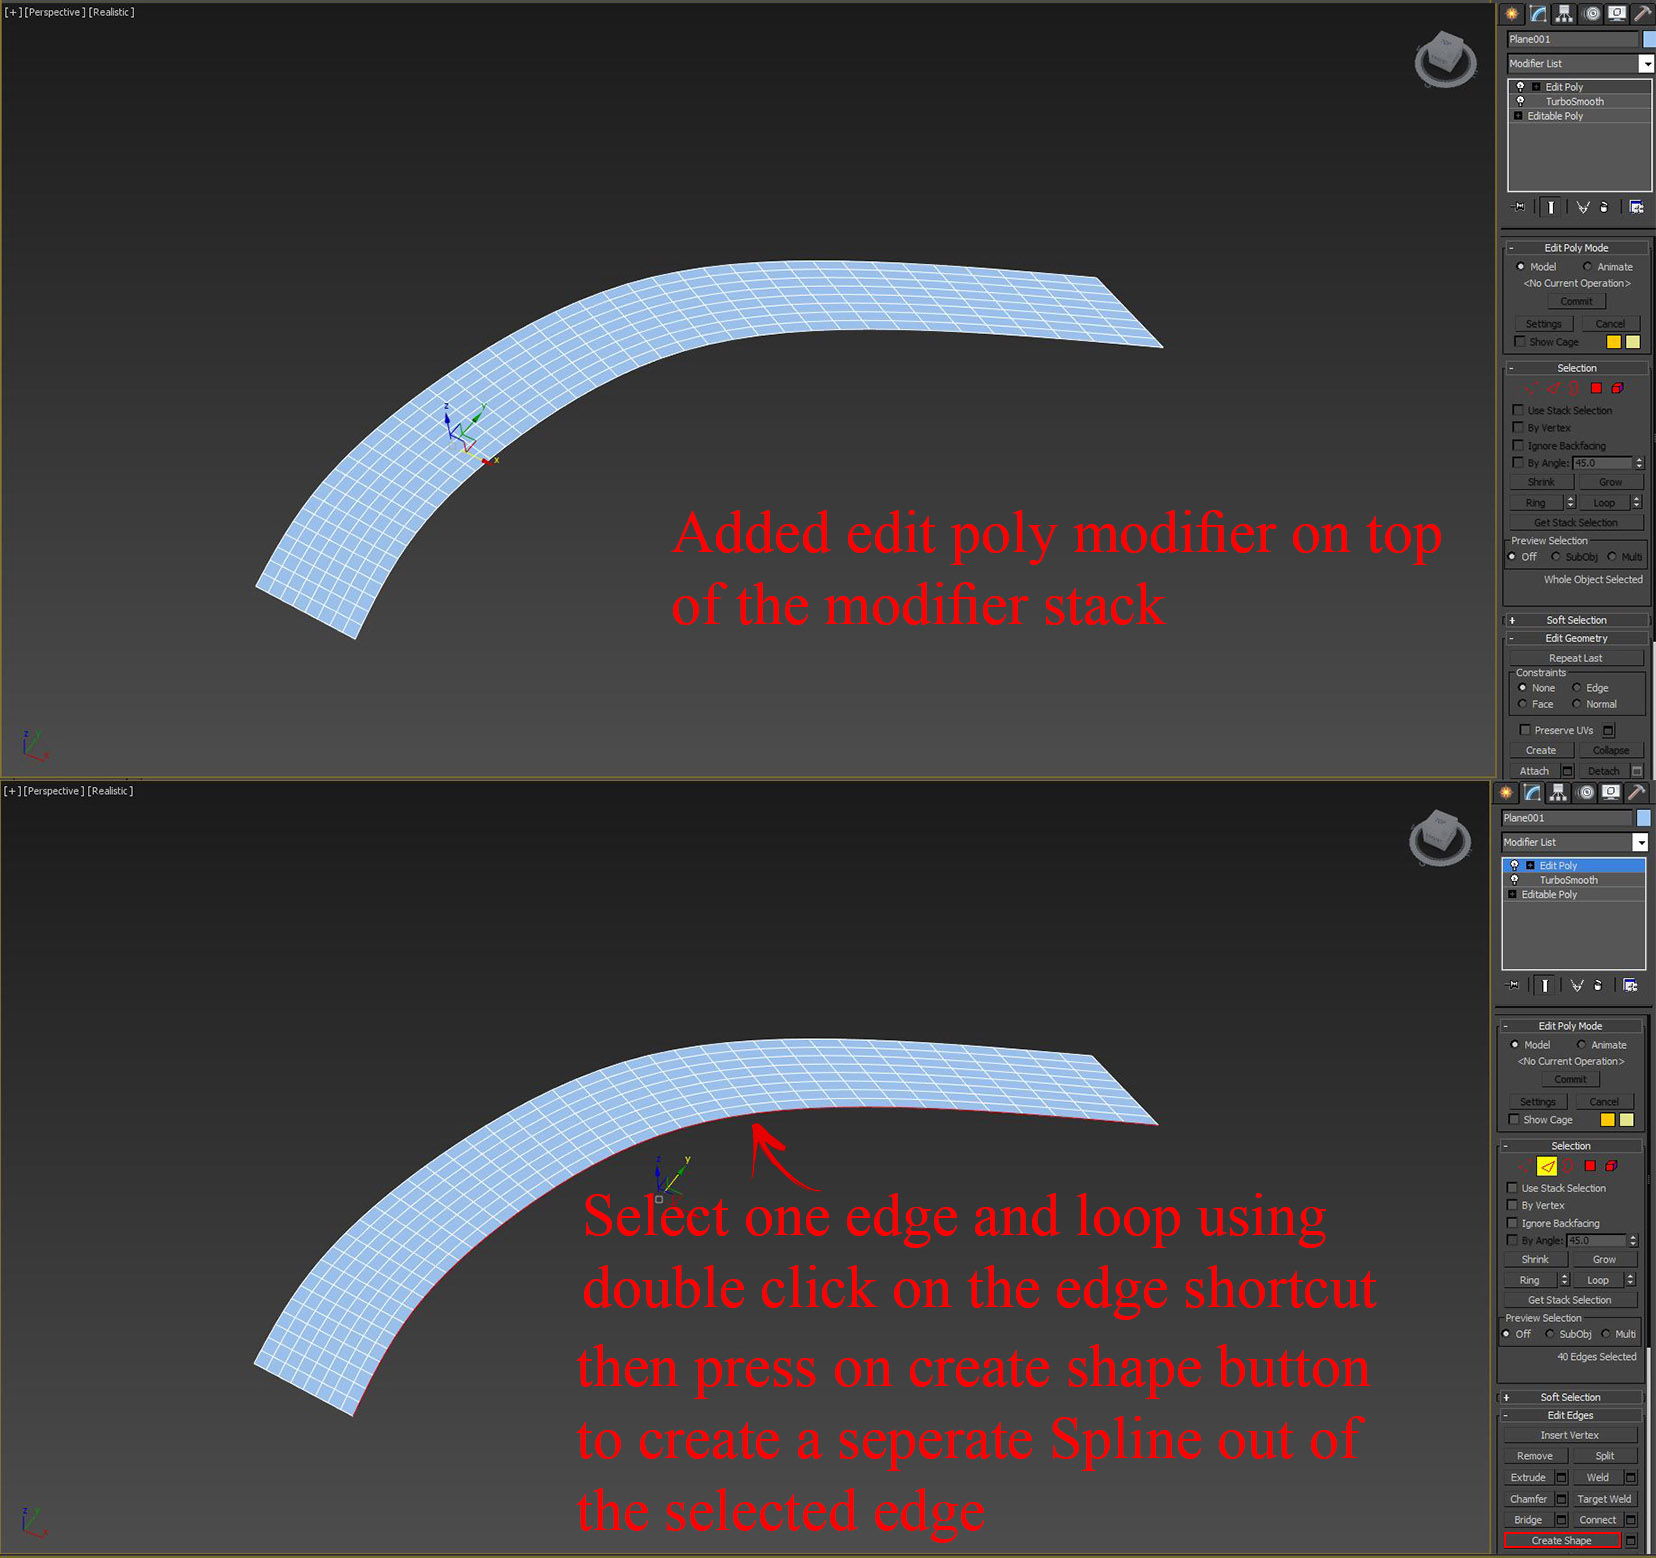
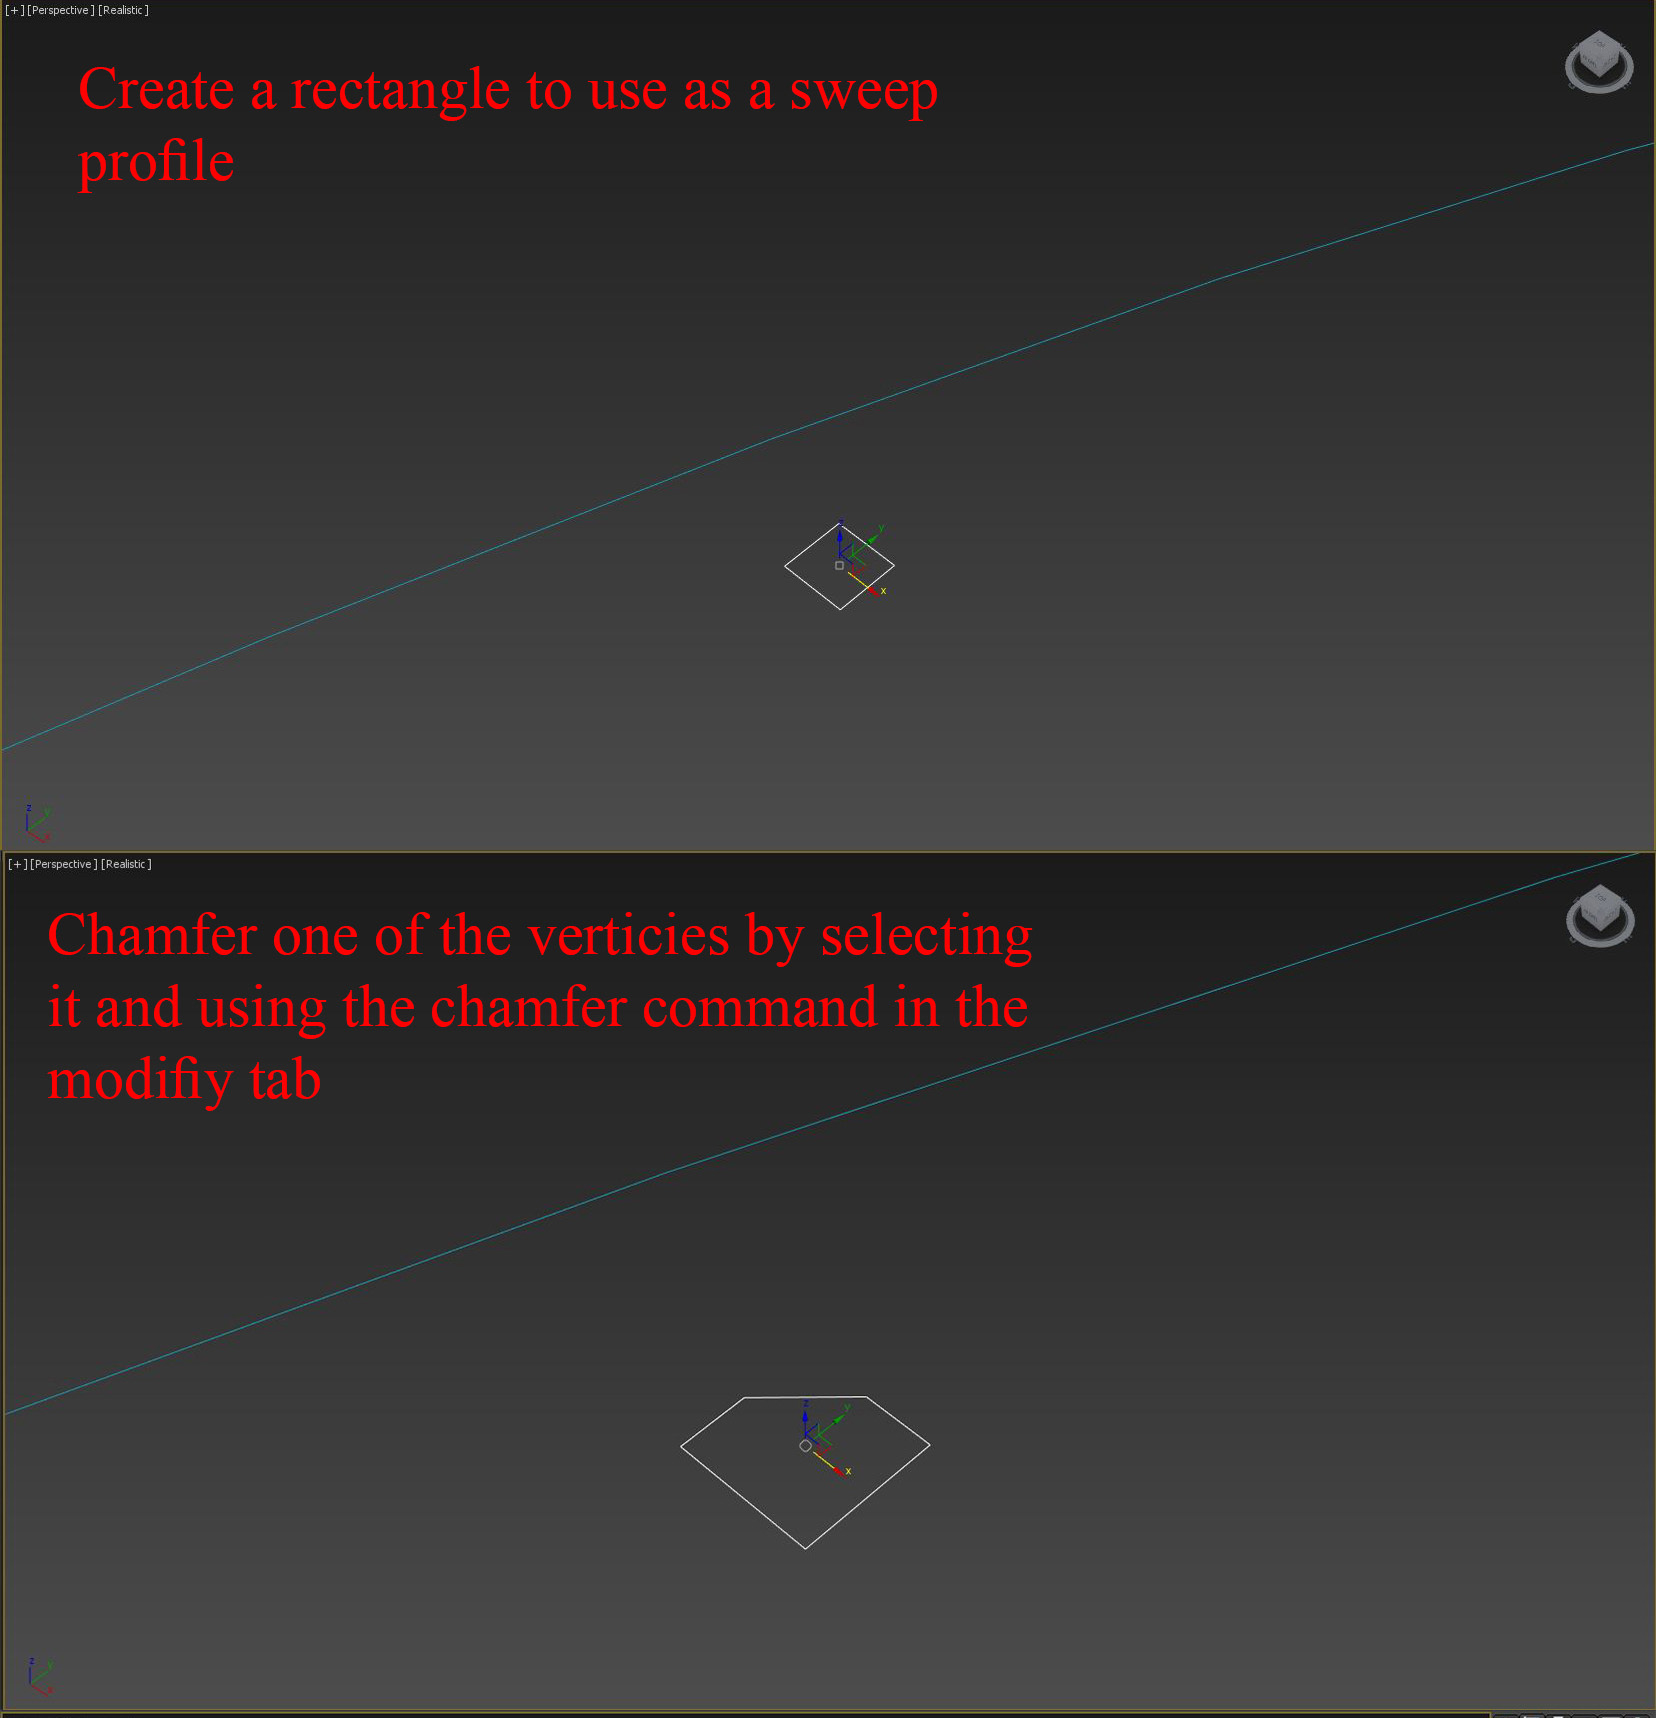
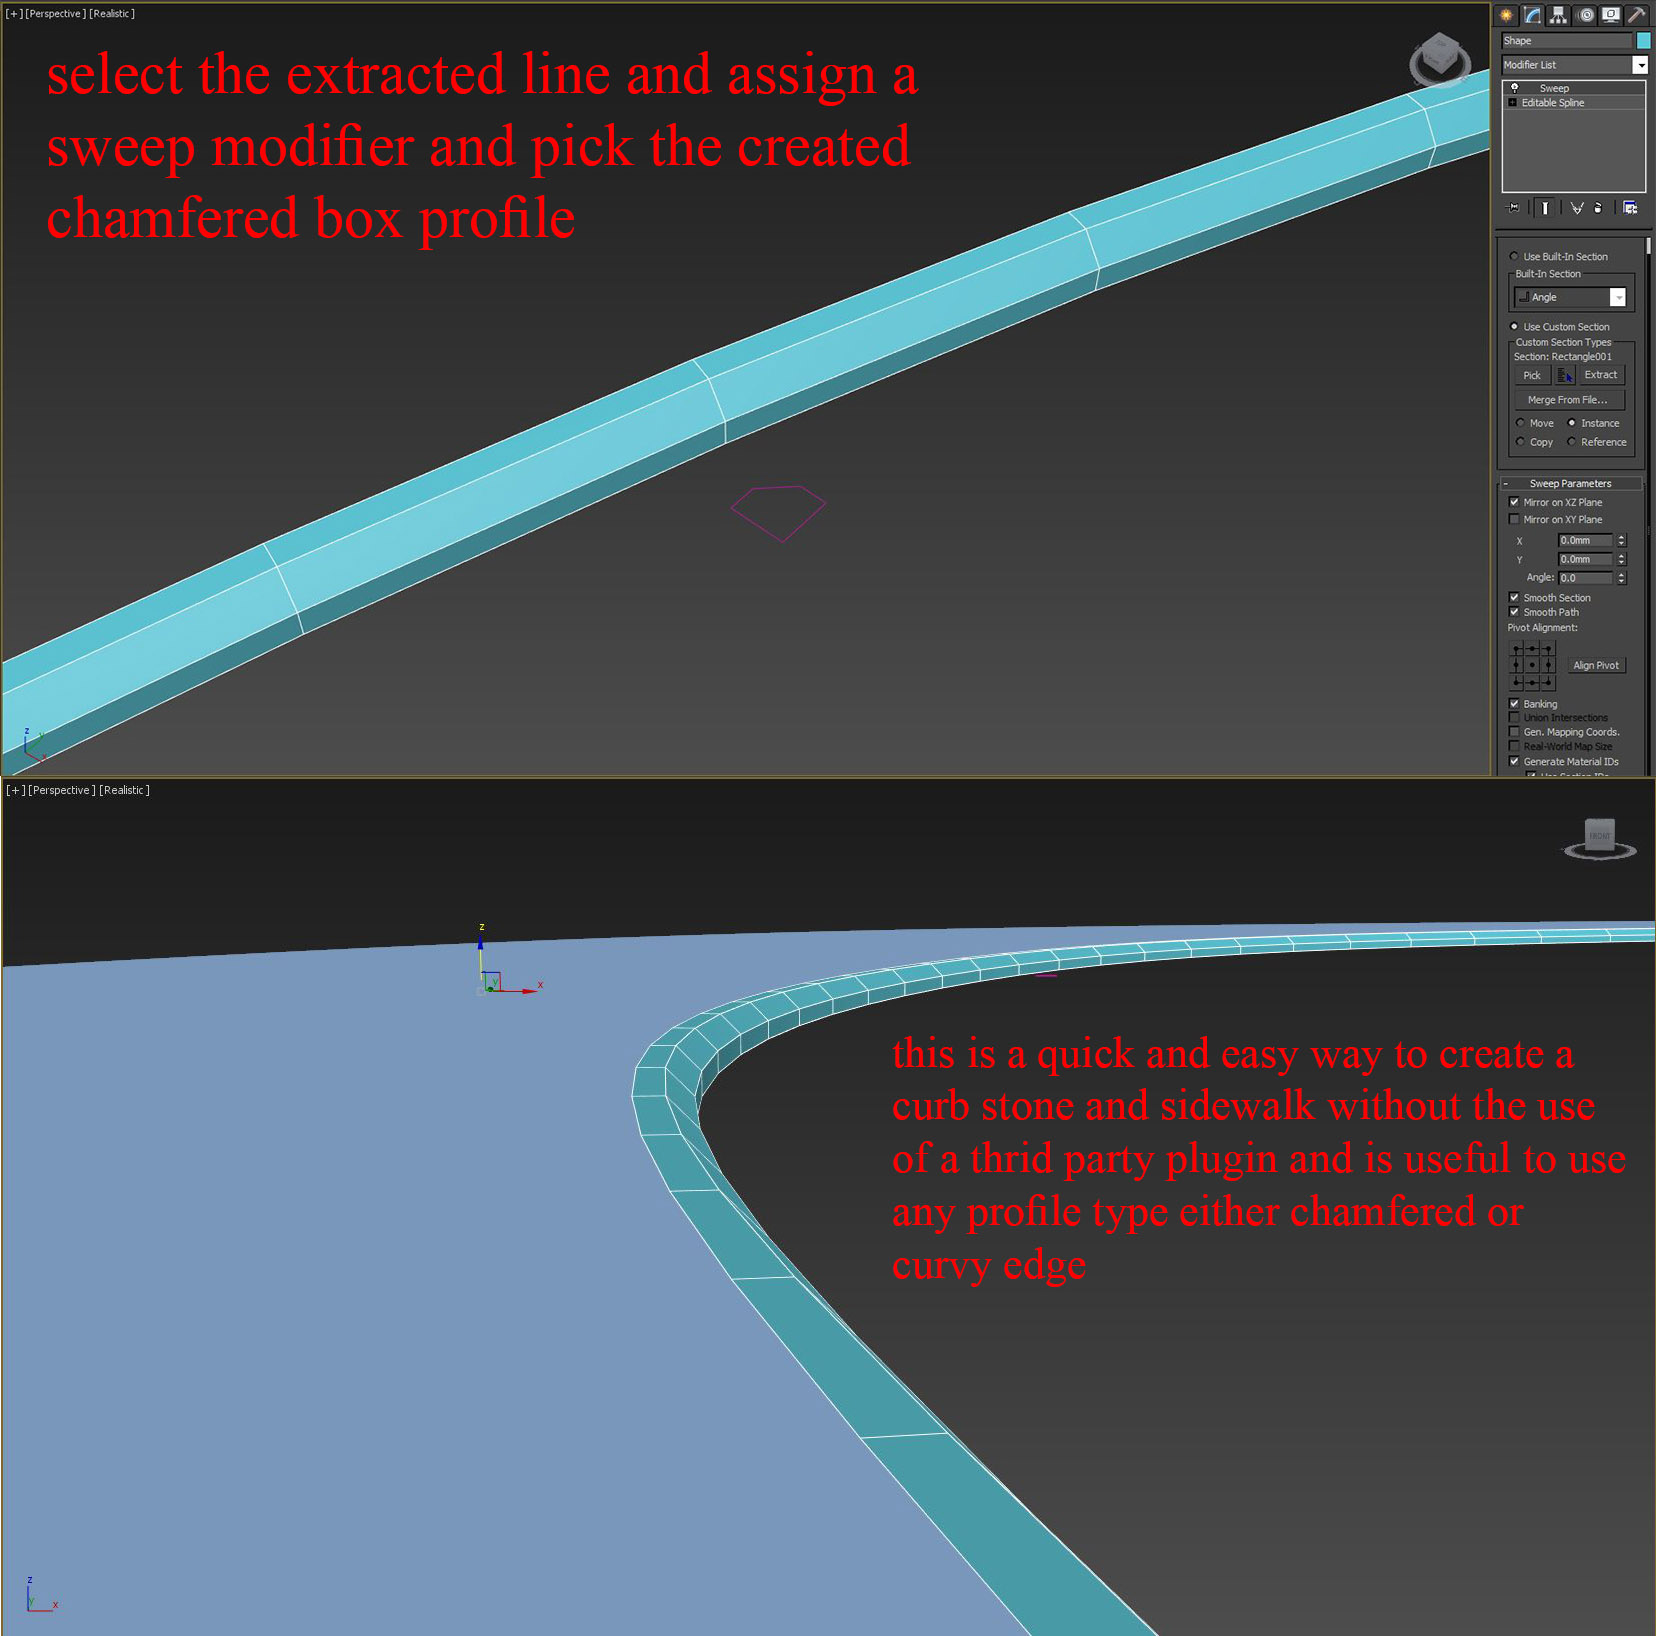
Here is a description of how I modeled the sidewalks.
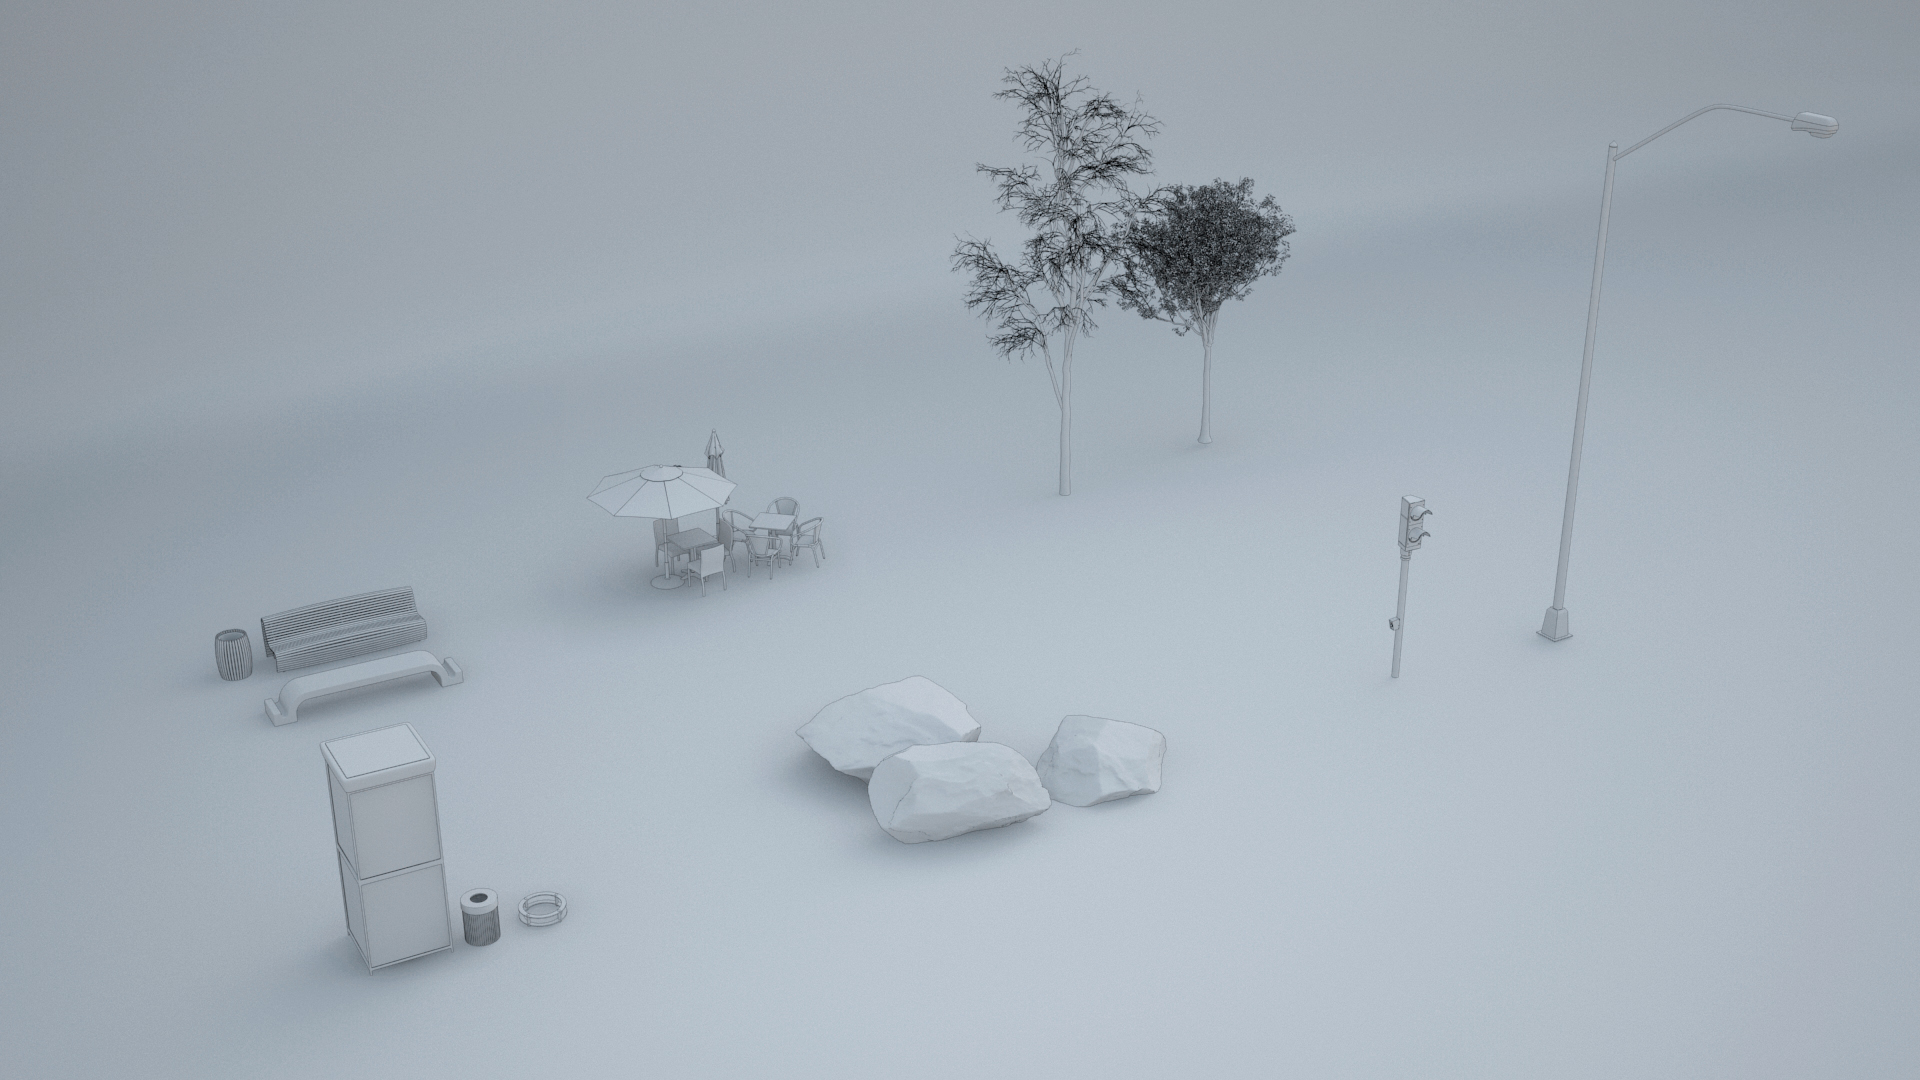
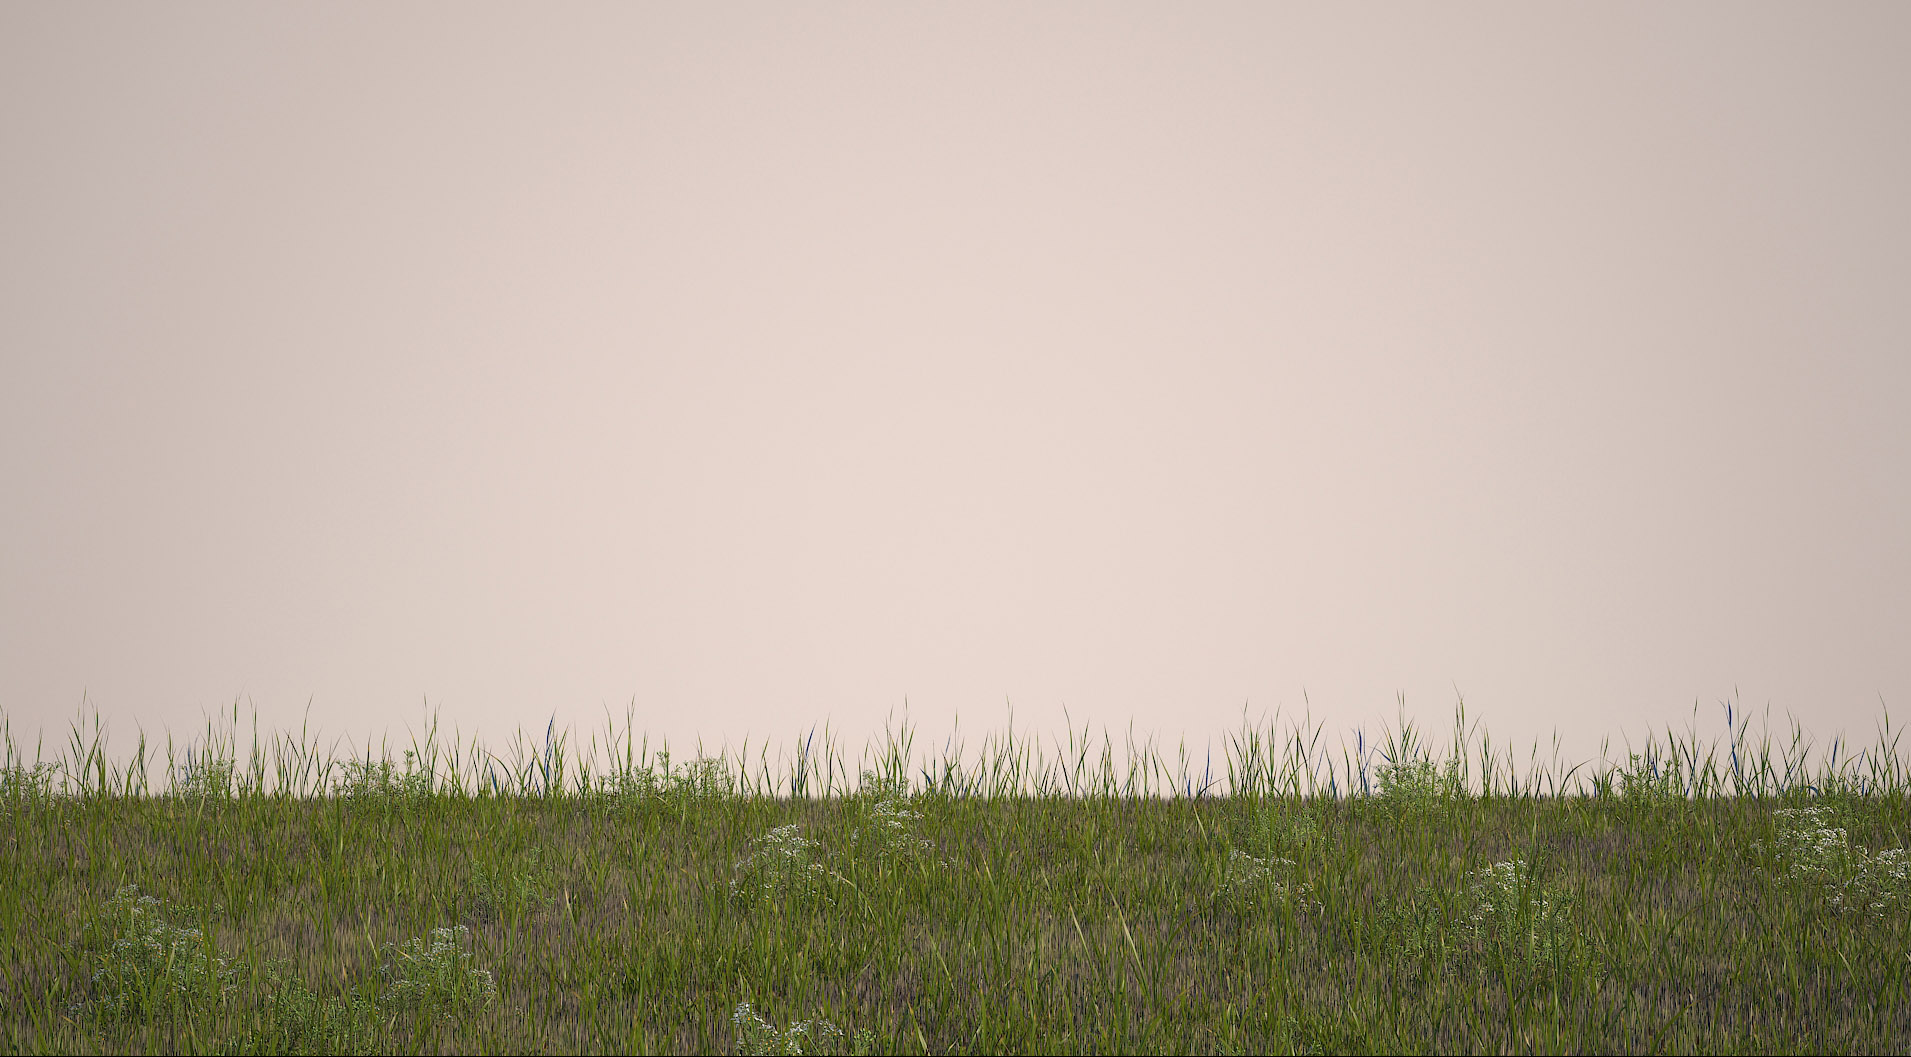
About the greenery and environment trees came by VIZPARK and the bushes from Evermotion. These models were positioned in the foreground according to the selected cameras.
For the Multiscatter I have used some grass blades as well as other types of weeds.
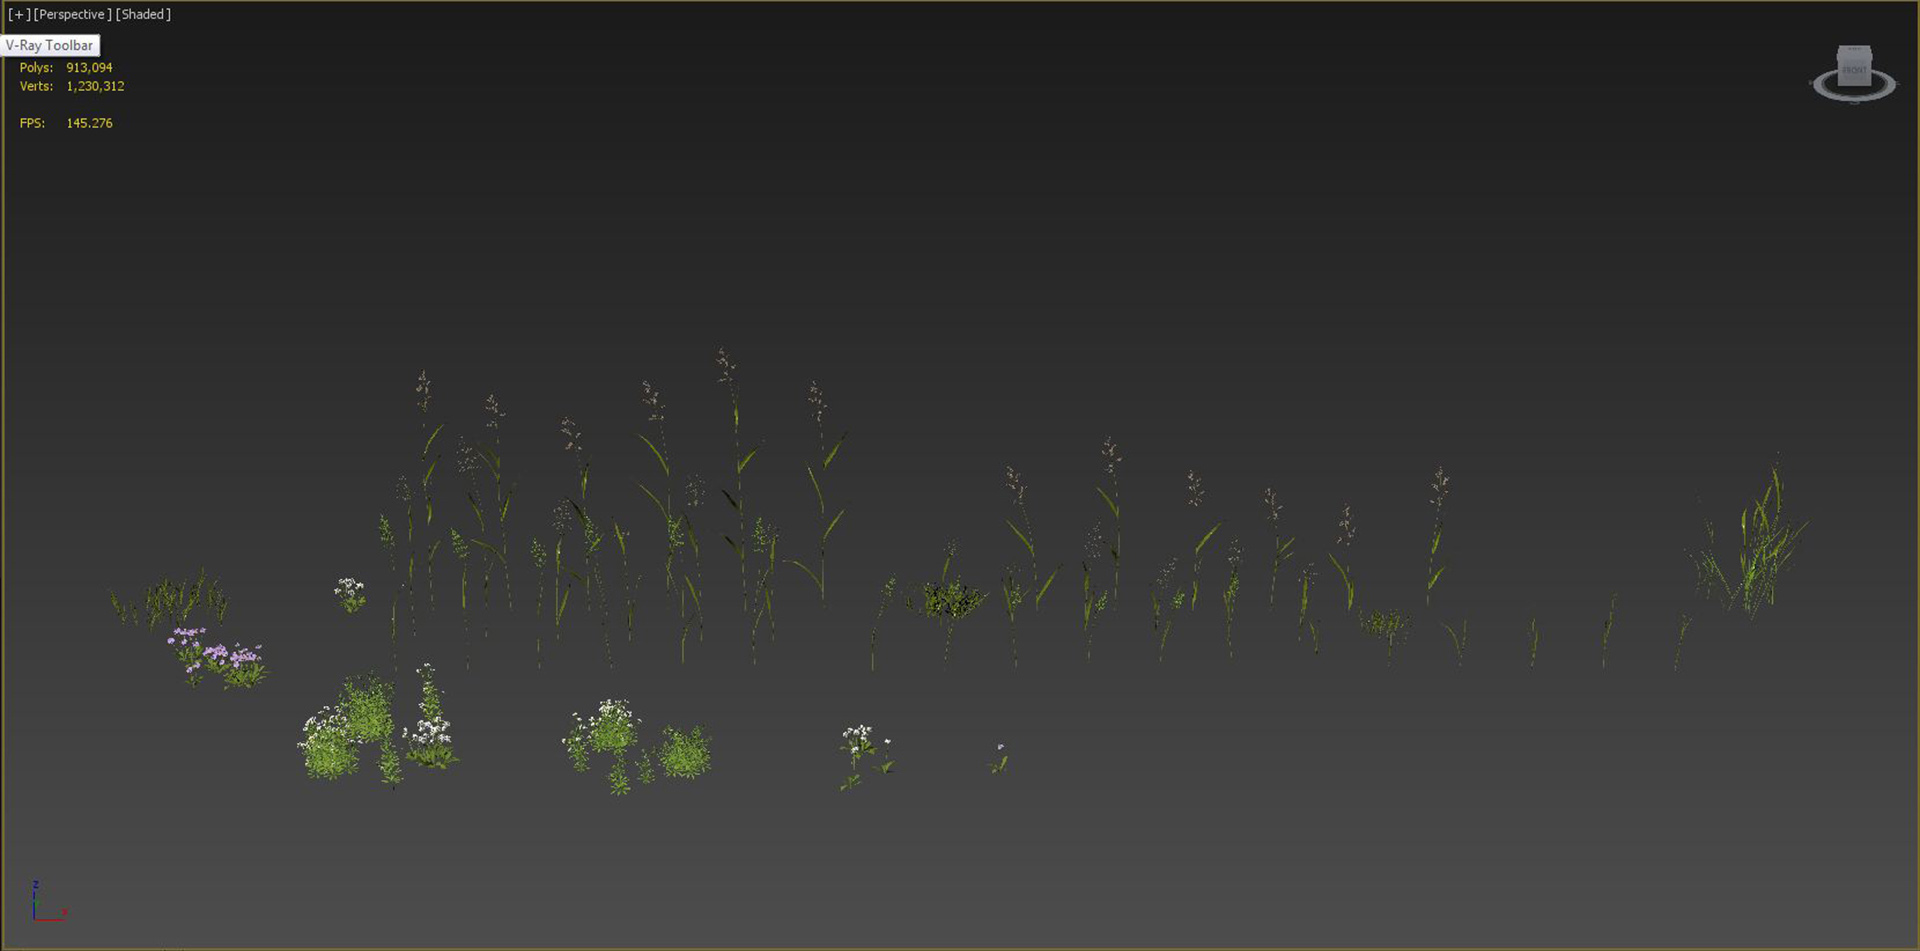
I scattered them onto the displacement plane that we have already done. Two Multiscatter were used, one for the several types of grass blades and another one with less density to scatter some flowers alongside with some bushes.
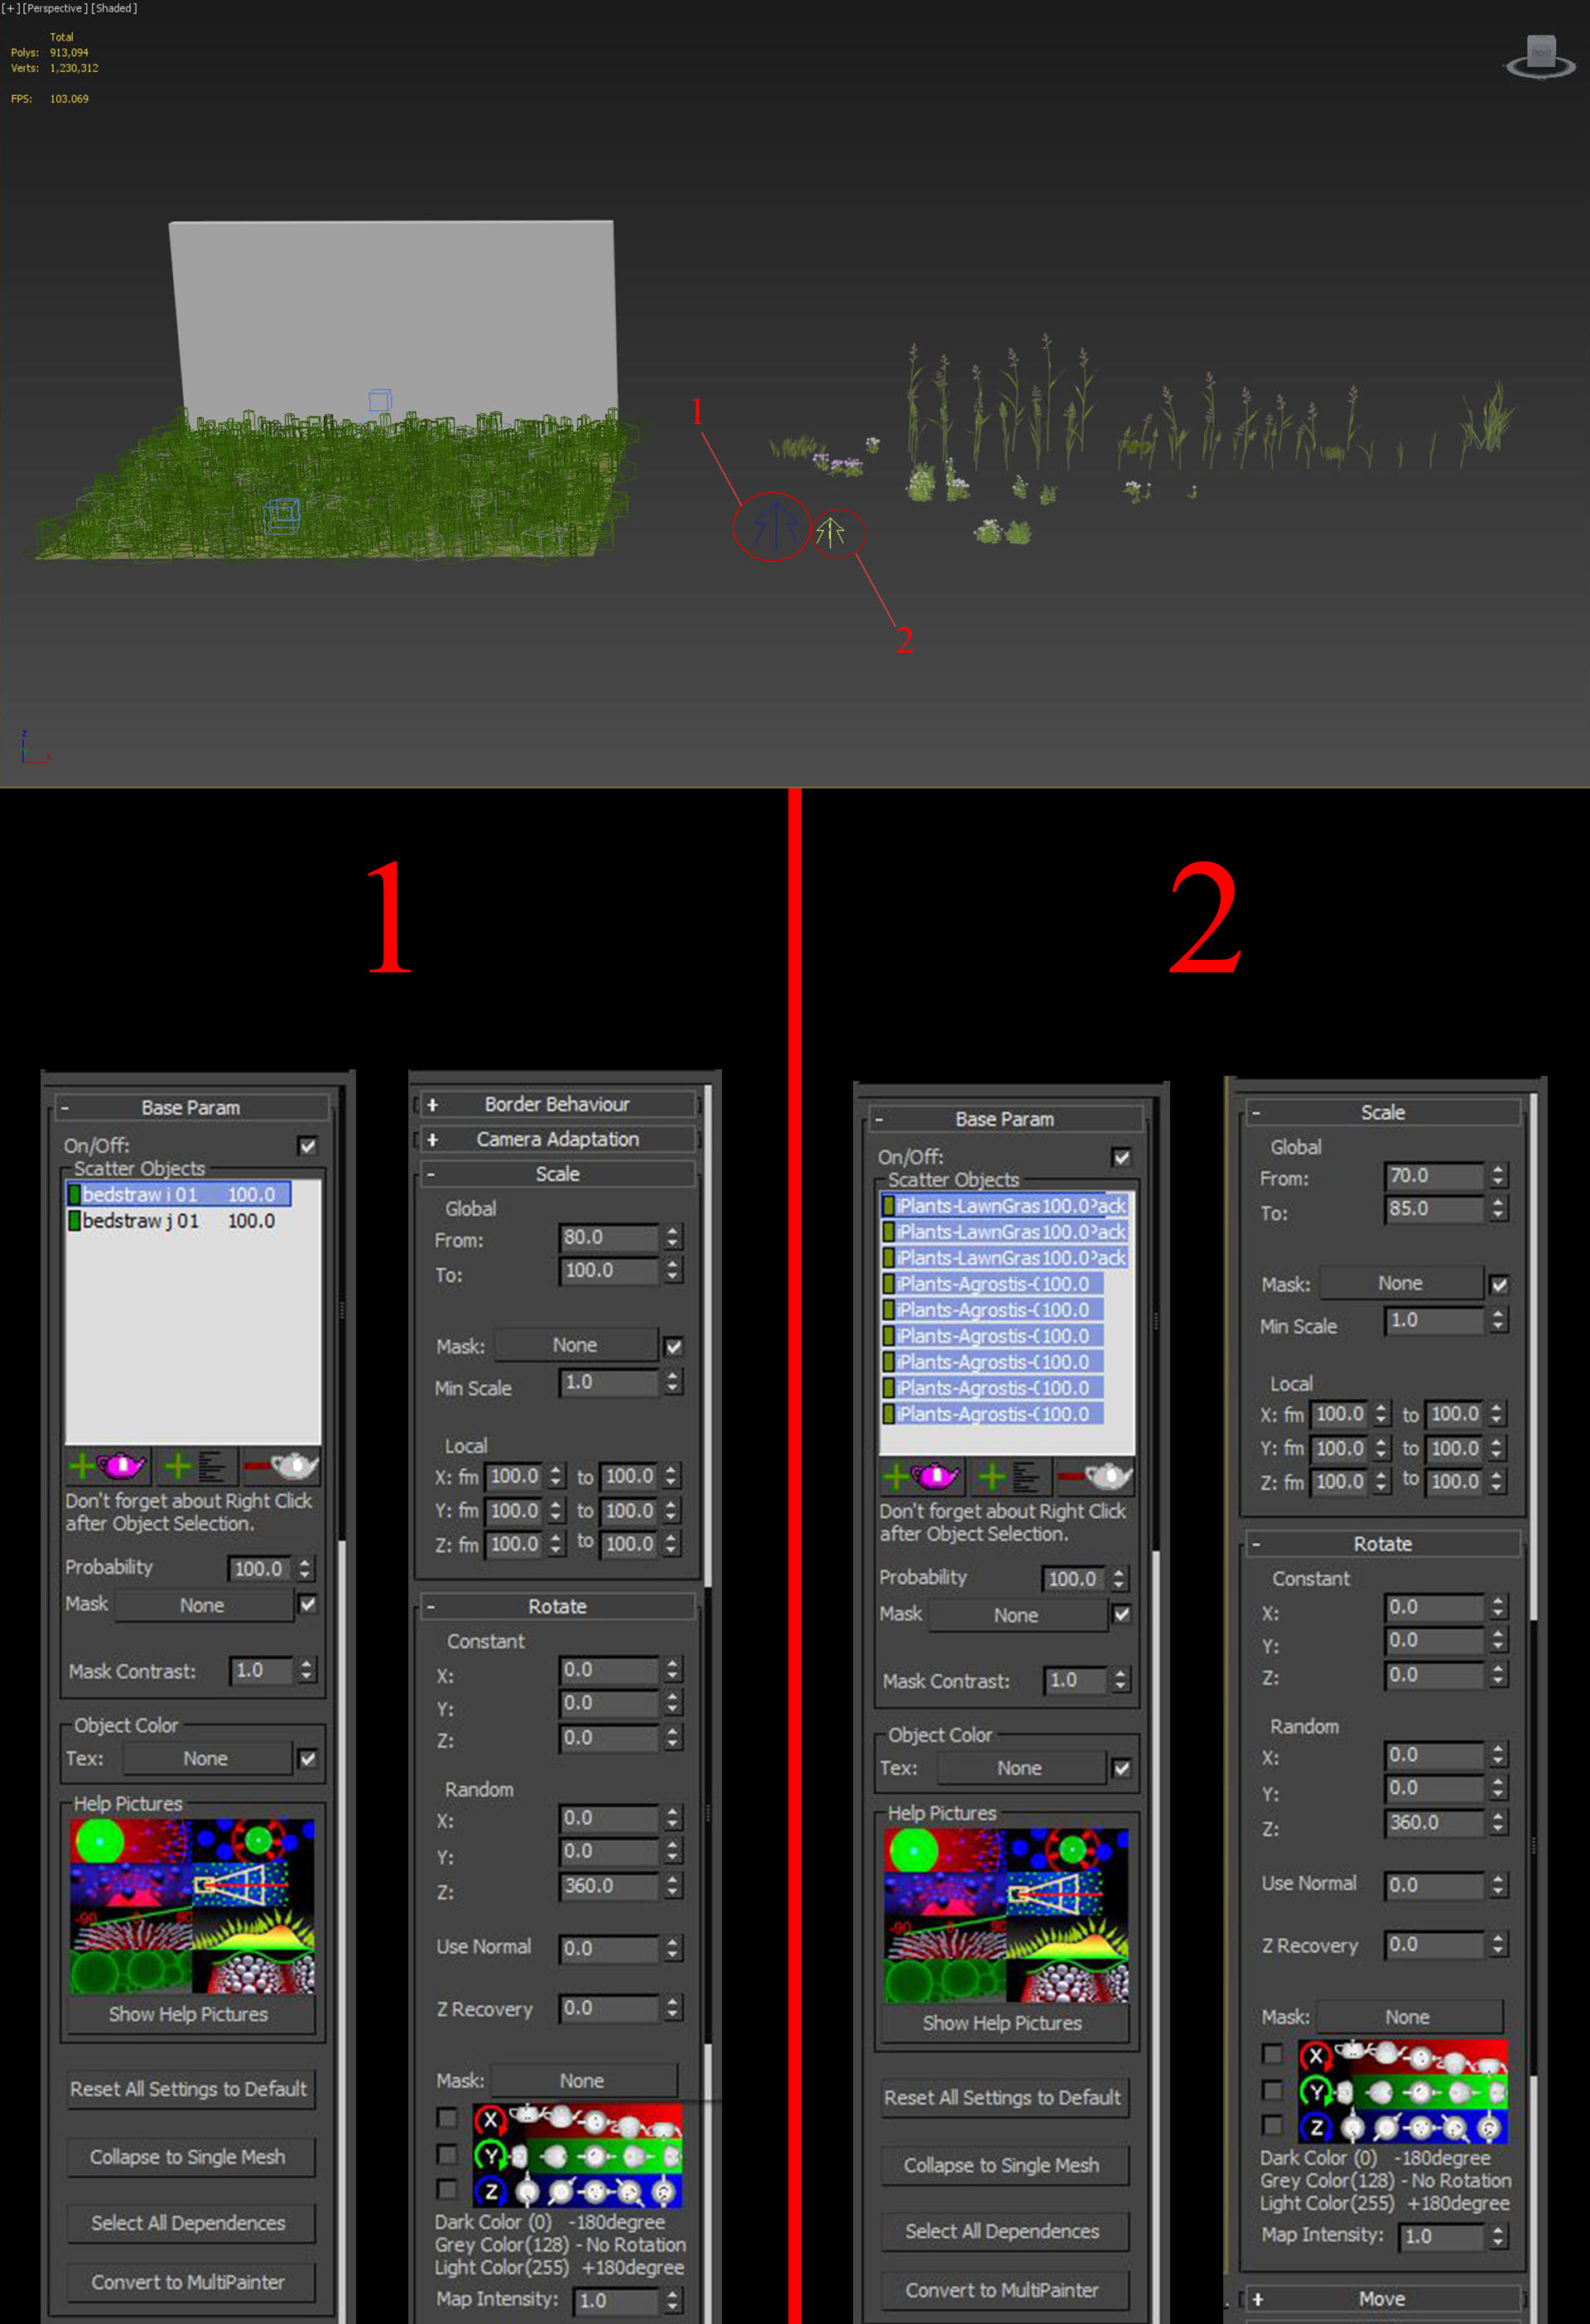
Additionally a little bit noise modifier on the plane and the desired result achieved!
TIP. In order to get a nice variation, we set the scale "From/To" parameter between 80-100. Just keep in mind that these values are just a personal taste. Play and decide about your values. For rotation on the Z Axis, the random value has been set to 360 degrees to avoid a similar orientation. For even more randomization add the same mask which we used on the grass blend material placed on the distribution parameter inside the Multiscatter tab!
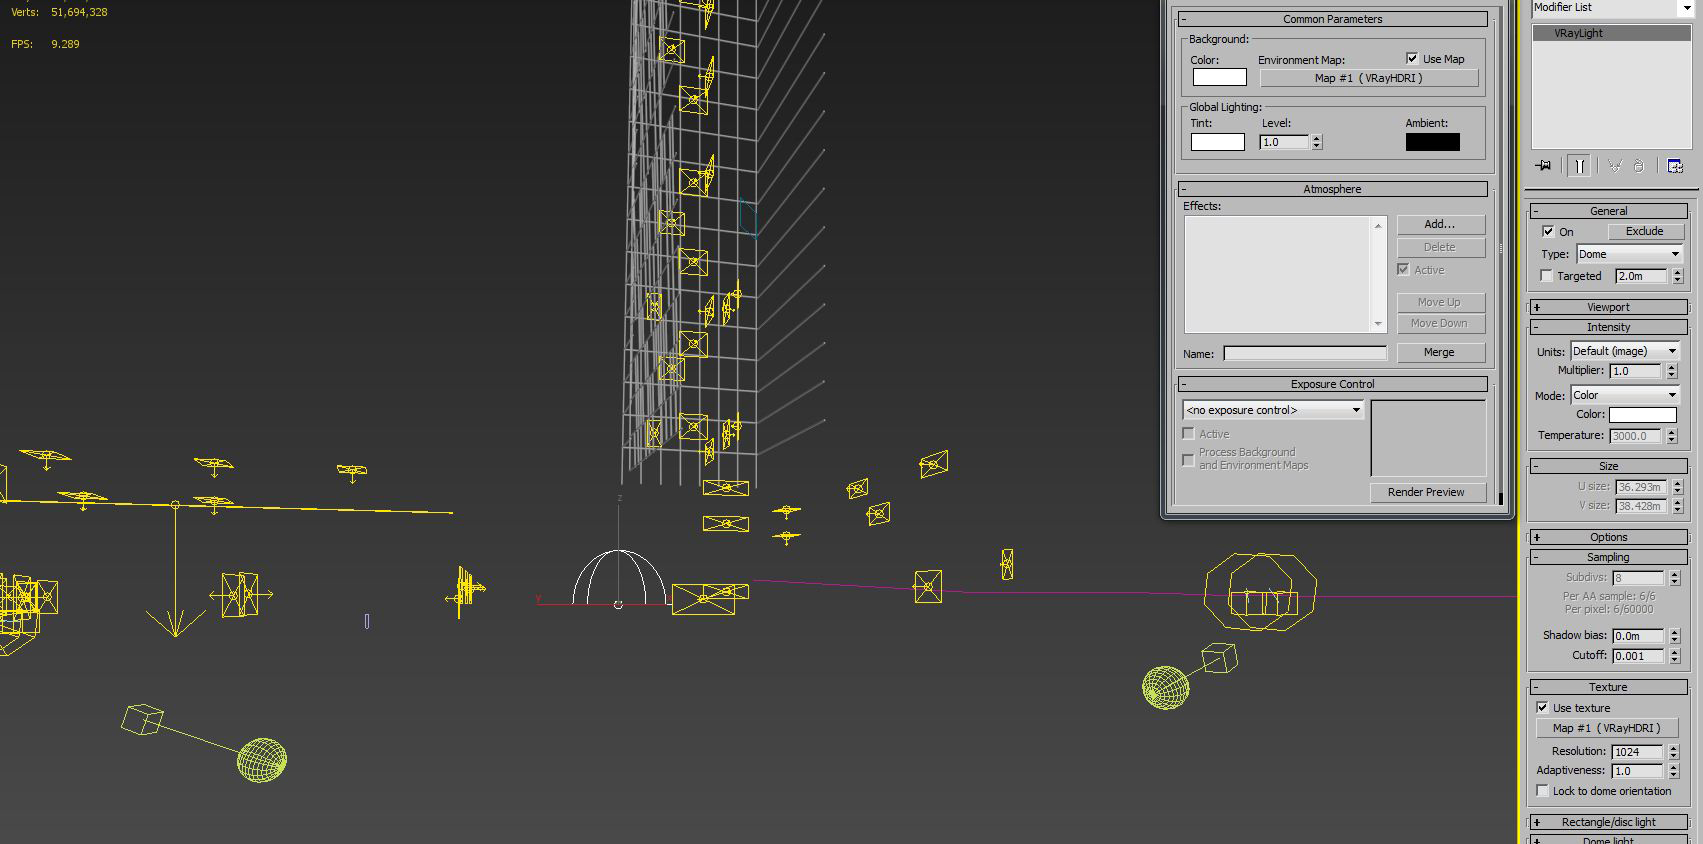
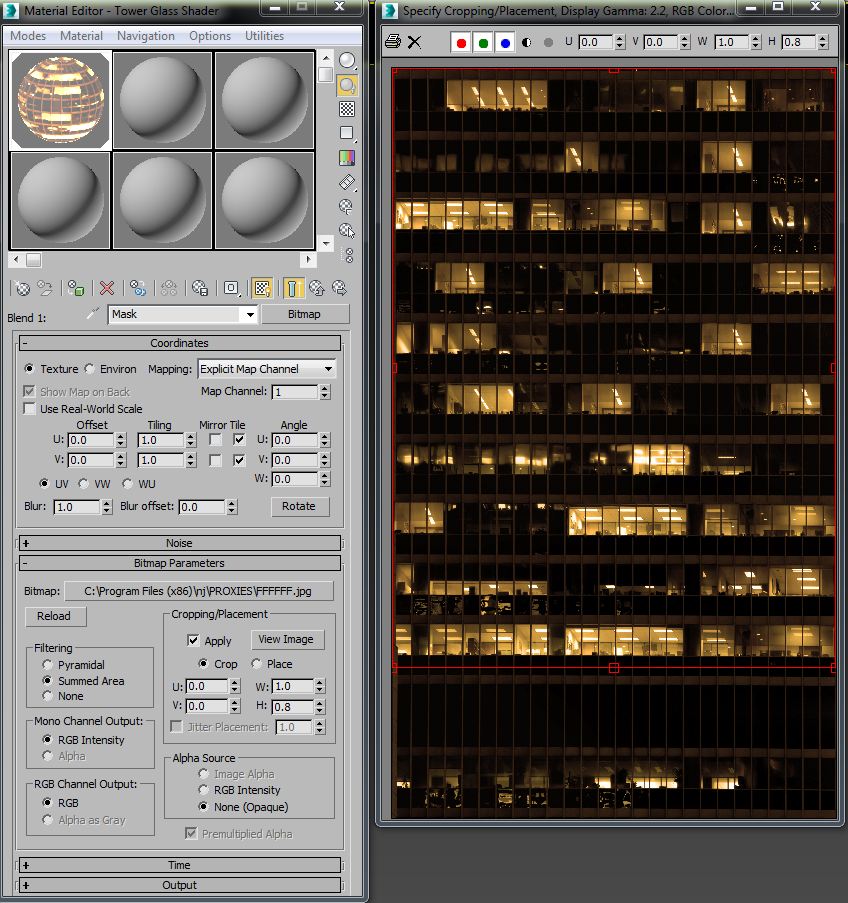
It was originally populated with Vray planes on each floor. The lights have different intensity, some areas were lit while other were not. The retail stores were also lit the same way with Vray planes and they came along with ies lights. For the environment an HDRI through the use of a Dome light, nothing fancy.The HDRI is Dusk Blue Sky by peter Guthrie. Upon the client's request for a more commercial look, we used a Vray light material with the following texture on the glass.
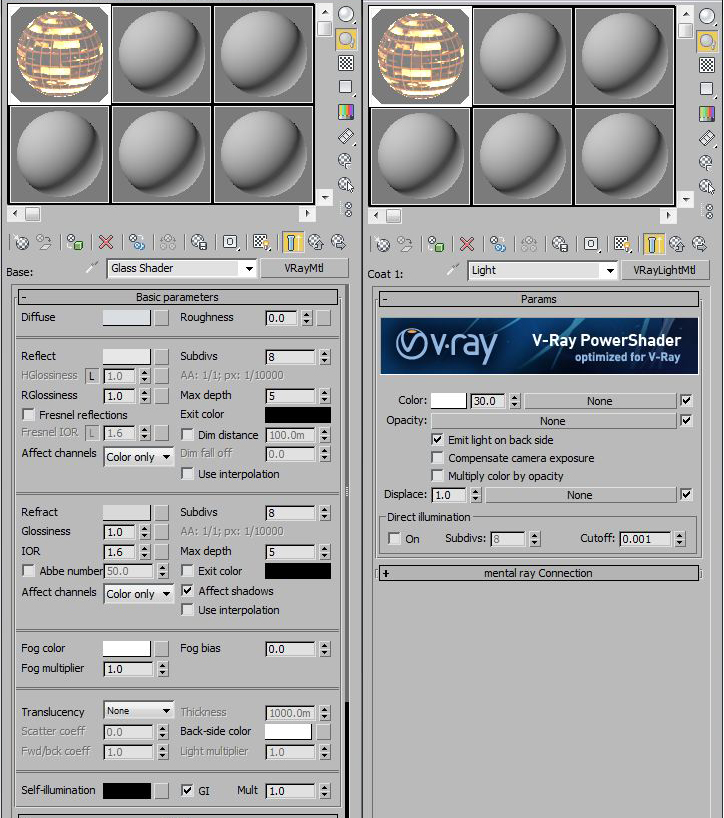
The materials are fairly simple, the cars were already textured, and so were the retails, as for the greenery and plants shader I have used a Vray2sidedmaterial. The images below show how we’ve dealt with some of the materials in the scene.
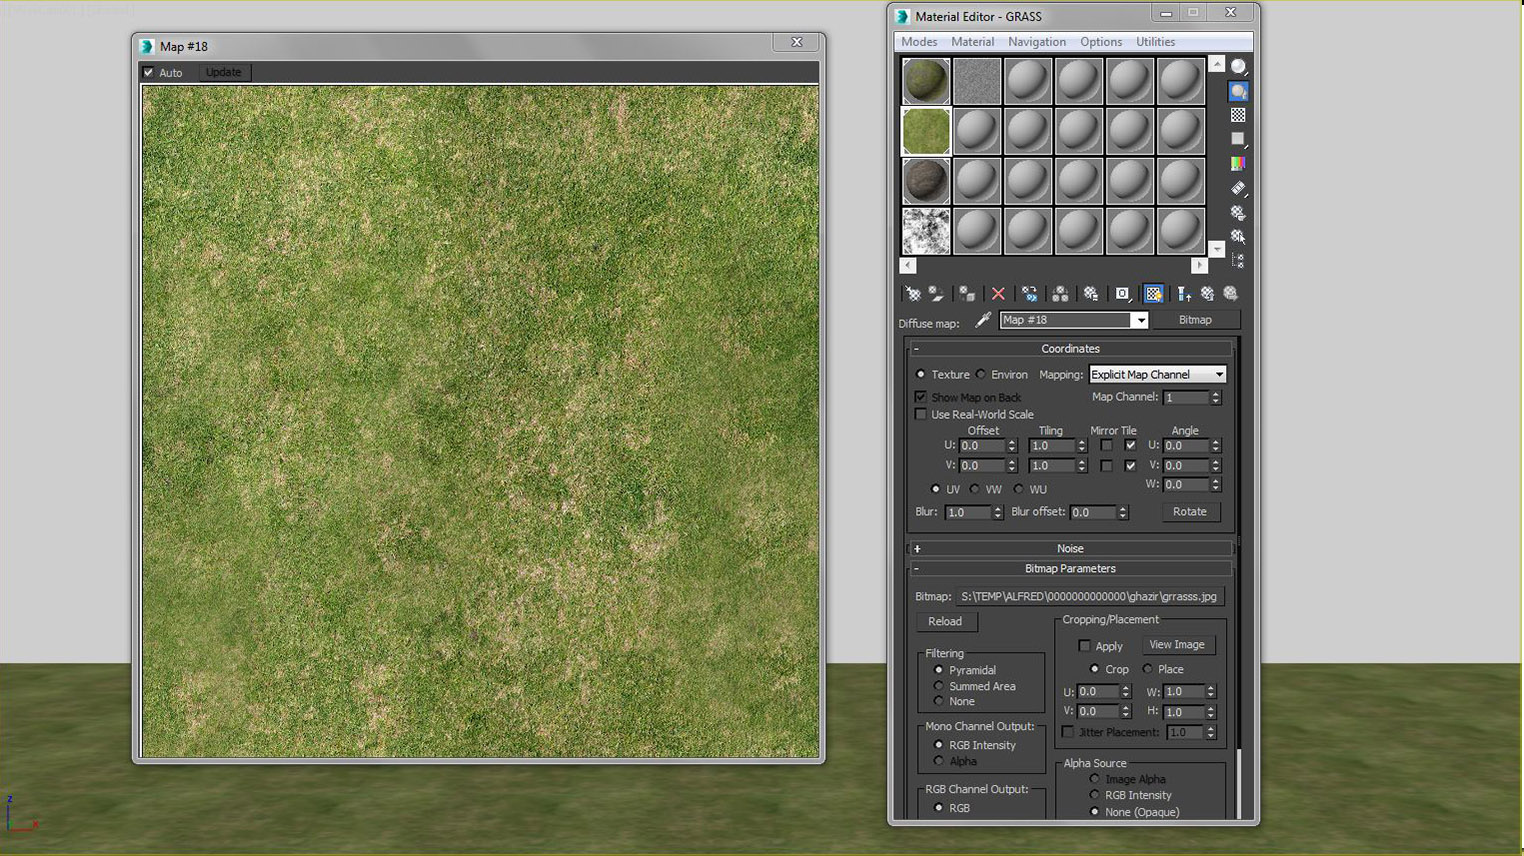
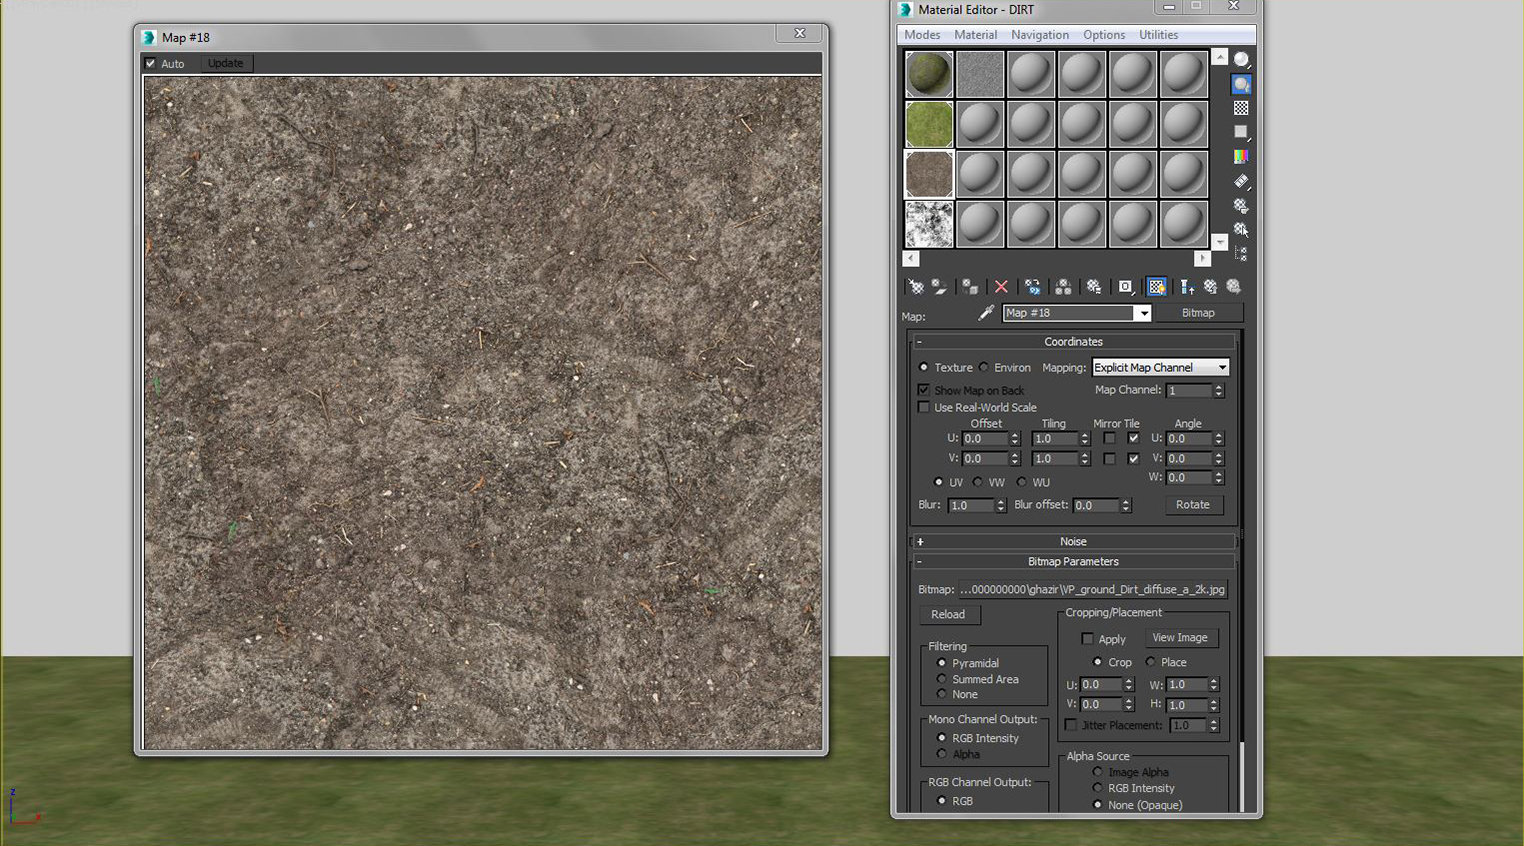
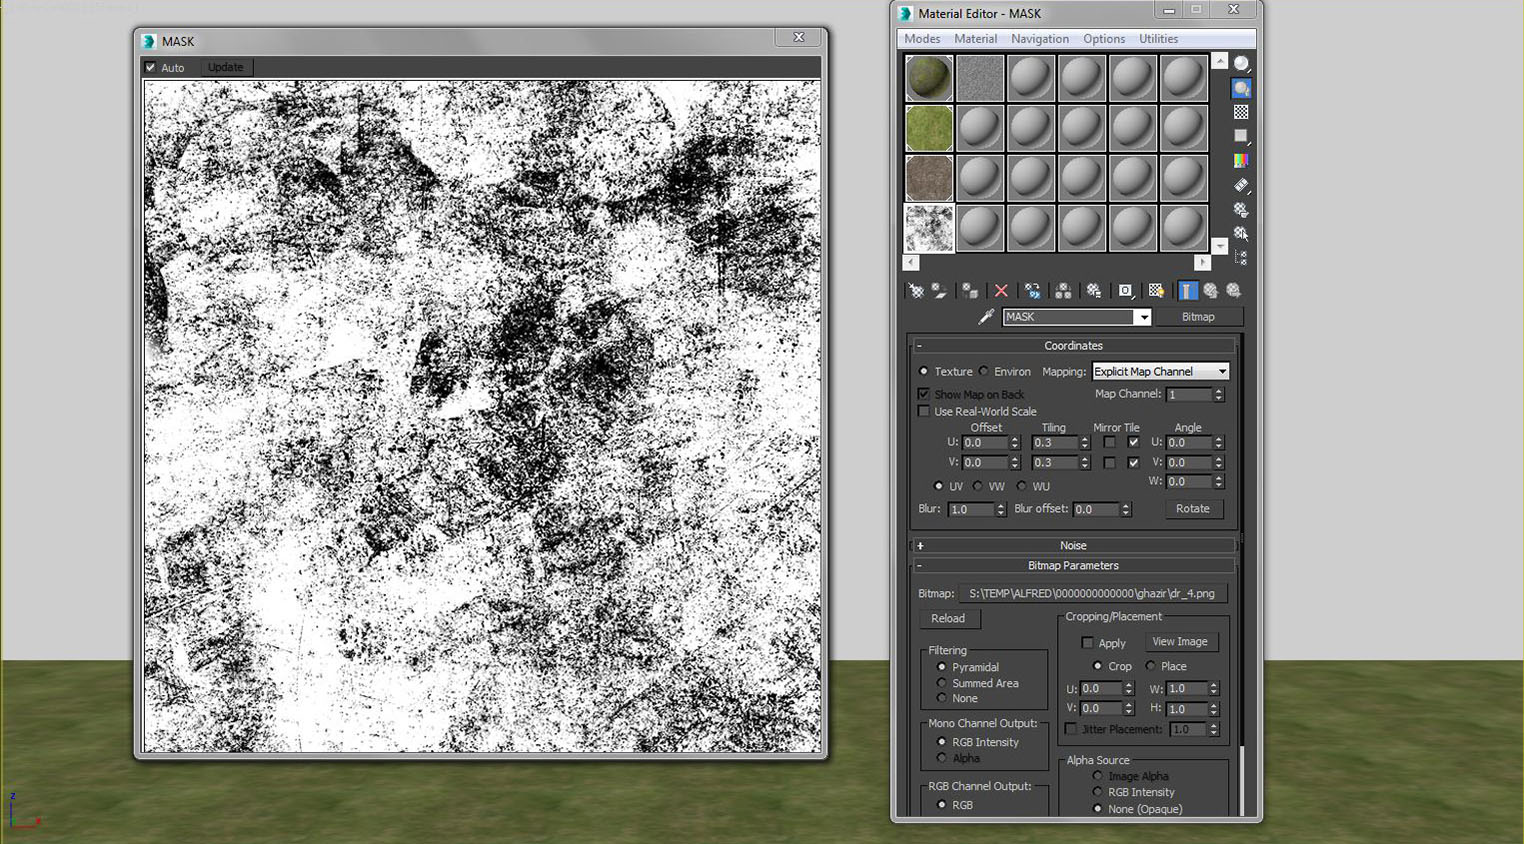
For the grass material, Vray Blend material has been used to blend between a grass texture using a Dirt map as mask.
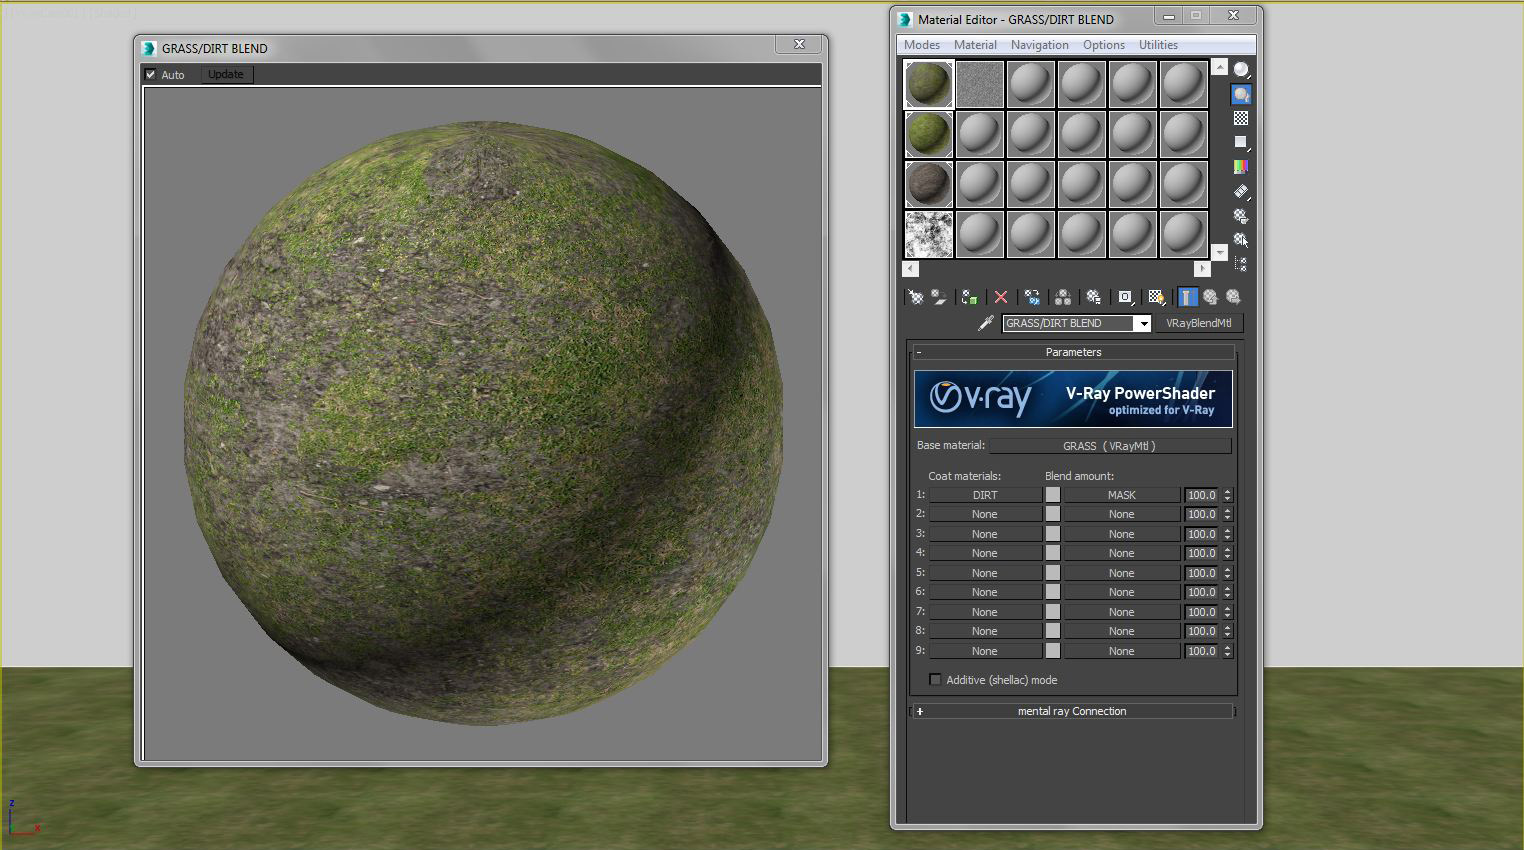
Below you can see the grass Dirt and mask.
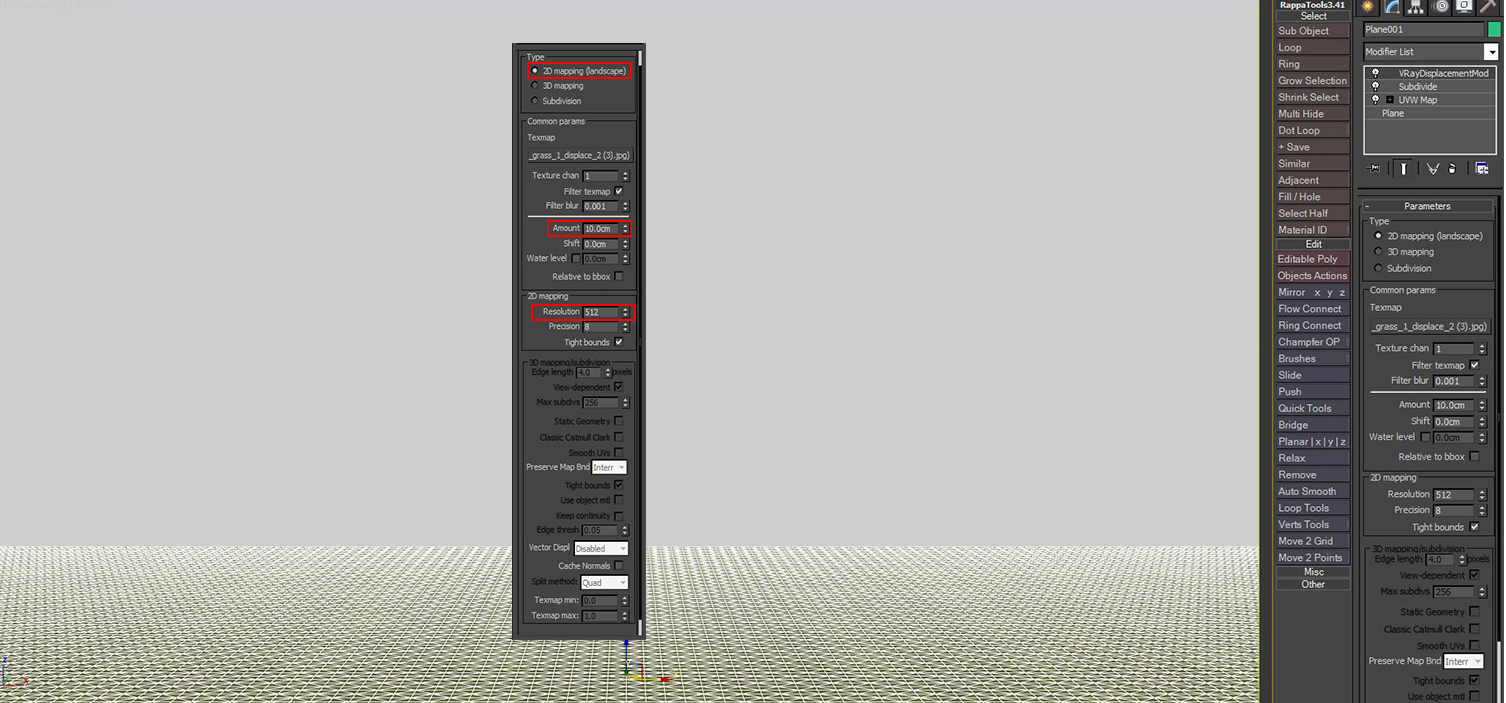
The material has been applied to a plane which has a UVW modifier and a subdivide modifier in order to make the displacement rendering fast and furious! As well as a VrayDisplacemod.
TIP. Keep in mind that a good units set up should be adopted in order to work properly, respecting the scale of the object and the file units.
For the bushes I have used a Vray2sidedmtl with a normal Vray material on the front side and another on the back side.
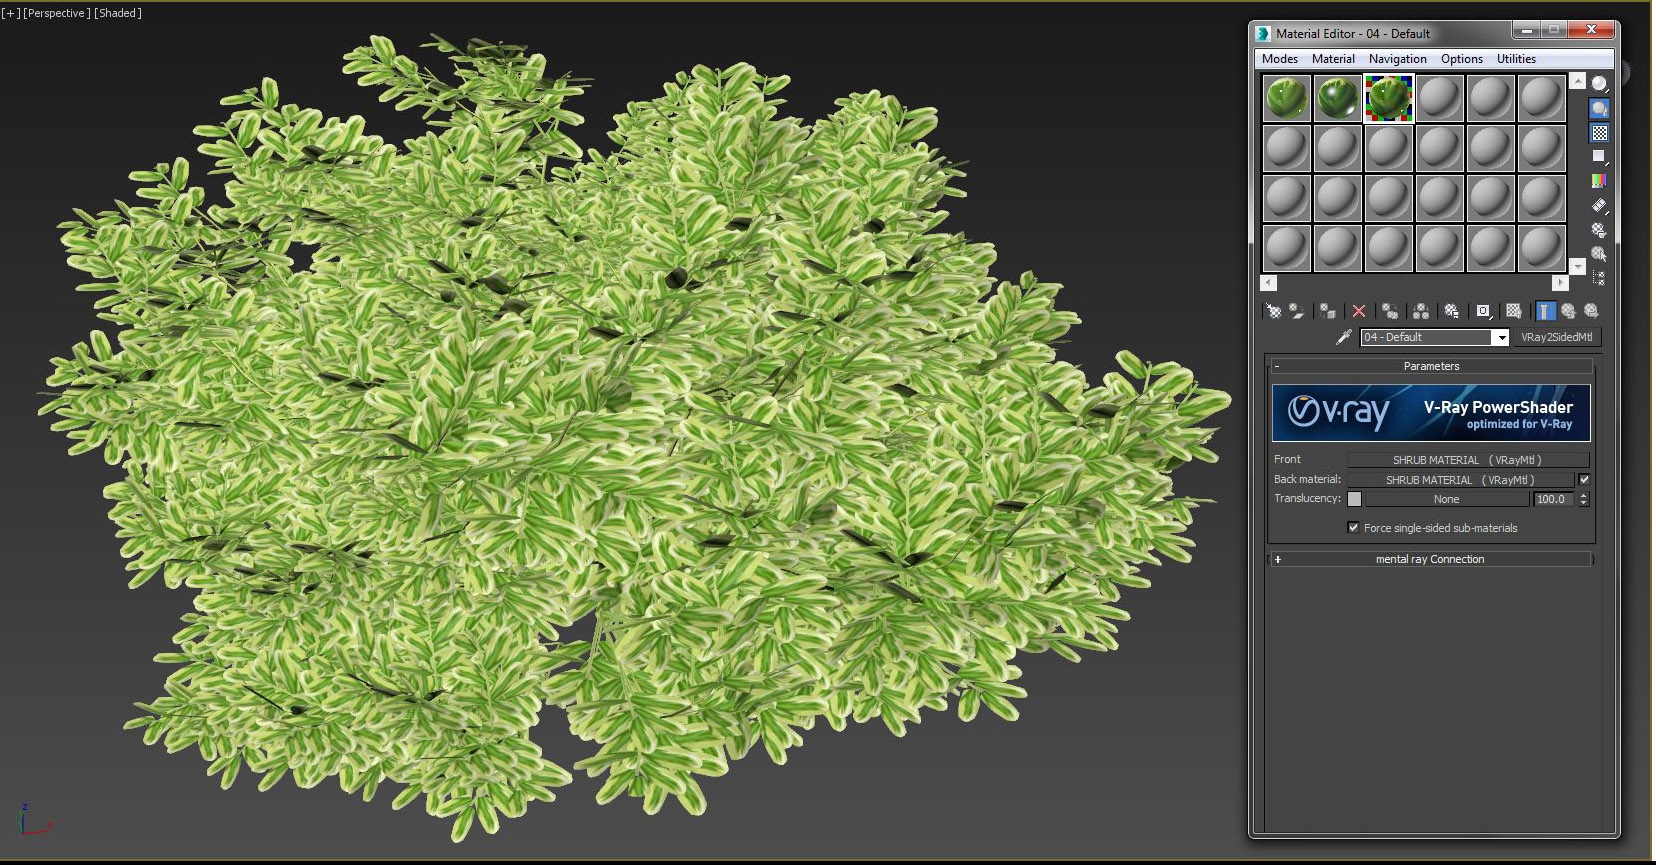
For the front material I used a light green color with 0.9 Reflection glossiness value.

For the Back Material I used a dark green color with reflection glossiness of 0.7 because the tree leaves are usually darker and they have a more mat appearance on the back face.

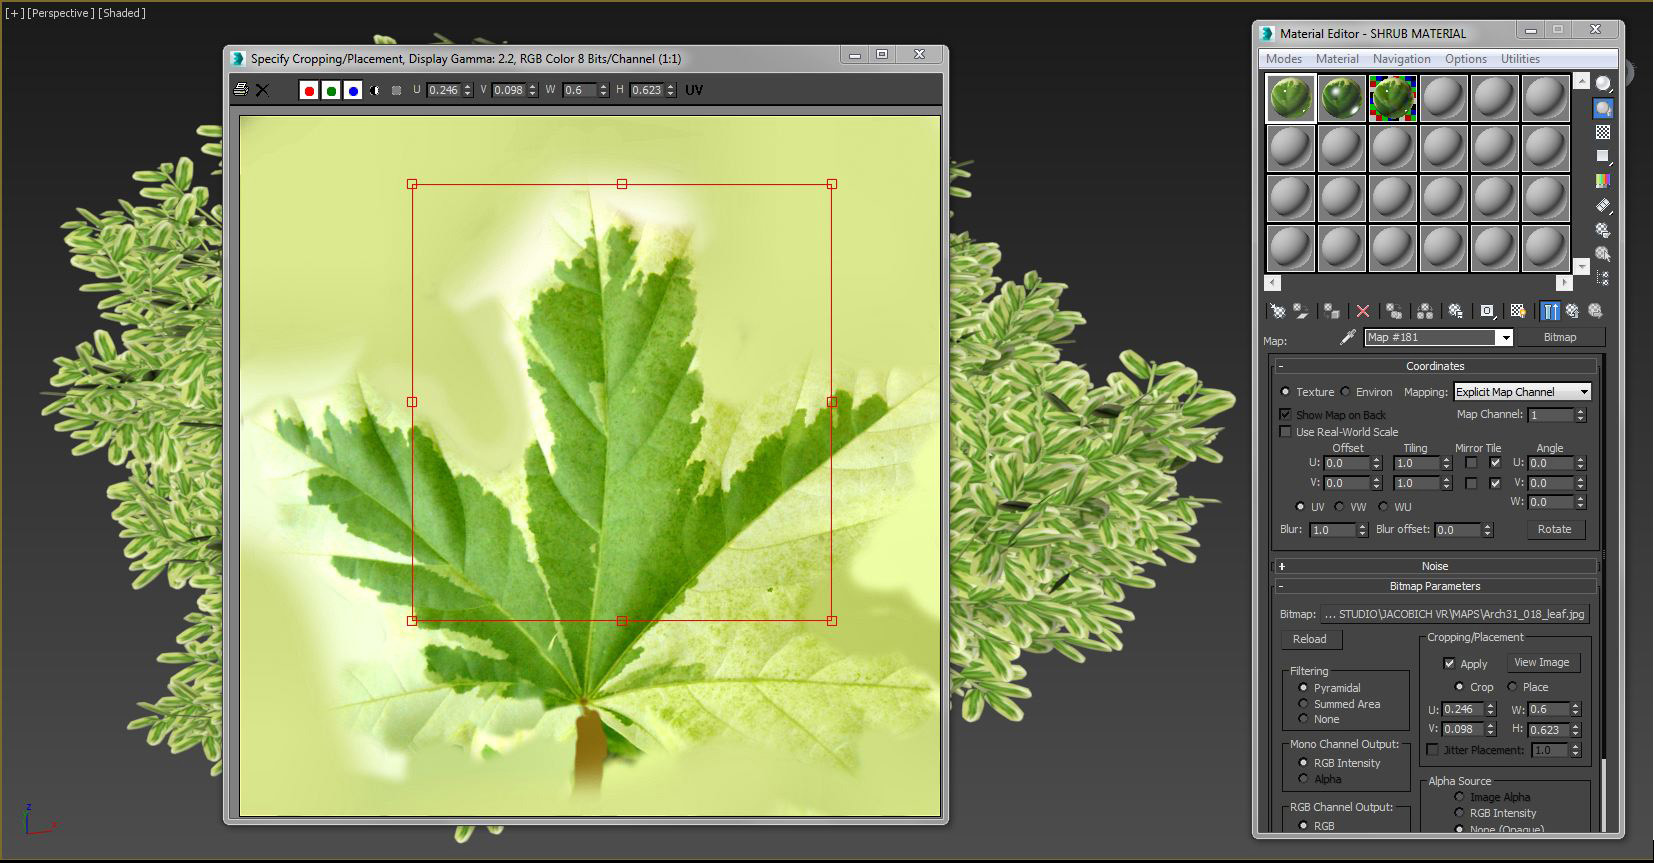
Mainly the same map has been used and in order to make it brighter or darker I used colour correction on the diffuse slot. ( Keep old material as sub material -> Scroll down and press the advance option in the Lightness section -> Lower the Gamma / Contrast RGB value.)

Below is a picture of an Evermotion's map that is being used on a diffuse slot. The same process was done with the same map Which has been given a yellowish tint and another with an orange tint finally assigned to different bushes in order to create some variation.
This map has been used for the displacement of the grass.
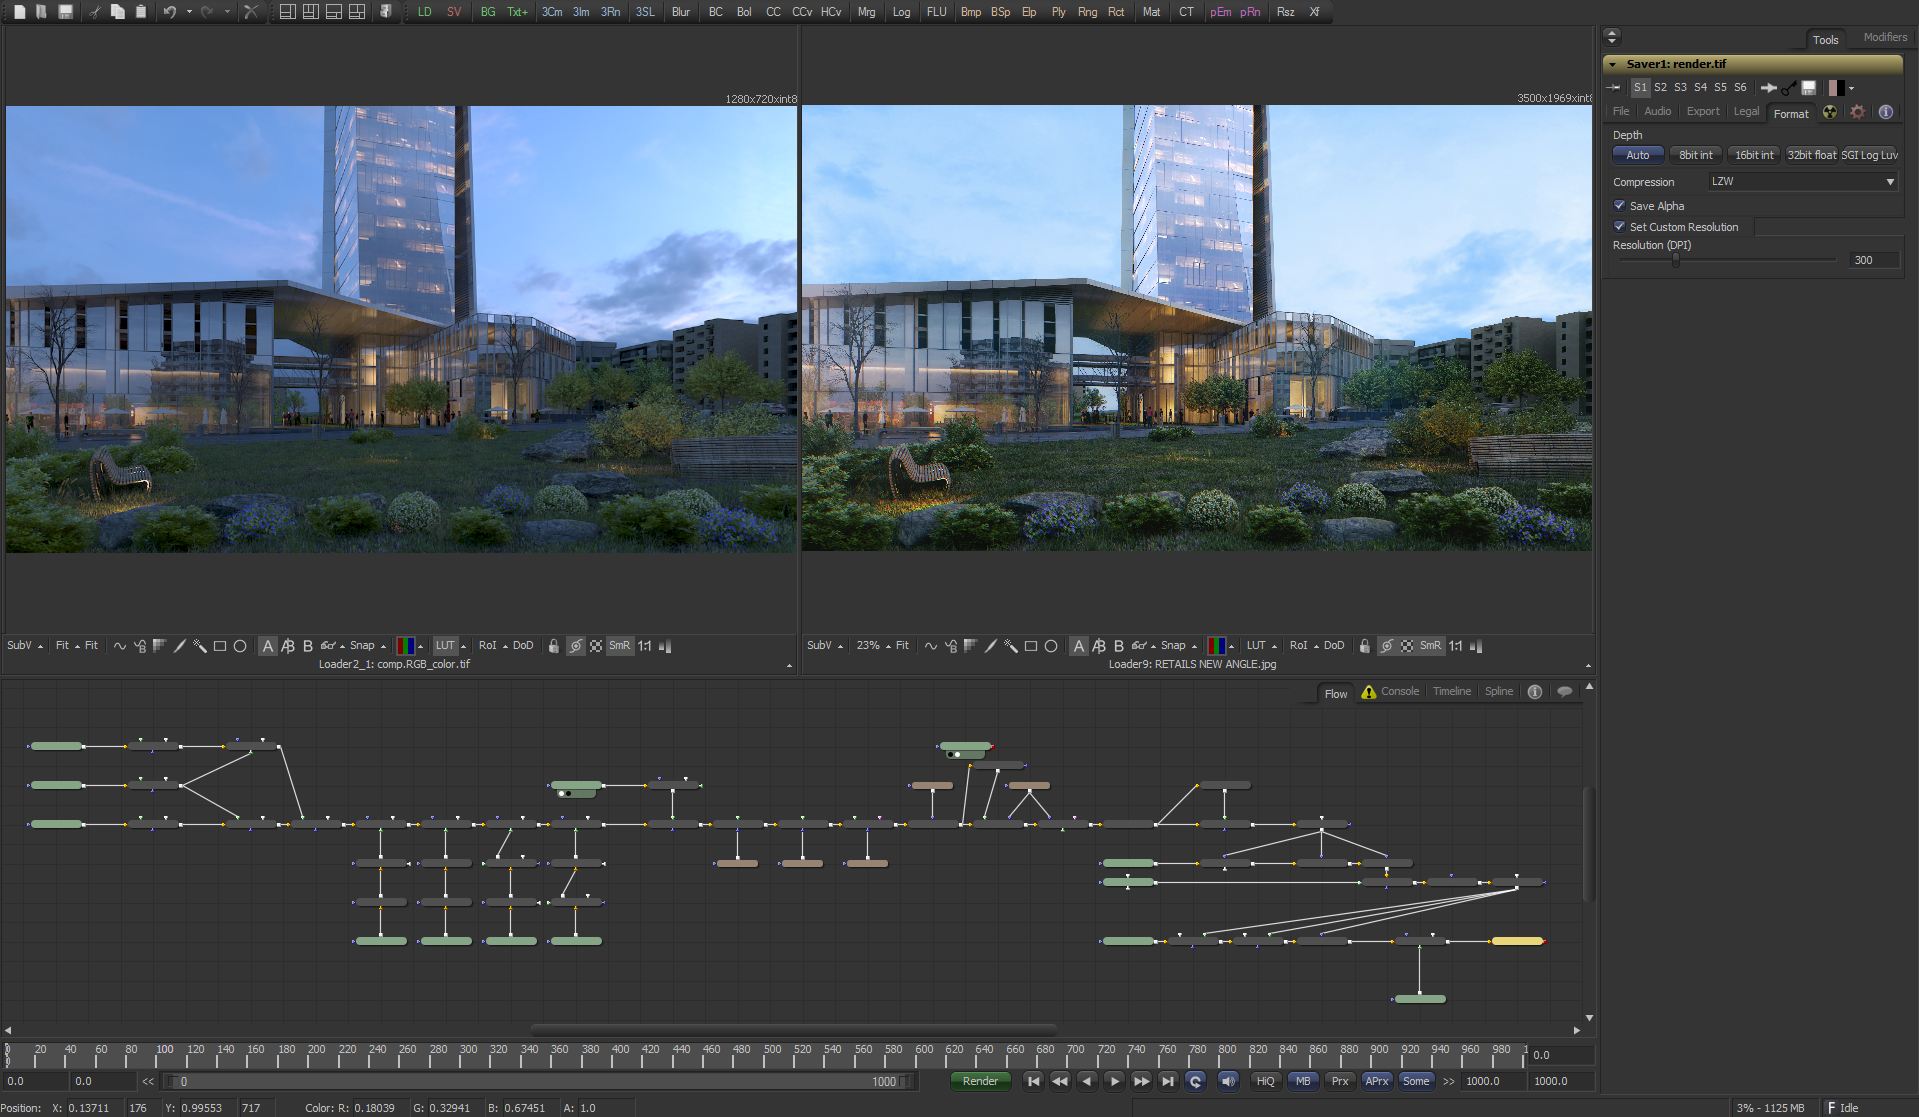
Here are the render setting used to render this project.

One pipeline has been used for all the renders, the render is divided into several render passes, Diffuse, raw gi ,gi , reflection , refraction , specular, background , Zdepth, light select. Composition done in fusion and I have added some post effects such as, chromatic aberration,glow, bloom, haze, depth of field.


Thank you all for your support , and again once VW for the opportunity. Cheers,
Wassim Alam / Alfred Boudagher.