Hi everyone! I ‘m Thomas Deffet, an interior designer and 3D artist from Belgium. I ‘ve created this noncommercial project in my free time to learn new things and improve my skills.
I would like to tell a huge thanks to VWArctlub for giving me the opportunity to introduce myself to all of you and write this making of. The project has different camera angles and I chose to walk you through the steps of the main view.
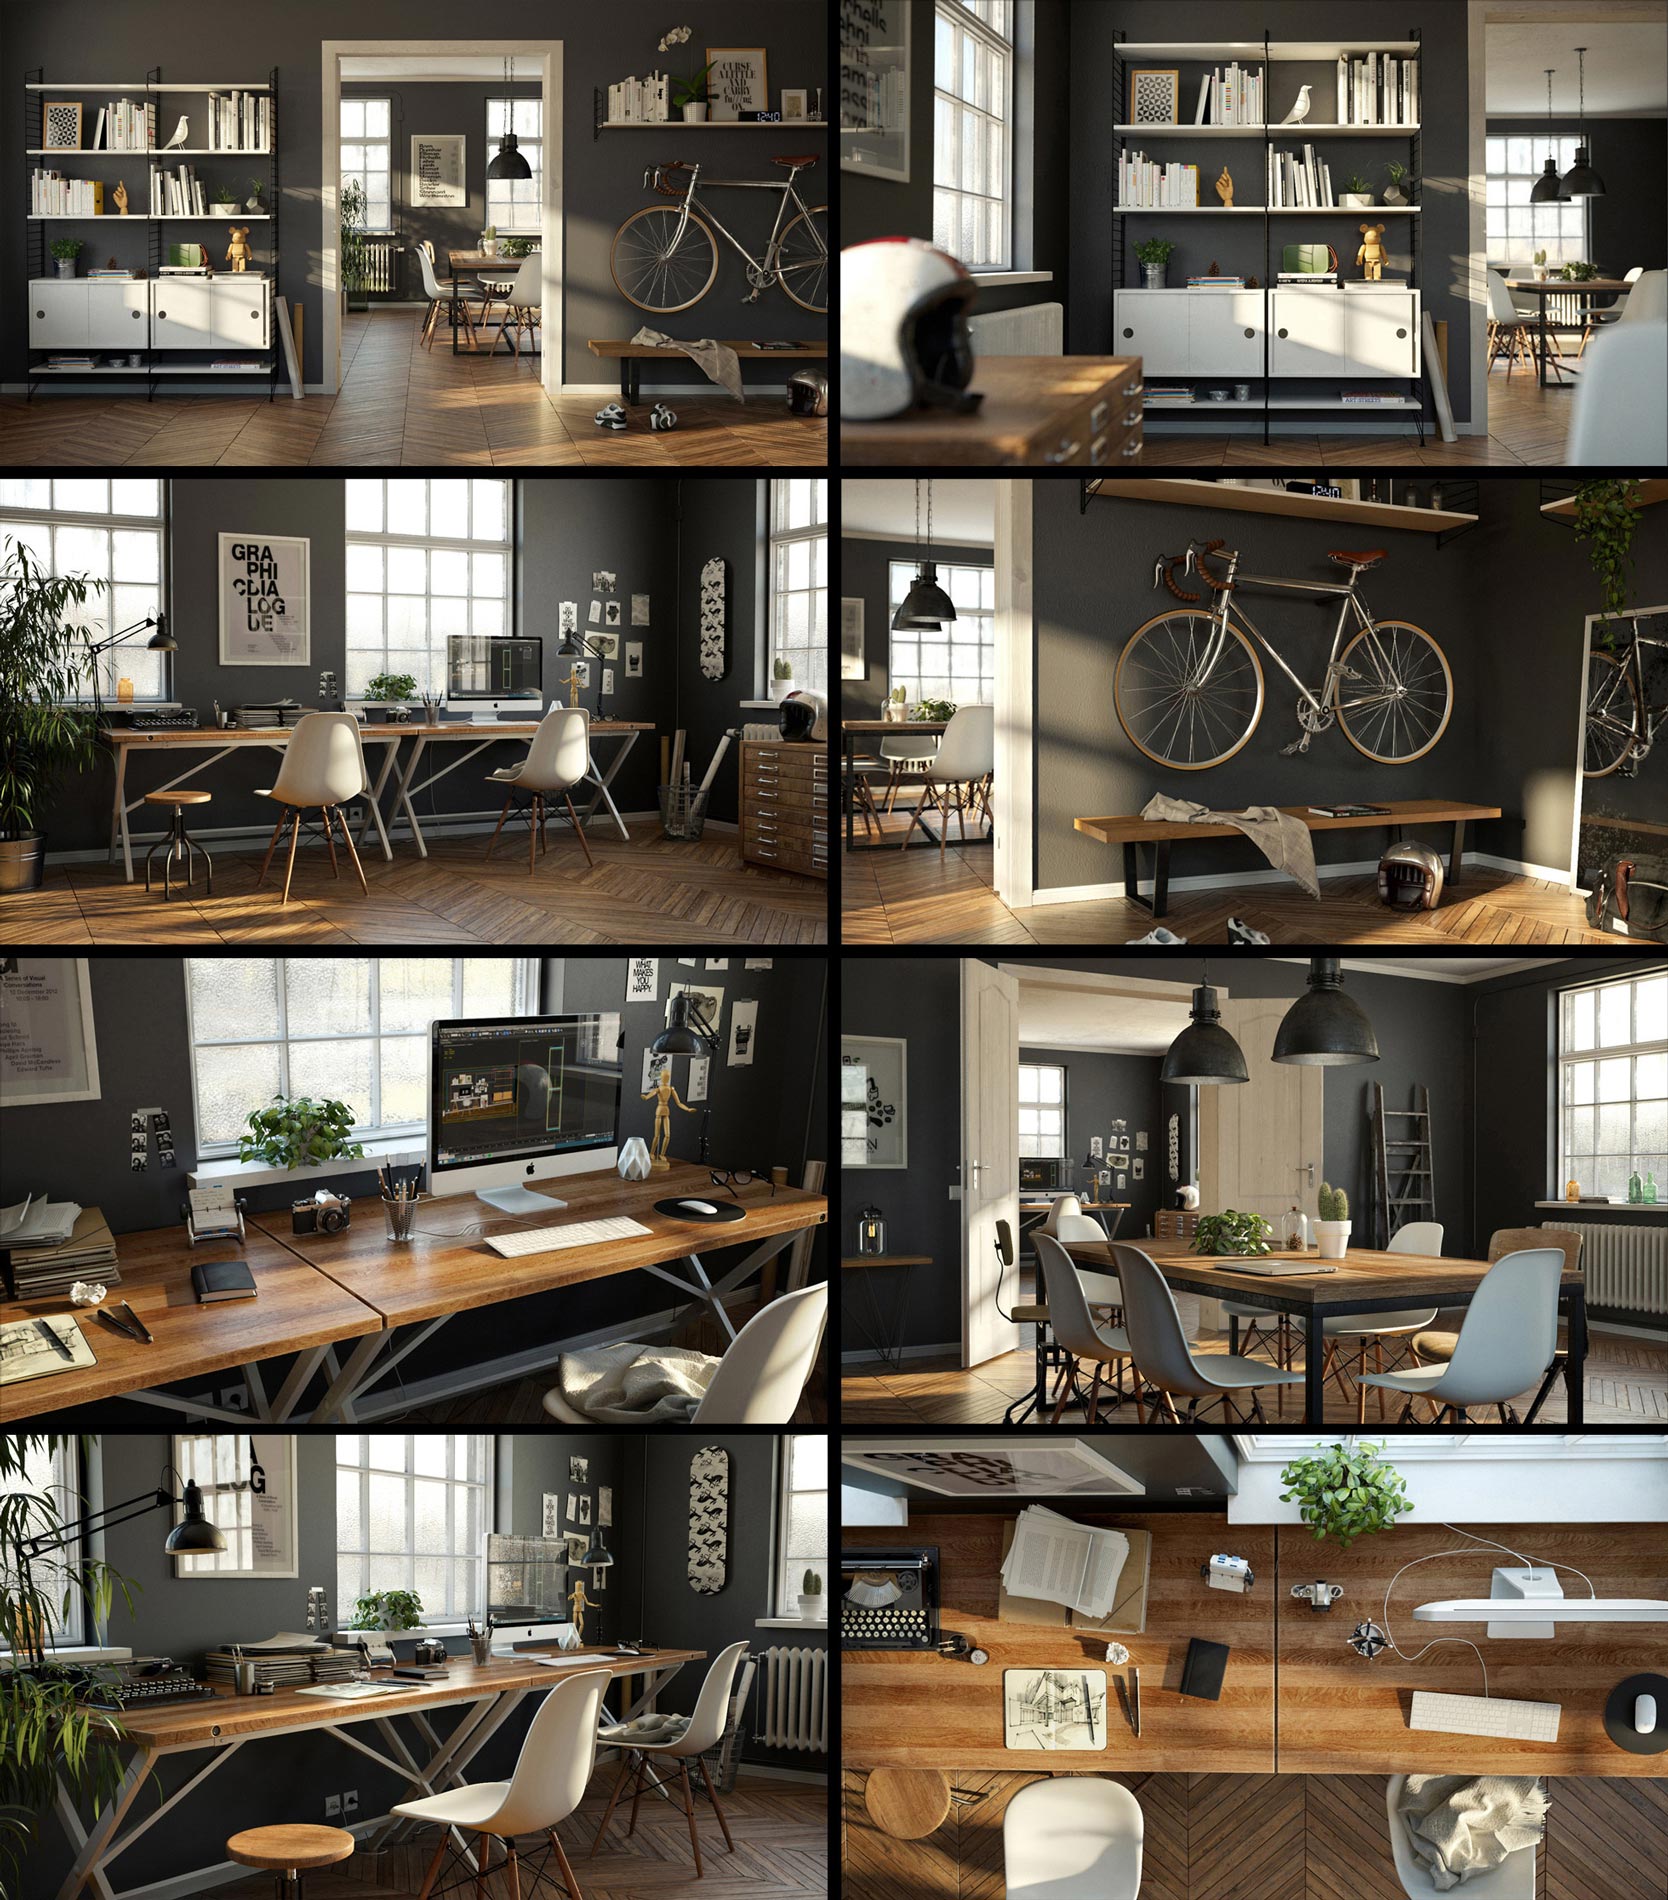
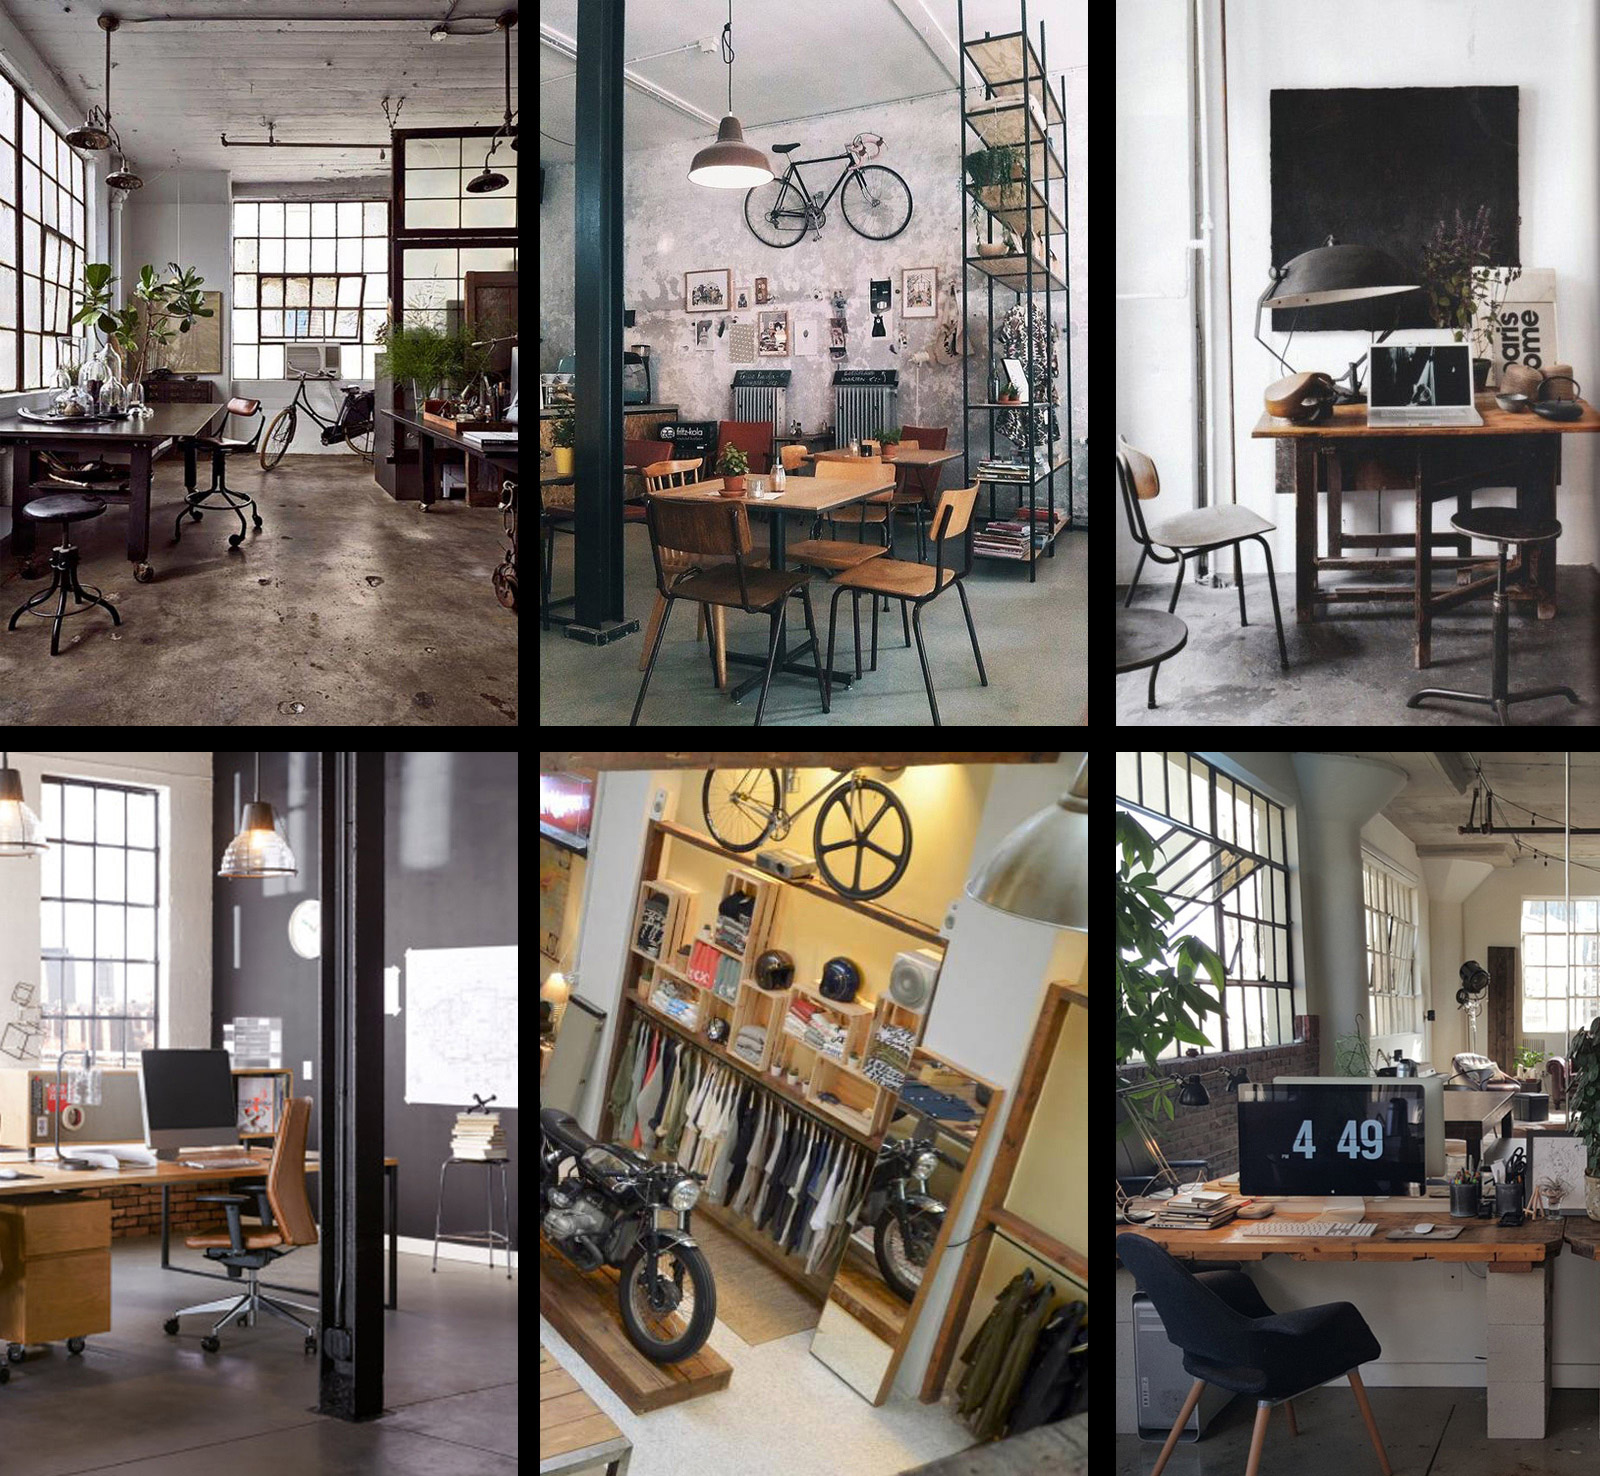
In this project, I focused on the industrial style and I had a look around the web just to find my source of inspiration I searched for lofts, offices and work spaces in which we can find objects such as tools, helmet, bicycle, etc… in order to have a better idea of what I wanted to do.
Like well explained in the part of « *Learning – Preparing the final image » , I tried to have a linear styles arrangement in my projects. So I tried to create a main dominance color. In this case, I chose the green, the grey and the brown colors. To achieve it, I used different kind of materials like leather, wood, plant and different green objects.
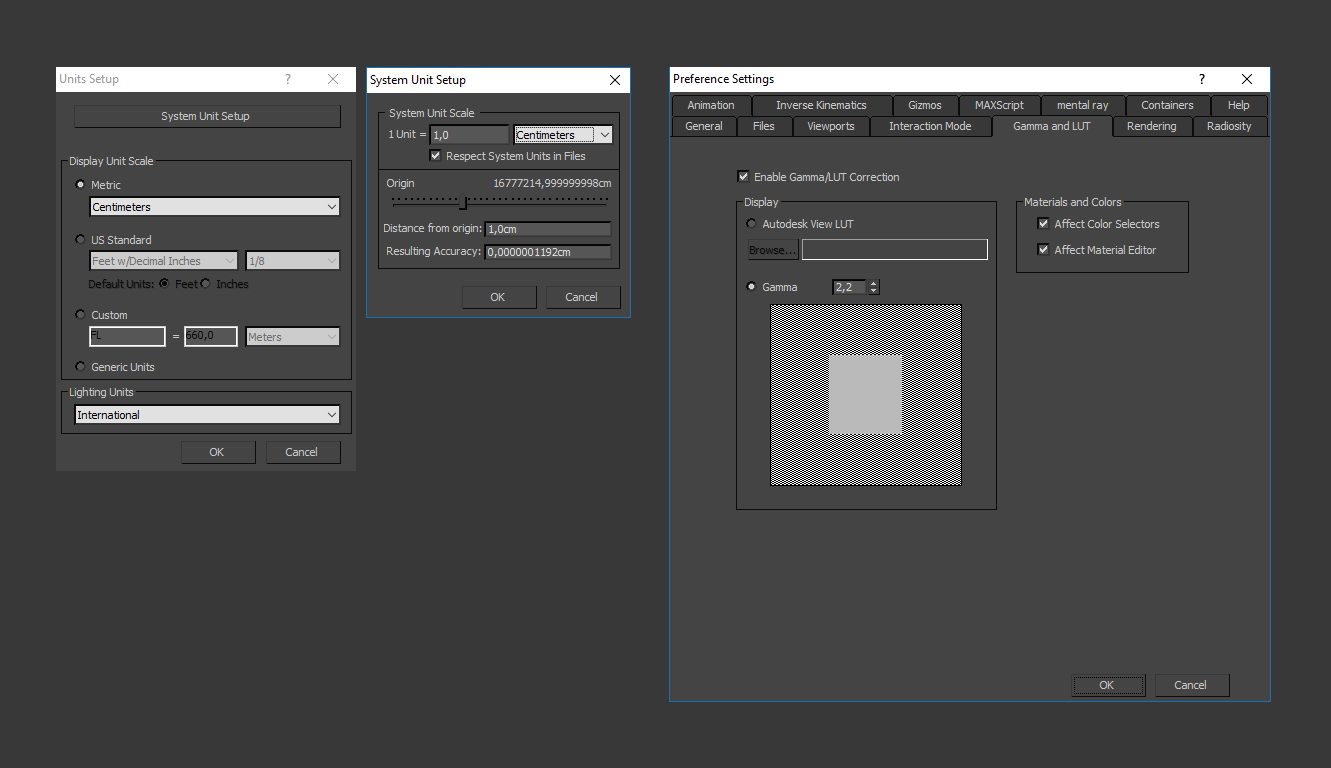
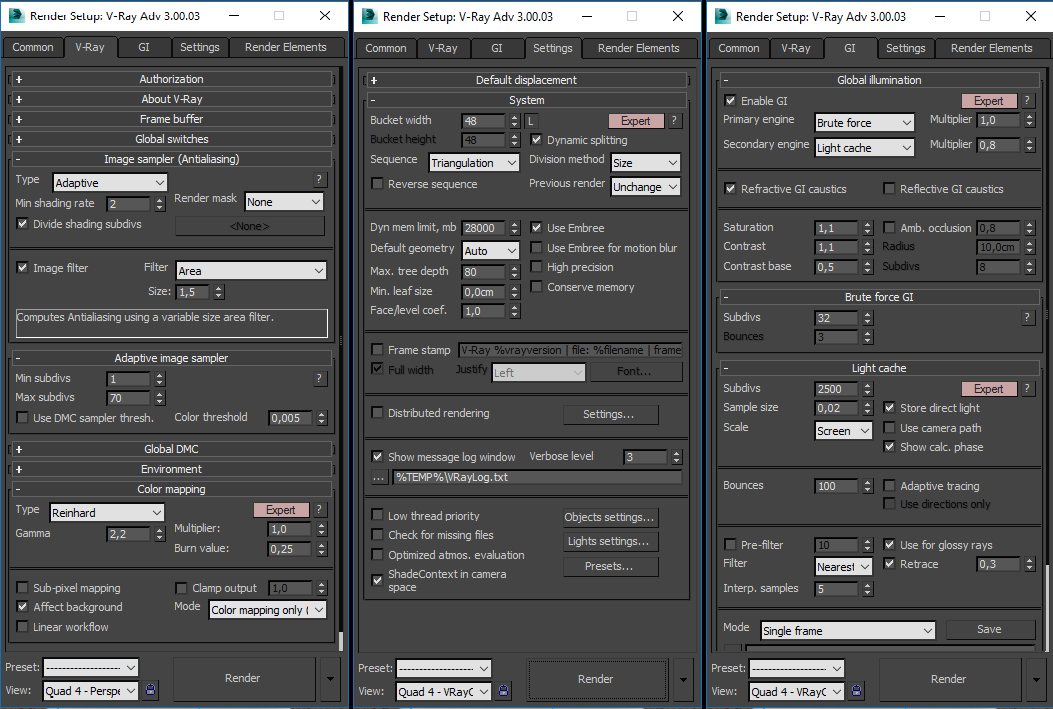
Here is the general setup I’ve used with the linear workflow and the gamma 2.2
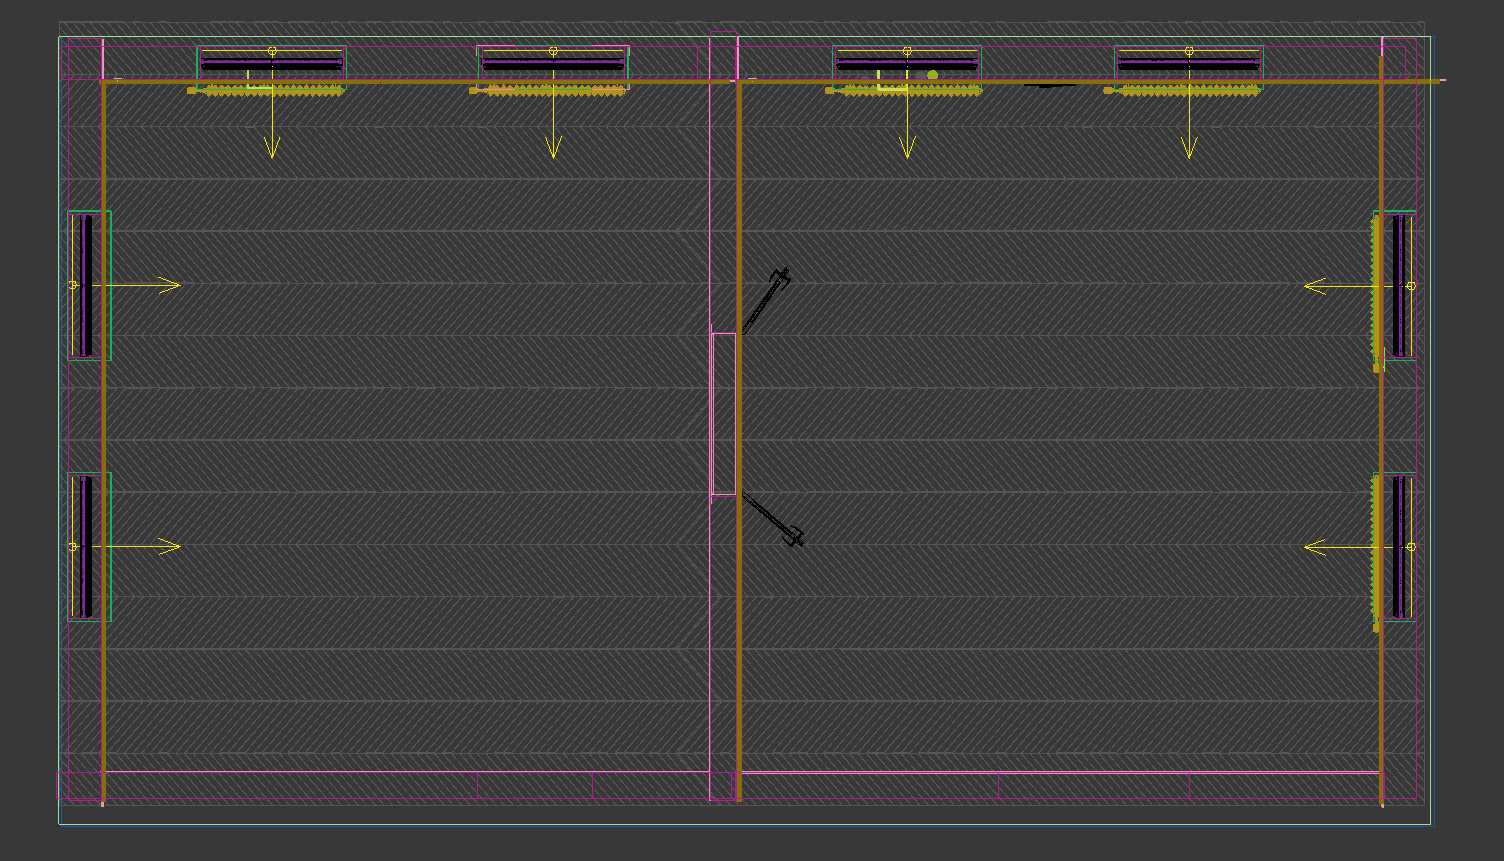
I started by adding the basic volumes defining the components: floor, walls, openings and windows. This is also the moment where I usually test the V-ray Physical Camera and the V-Ray lights settings.
I am always trying to create something interesting but like everybody, I often use some 3d models from premade libraries. This is a "bad" reason for the similarity between several visualizations which we see on the forums. In order to create something different, I took time to modify, add details and even create some of them from scratch, just to add my personal touch.
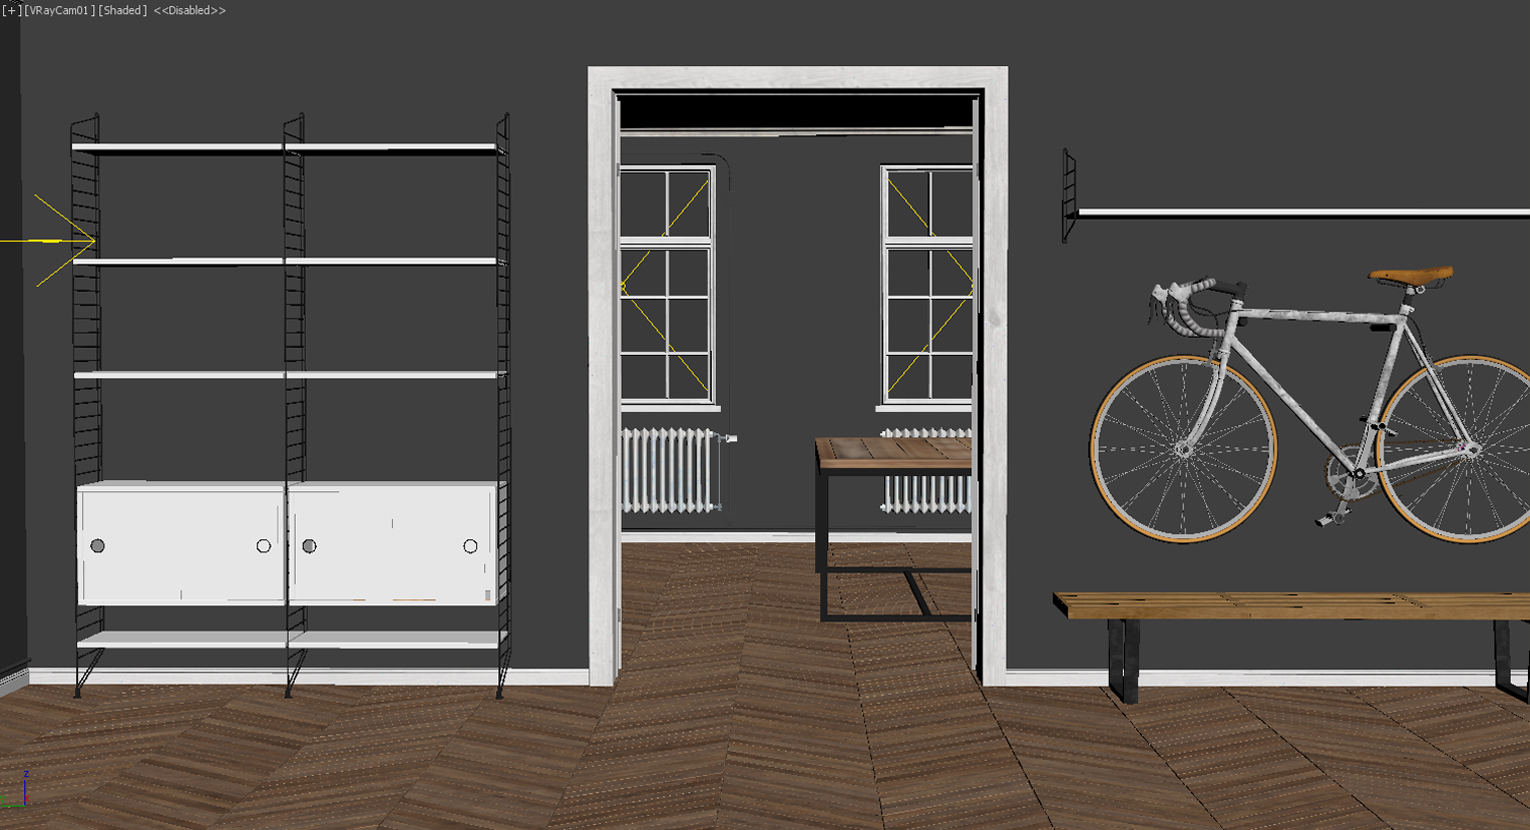
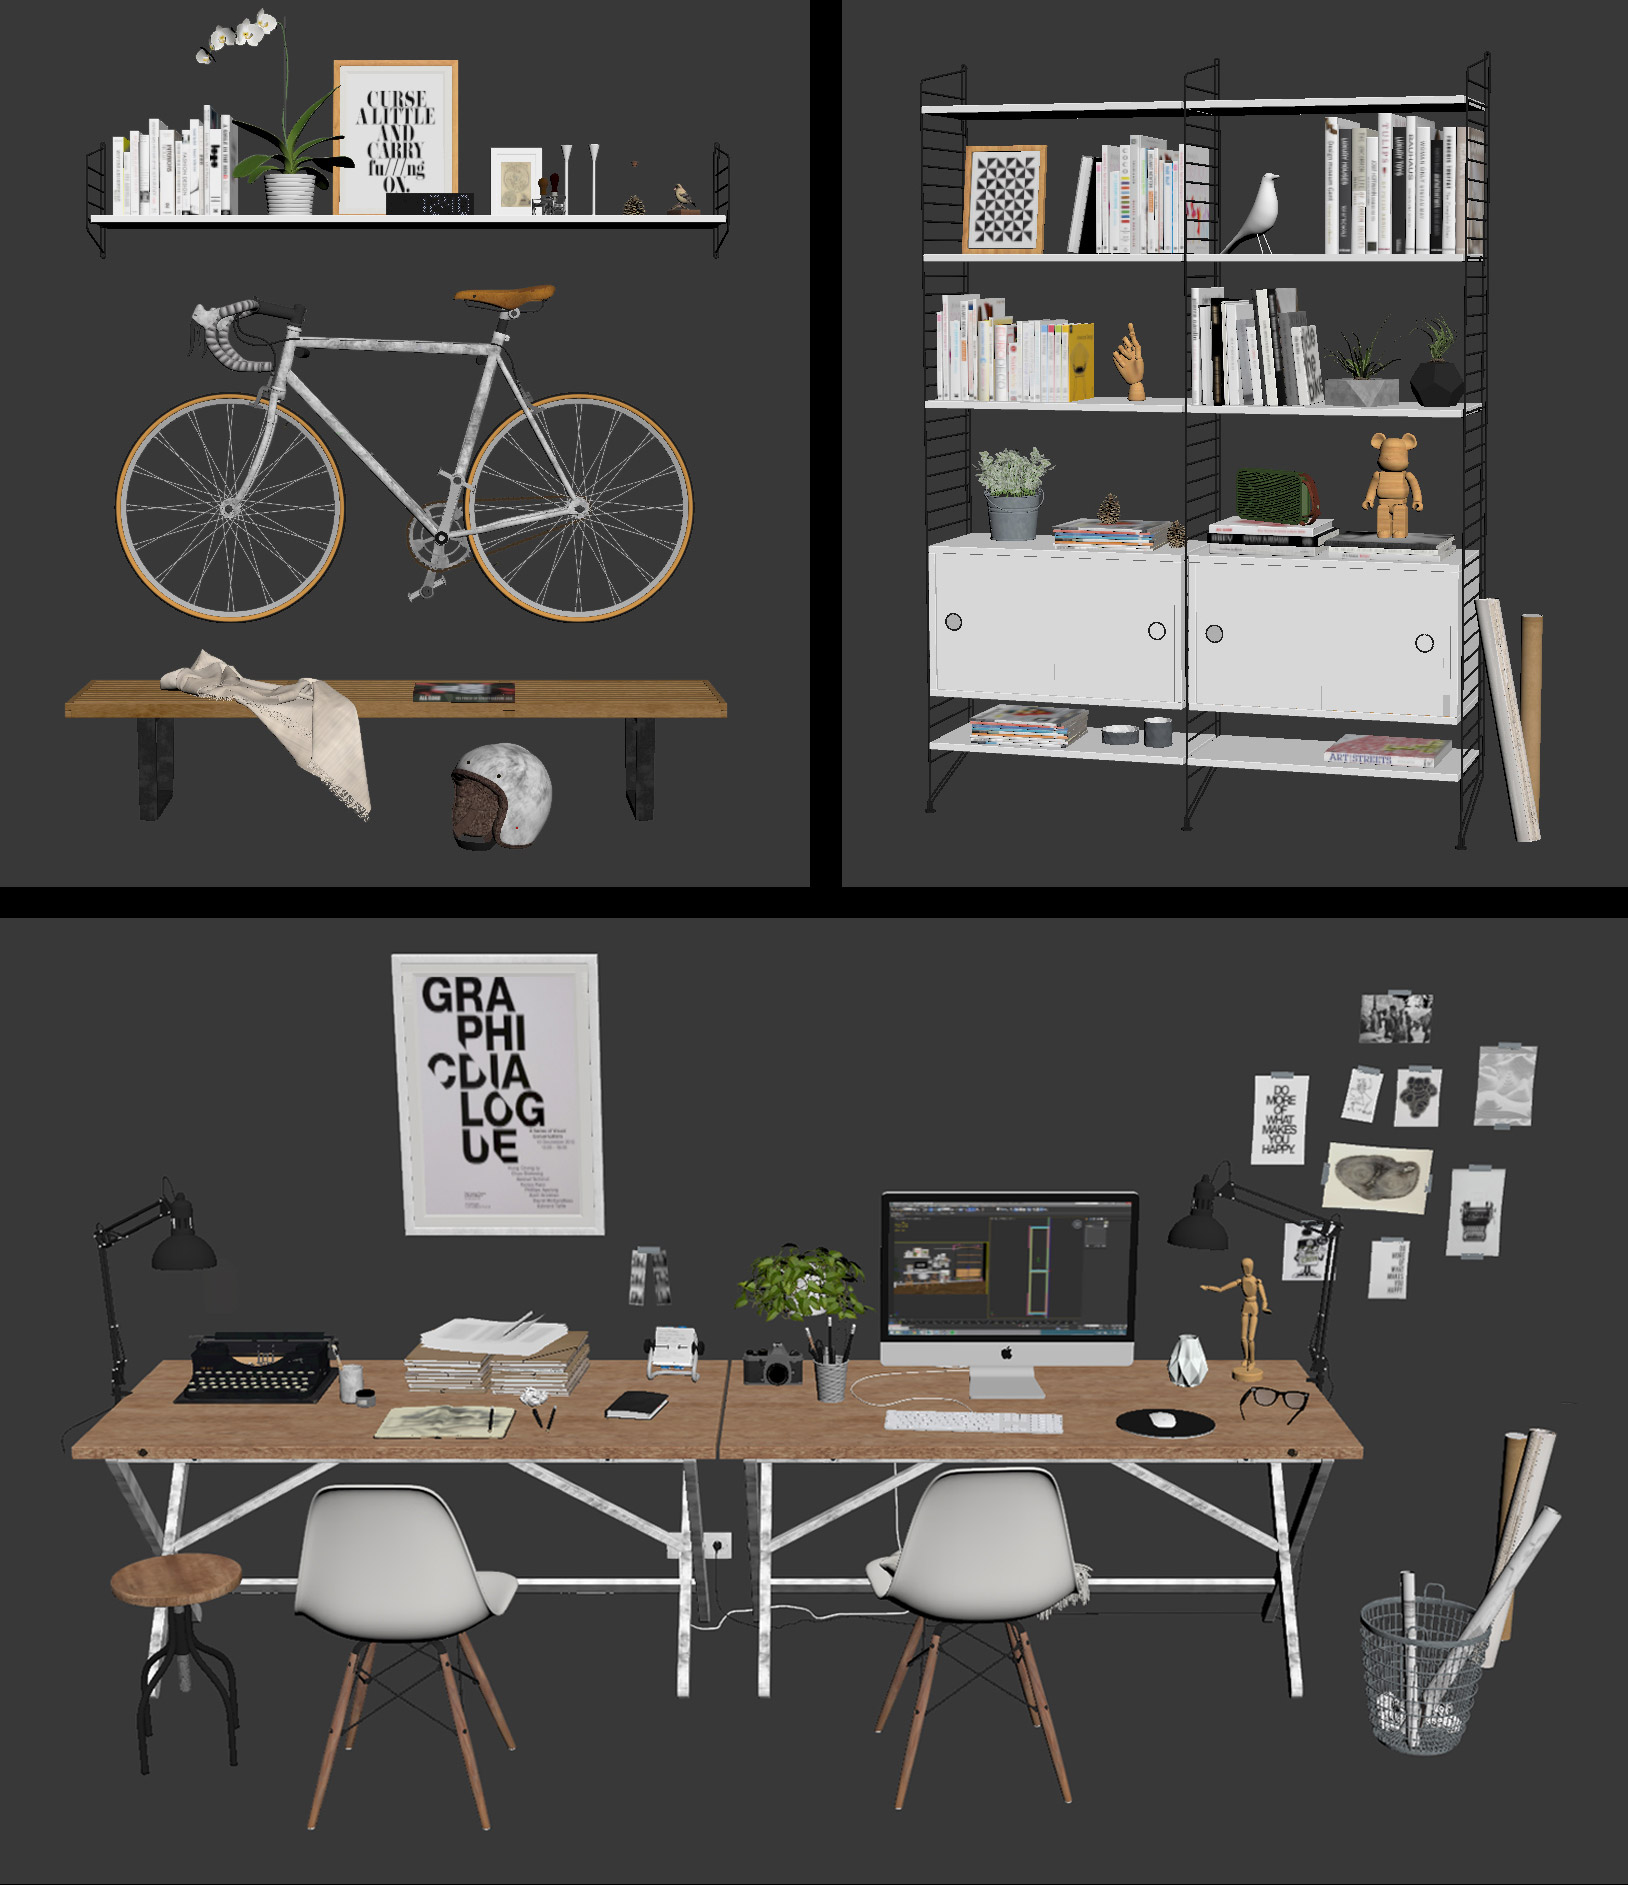
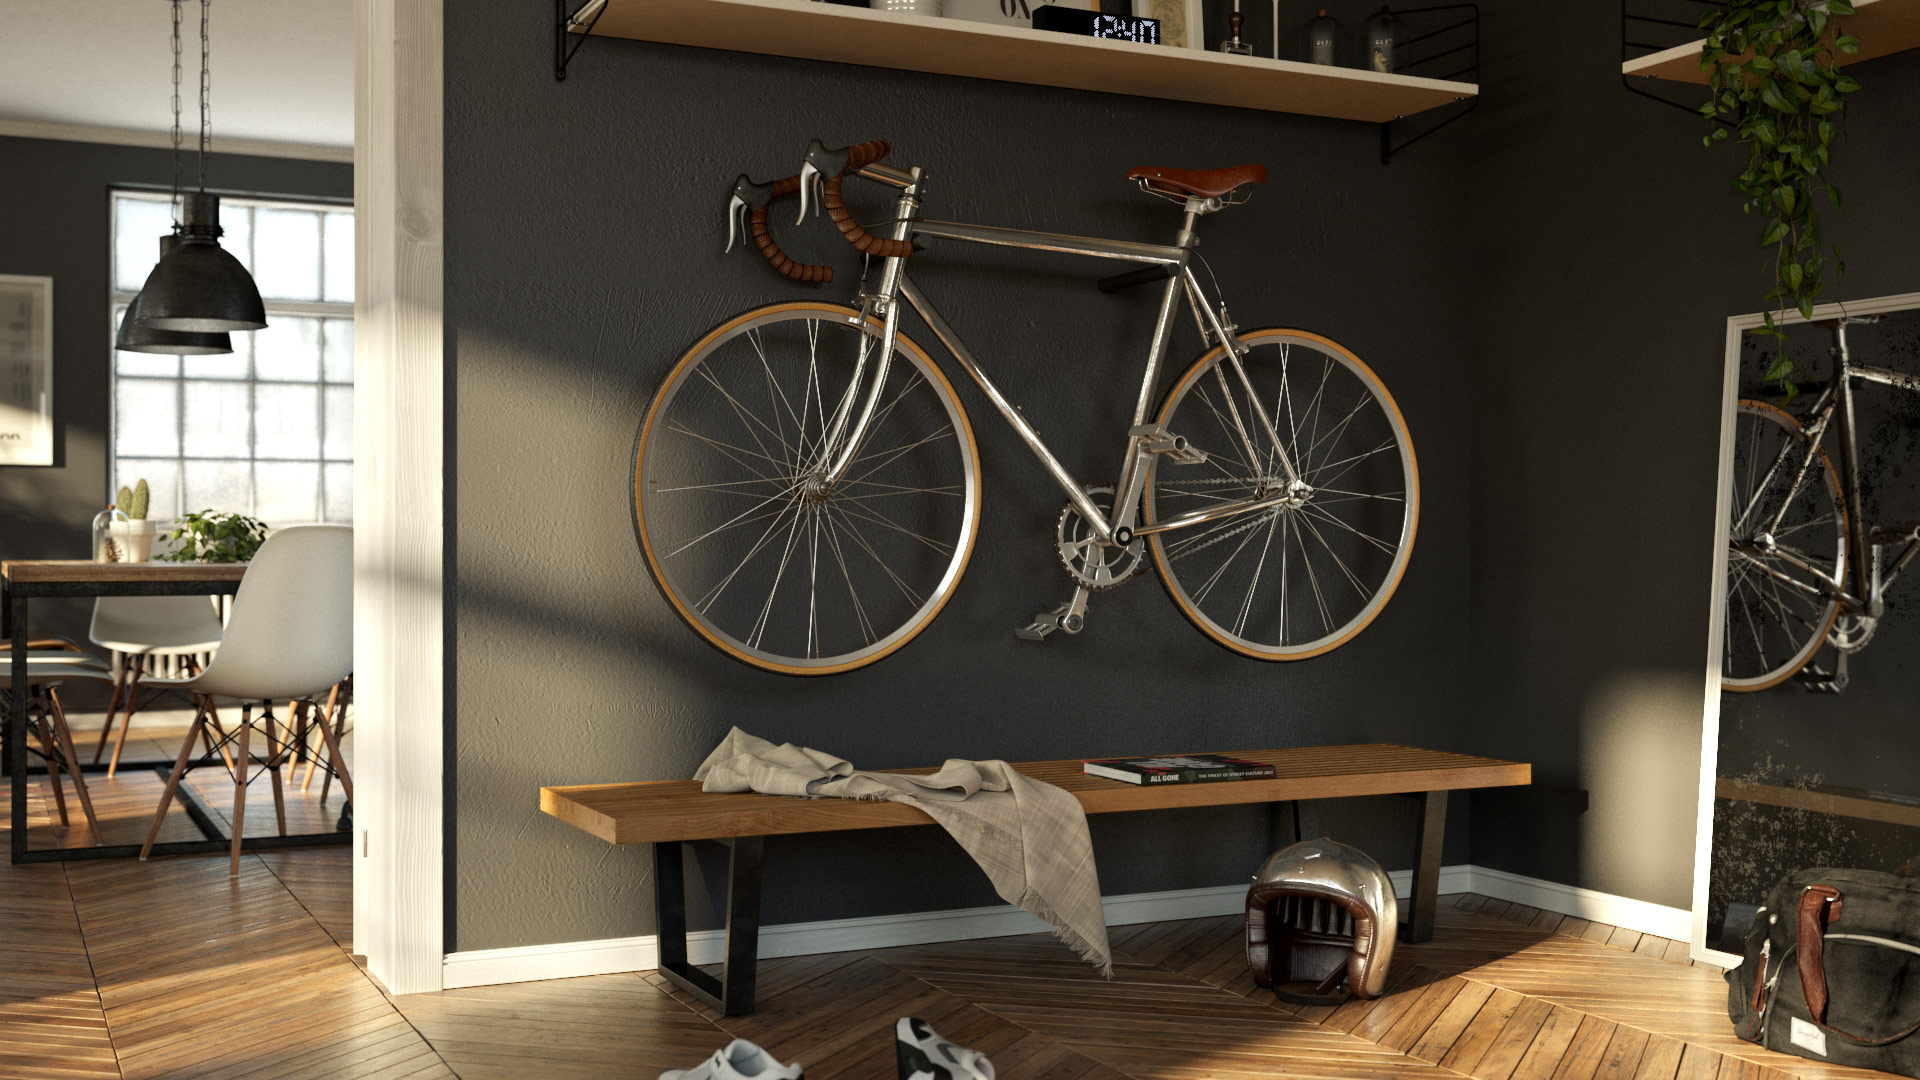
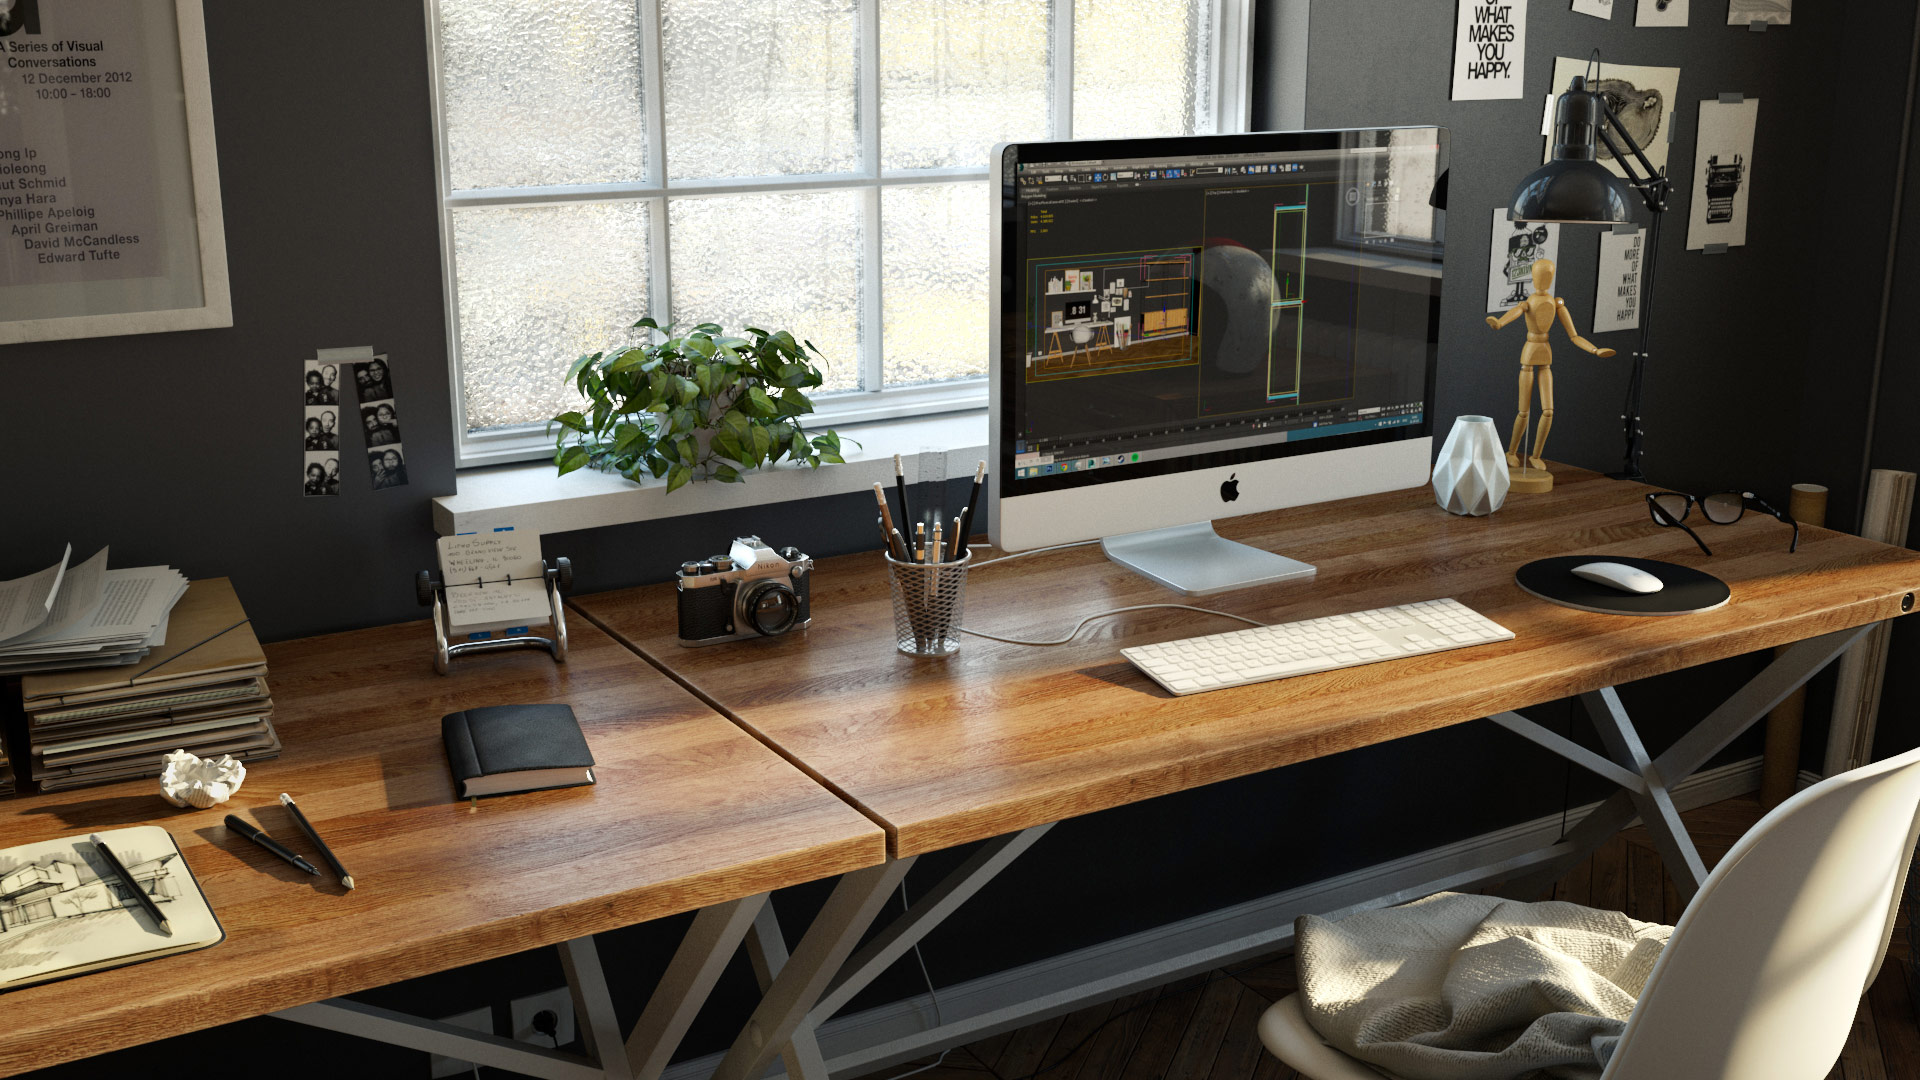
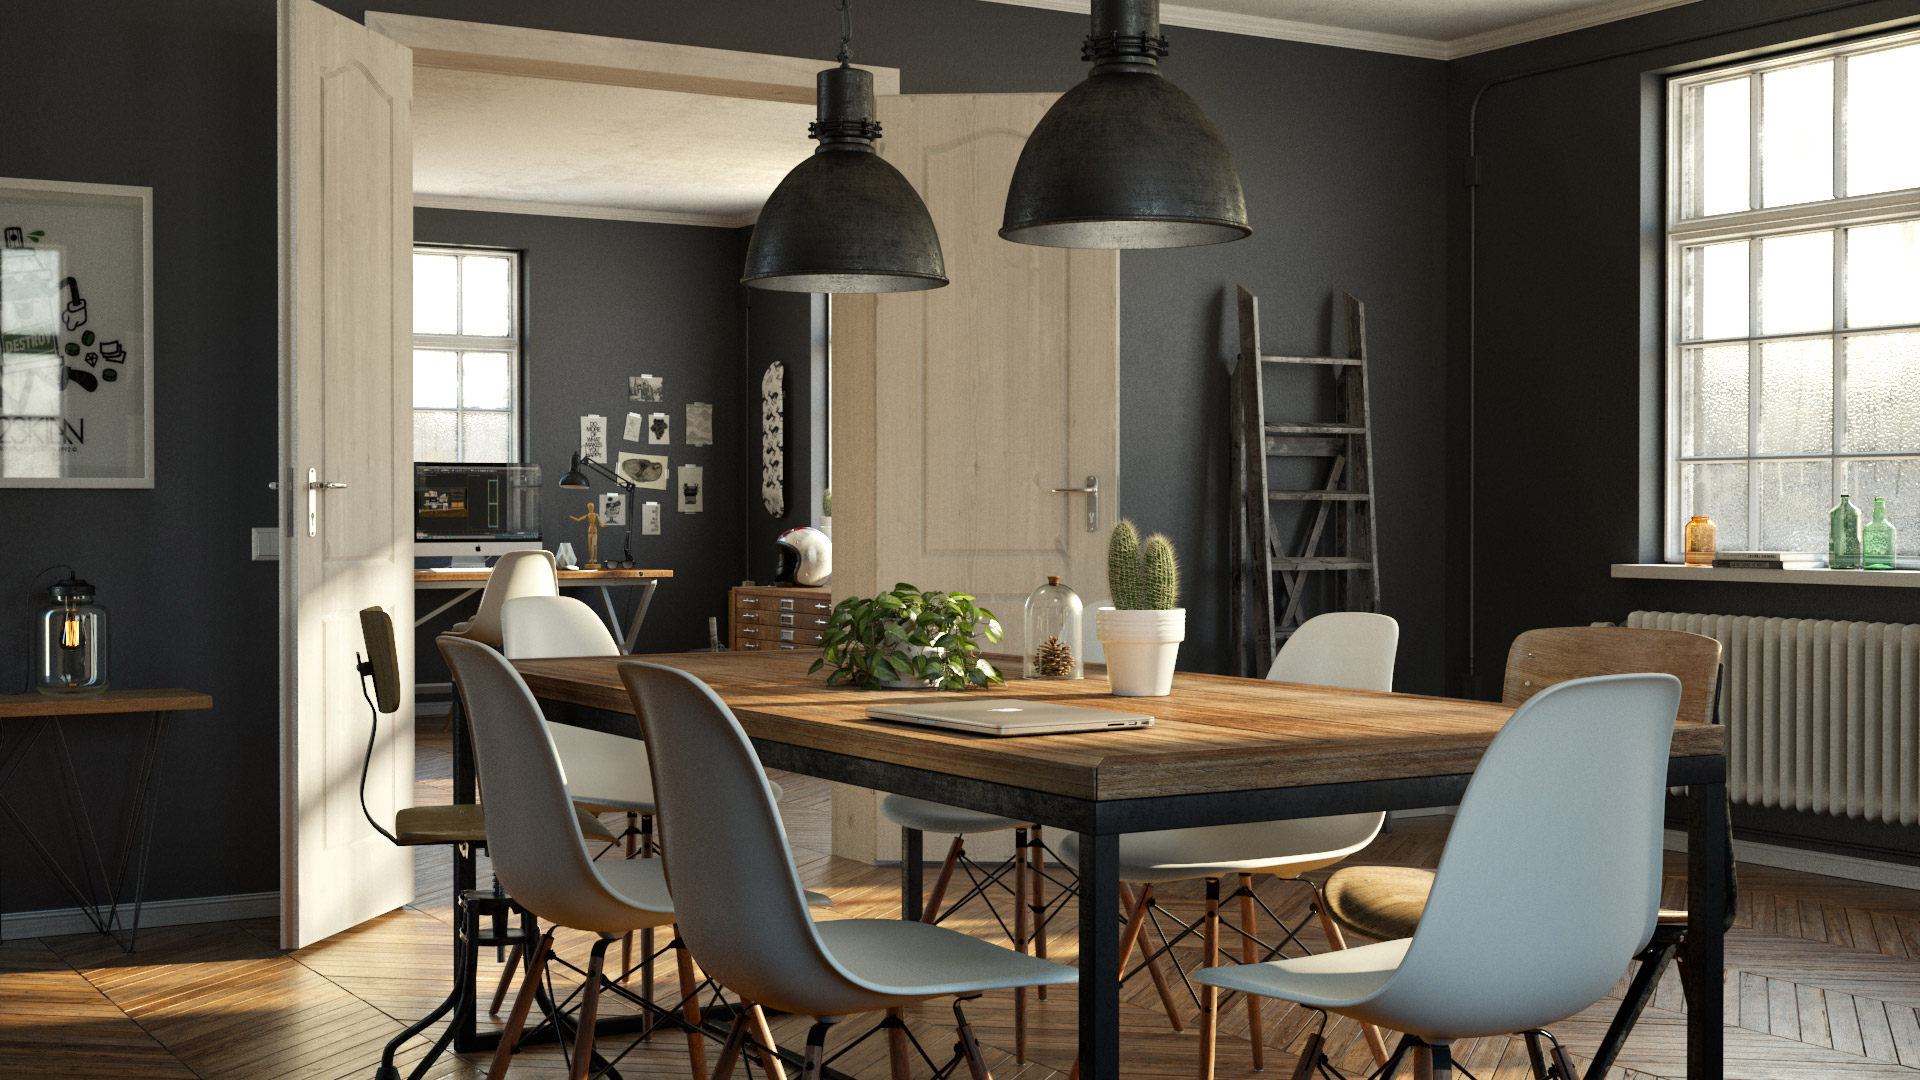
From the beginning to the end, I made a lot of tests and arrangements with the furniture (shell, bench, table and bicycle) and its placement. Once the furniture was placed correctly, I spent time to add details and to create a realistic workspace.
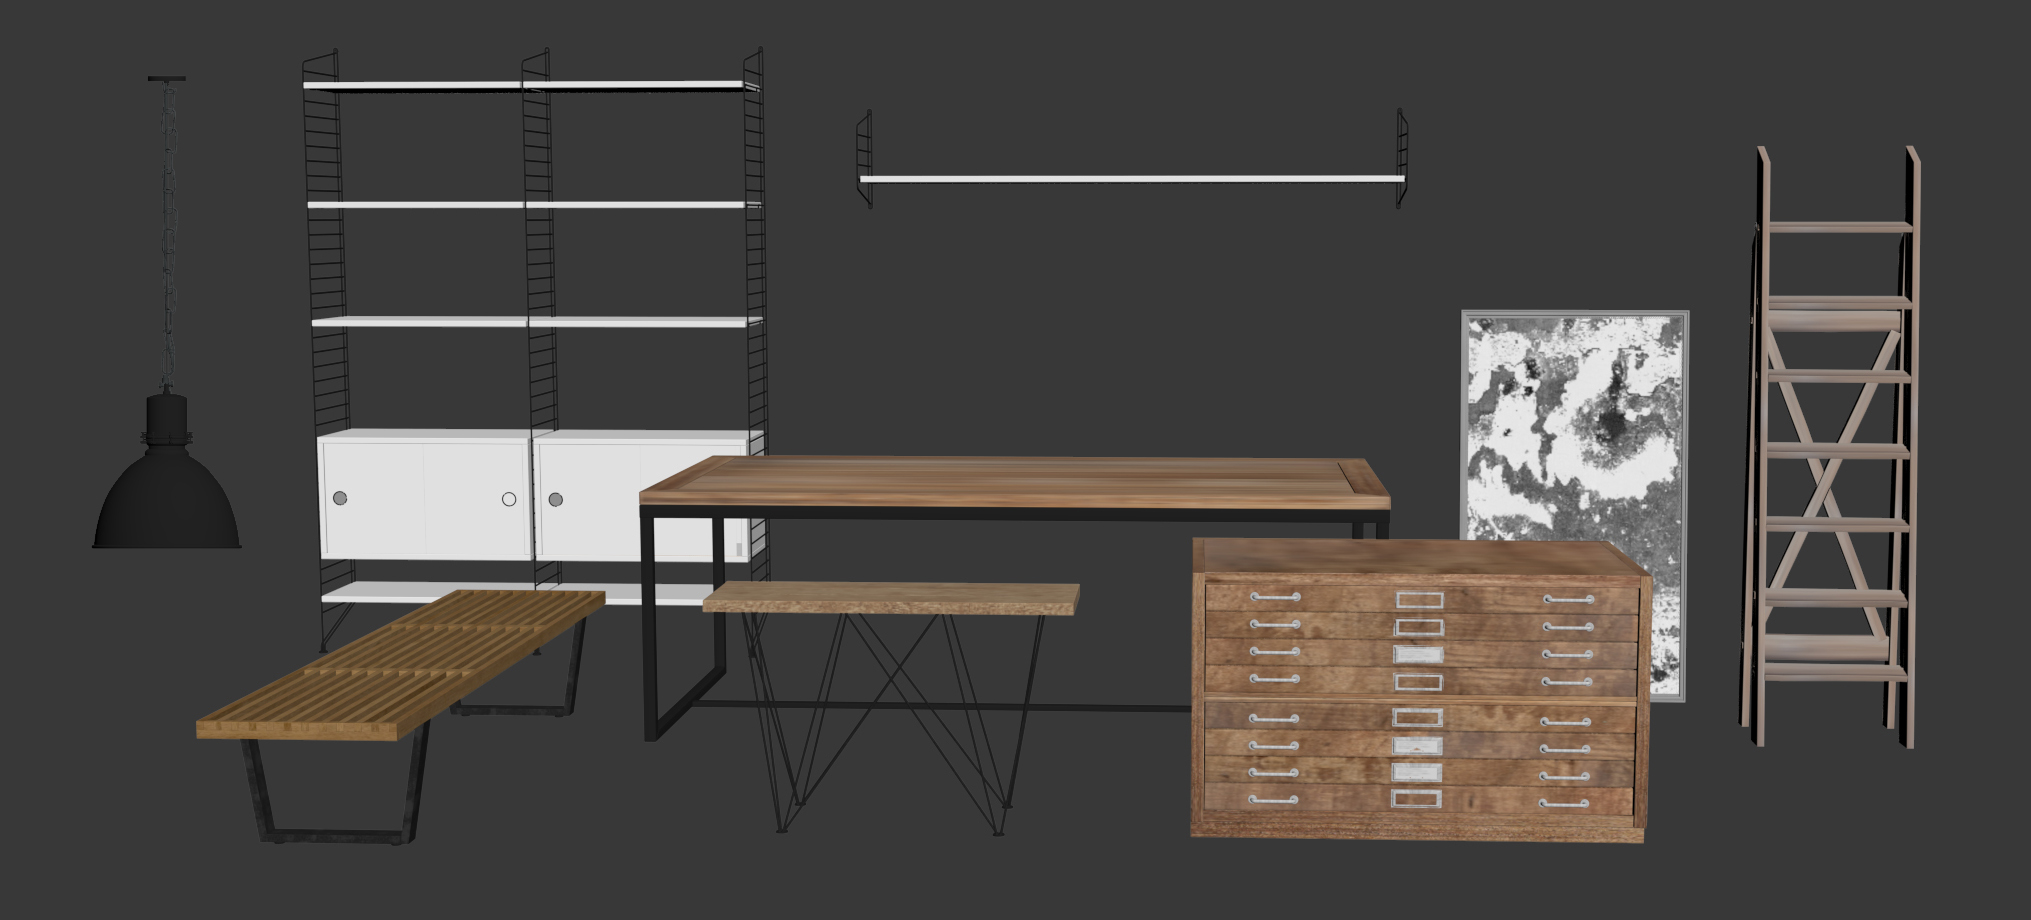
Most of the models that I used are coming from Evermotion, model+model and 3D sky.
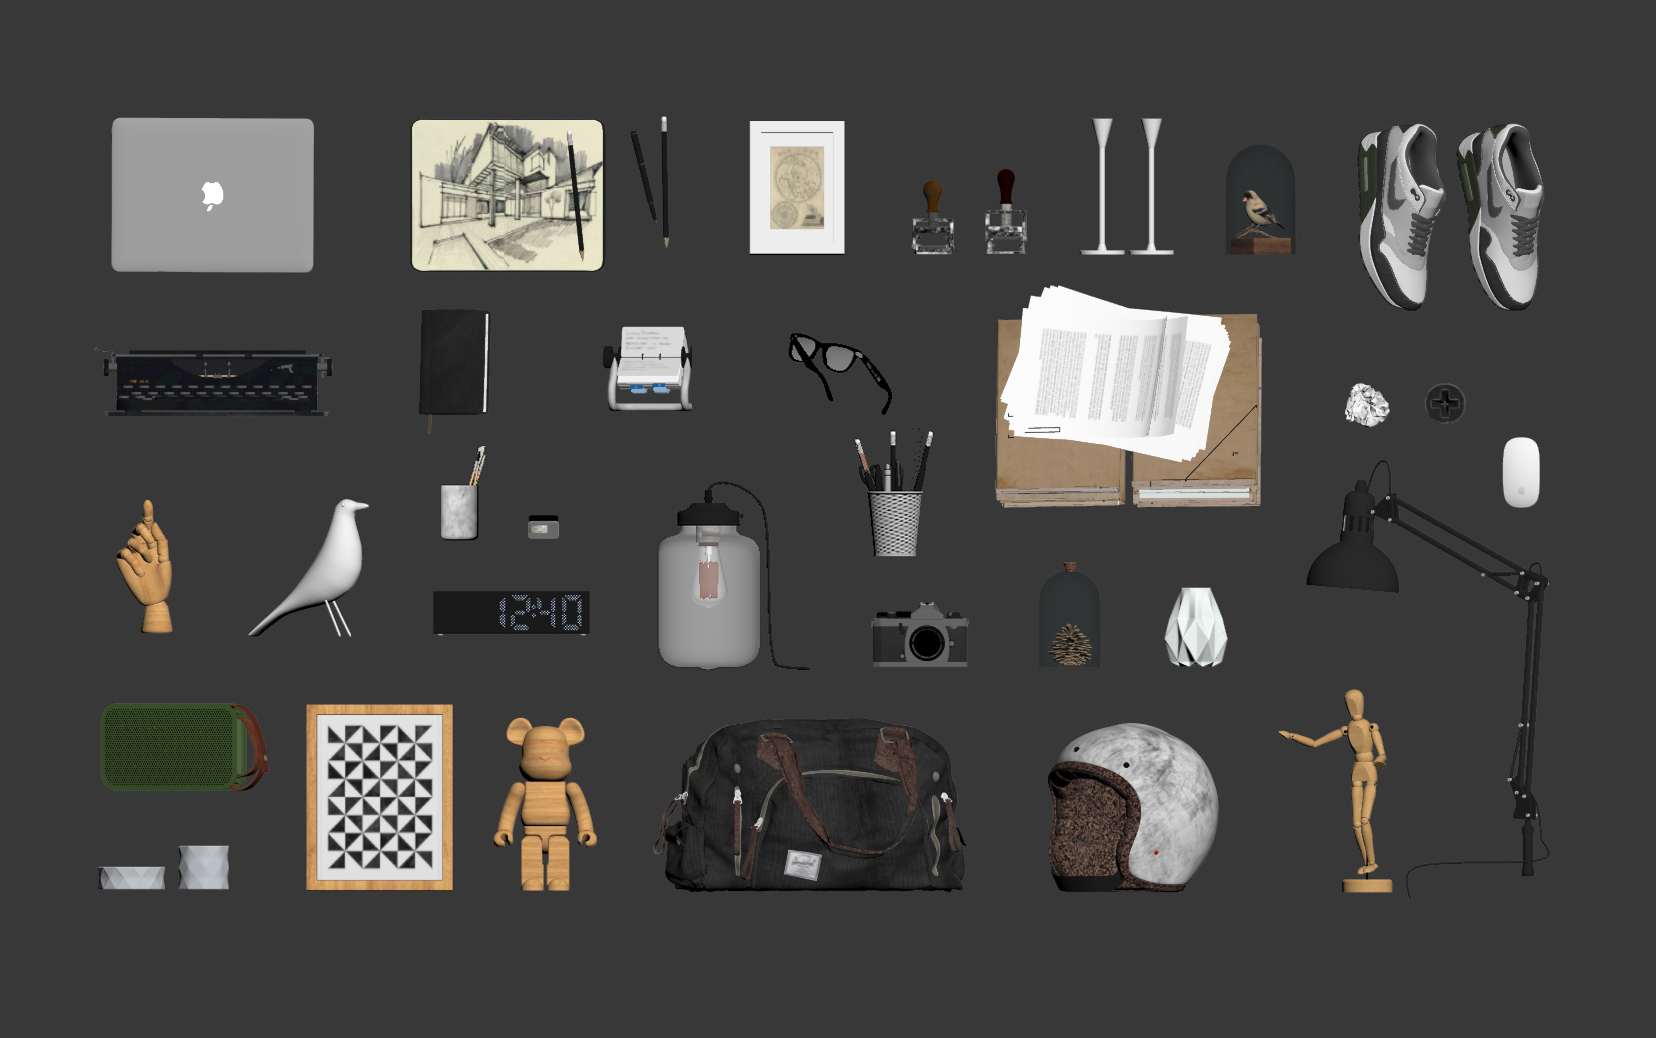
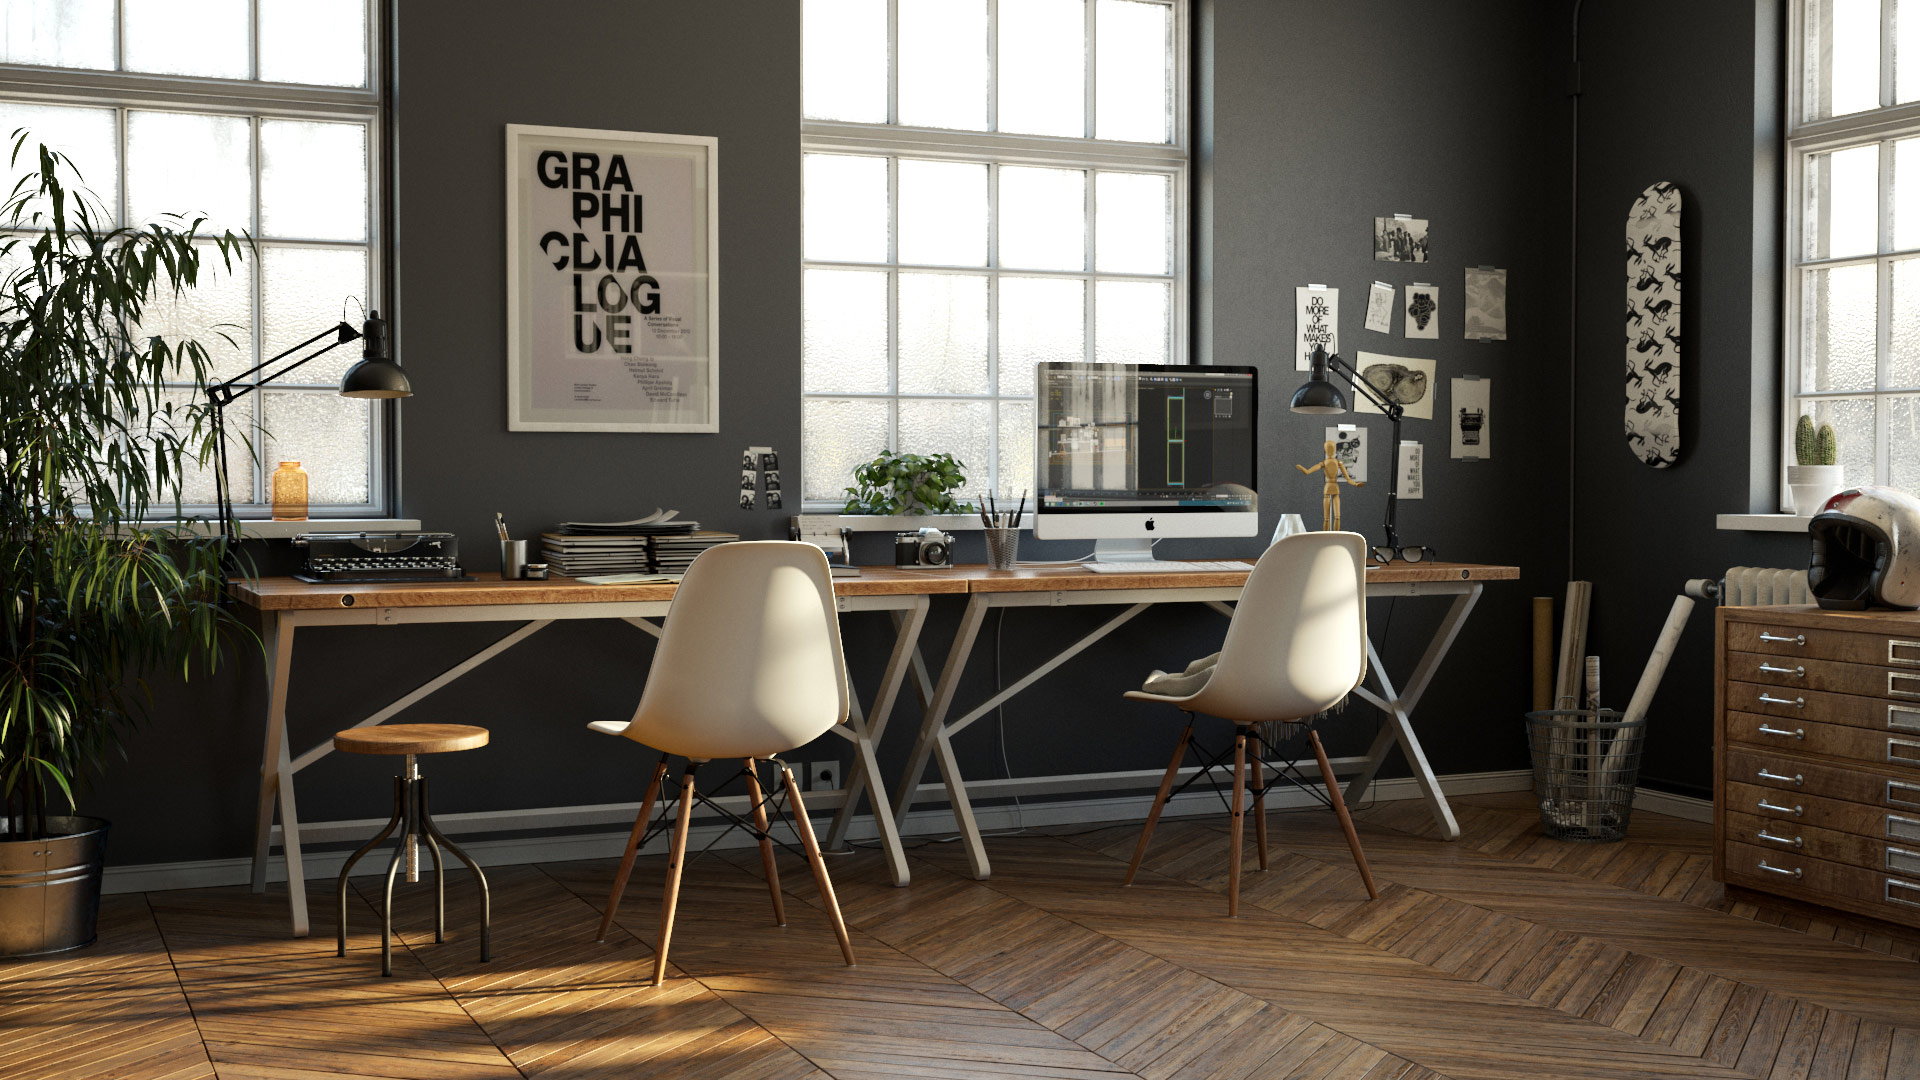
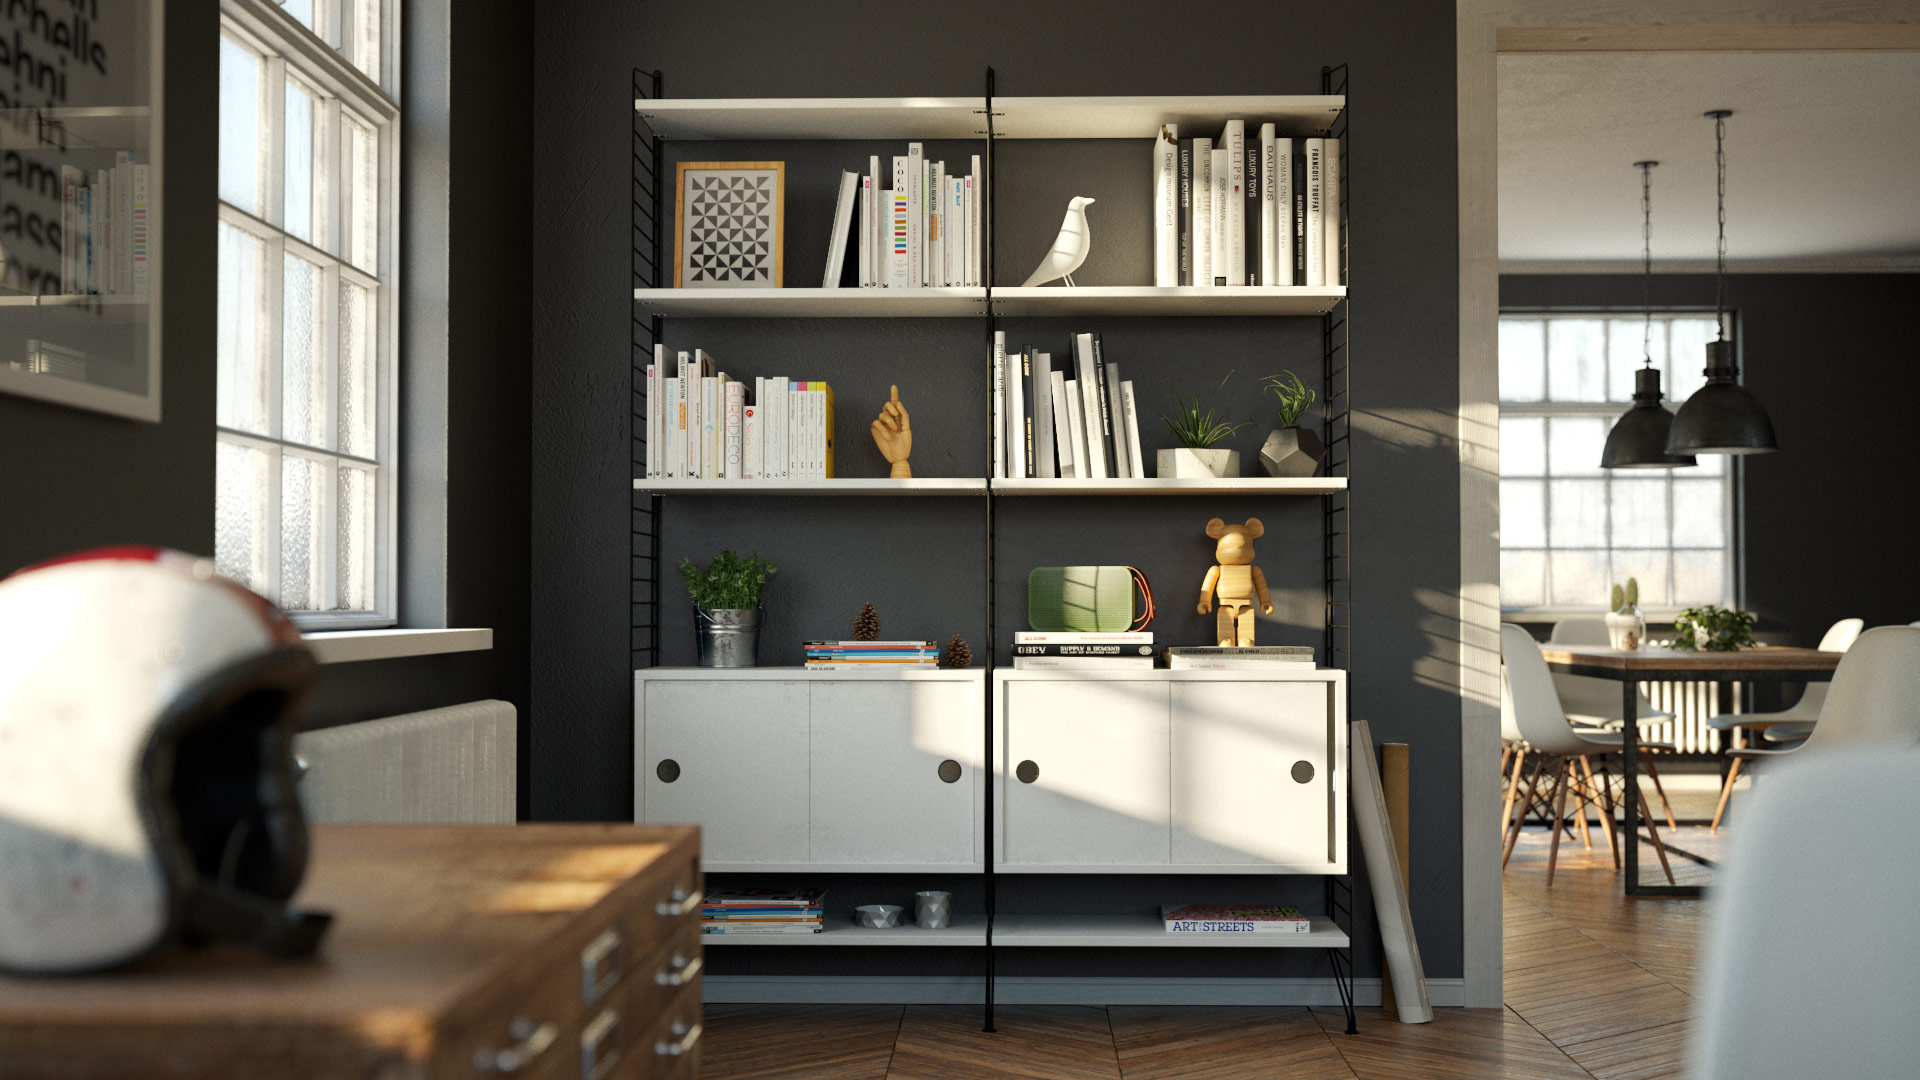
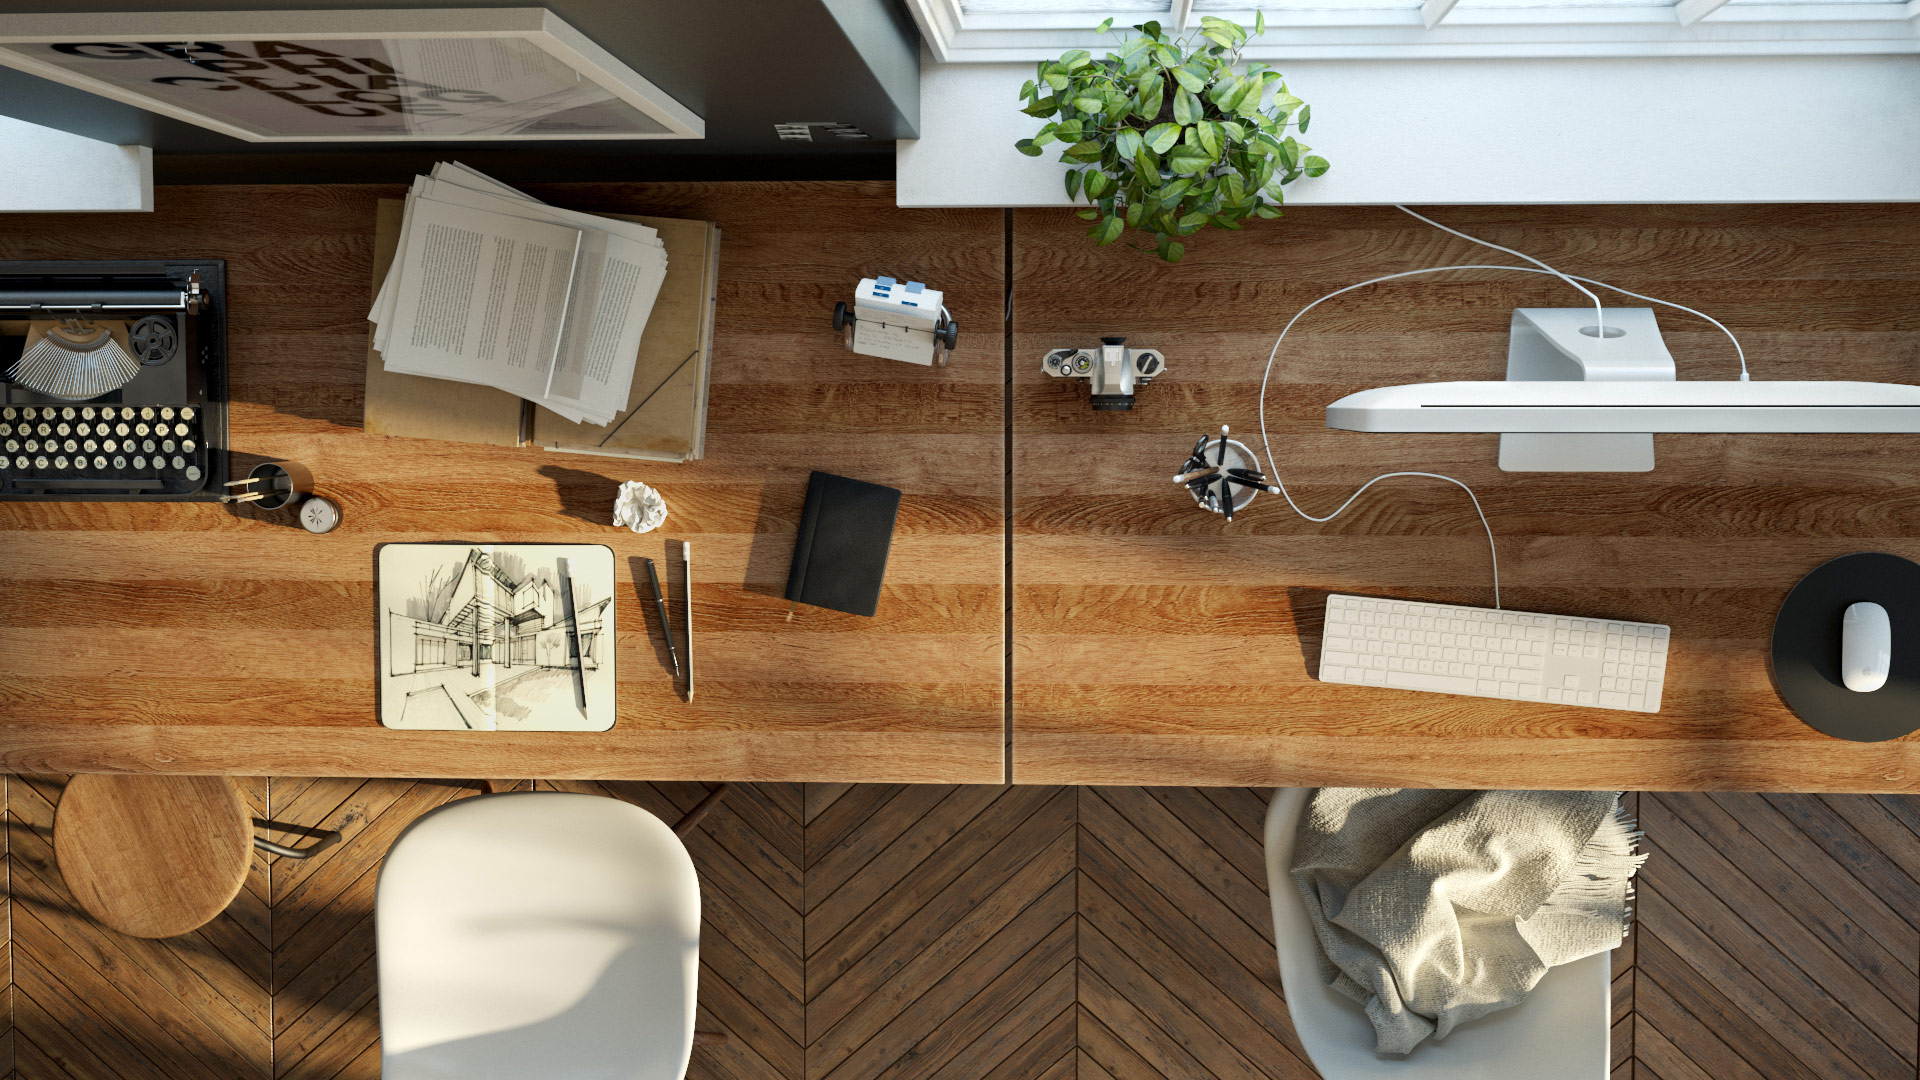
I made a mix of “vintage” objects (camera, stamp, typewriter, helmet, bin) and modern one (Mac-book pro, Nike Air-max, skateboard) in order to create an industrial and modern atmosphere in the same time. I’m strongly influenced by the street culture and I usually include in my scene some objects like prints, posters, toys or books that I really appreciate by their design or by the artists which are related to this culture. In order to givemore realism in the scene, I added some details as Photo booth pictures, blanket, messy shoes or crumpled paper.
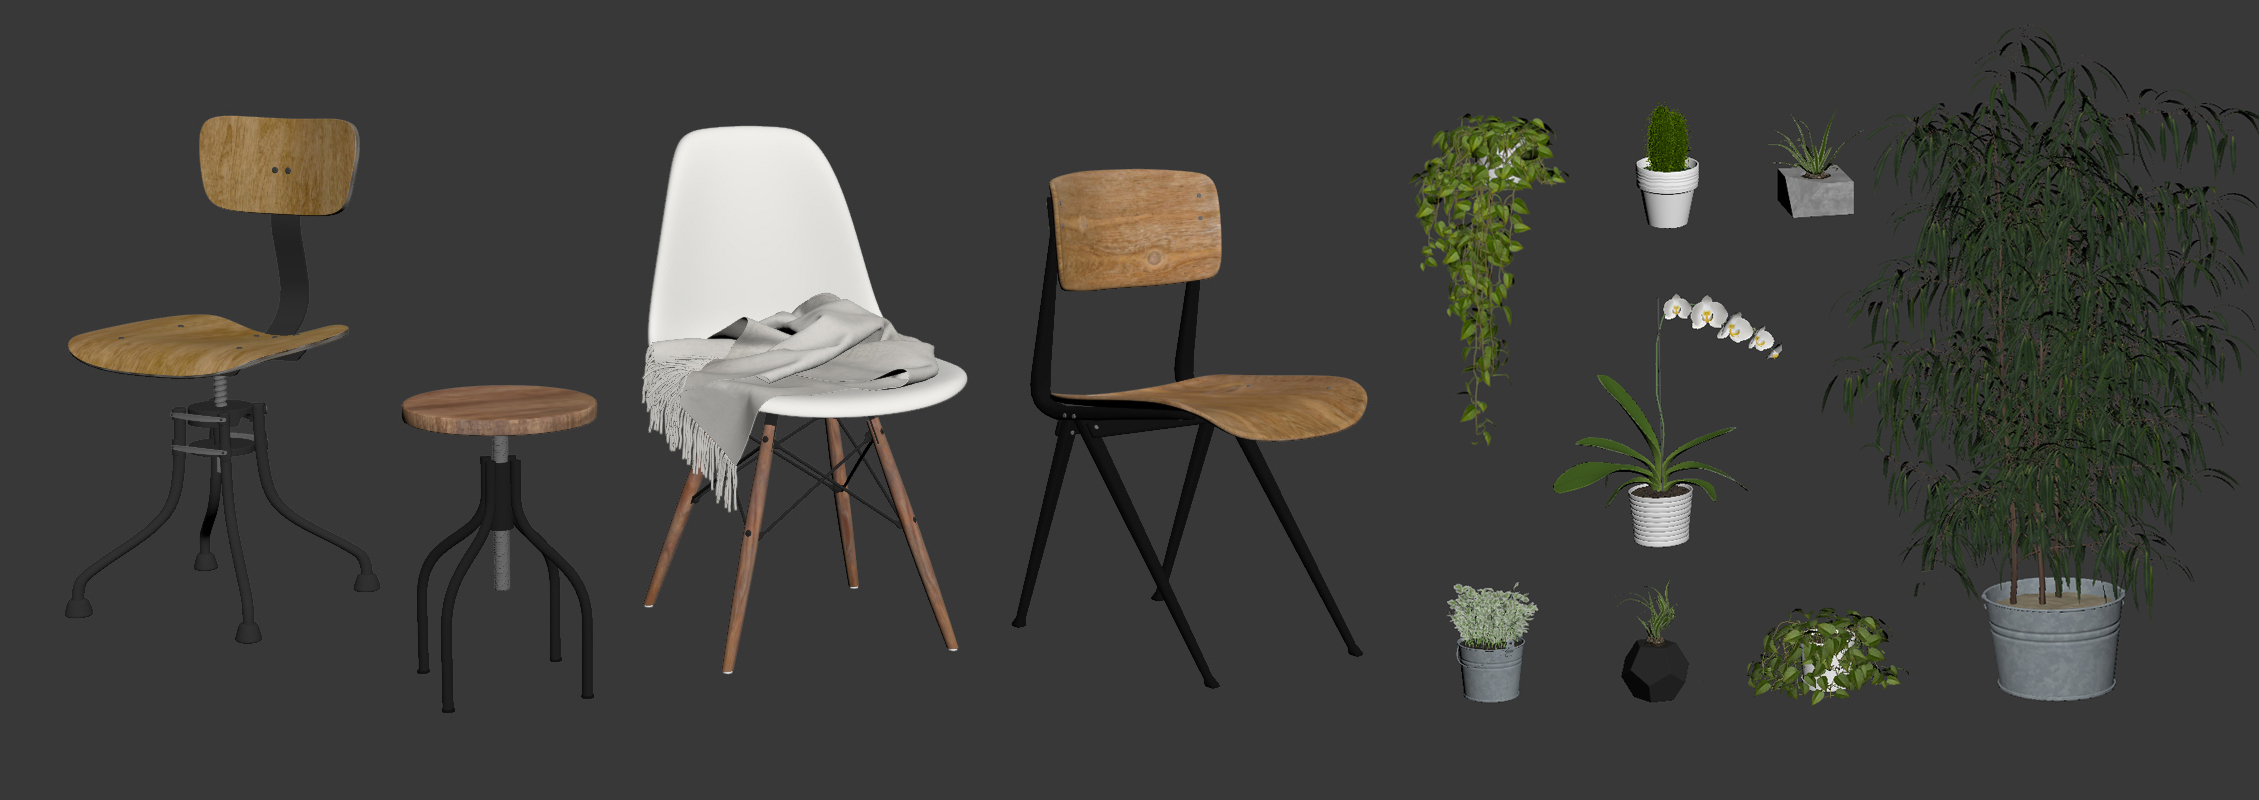
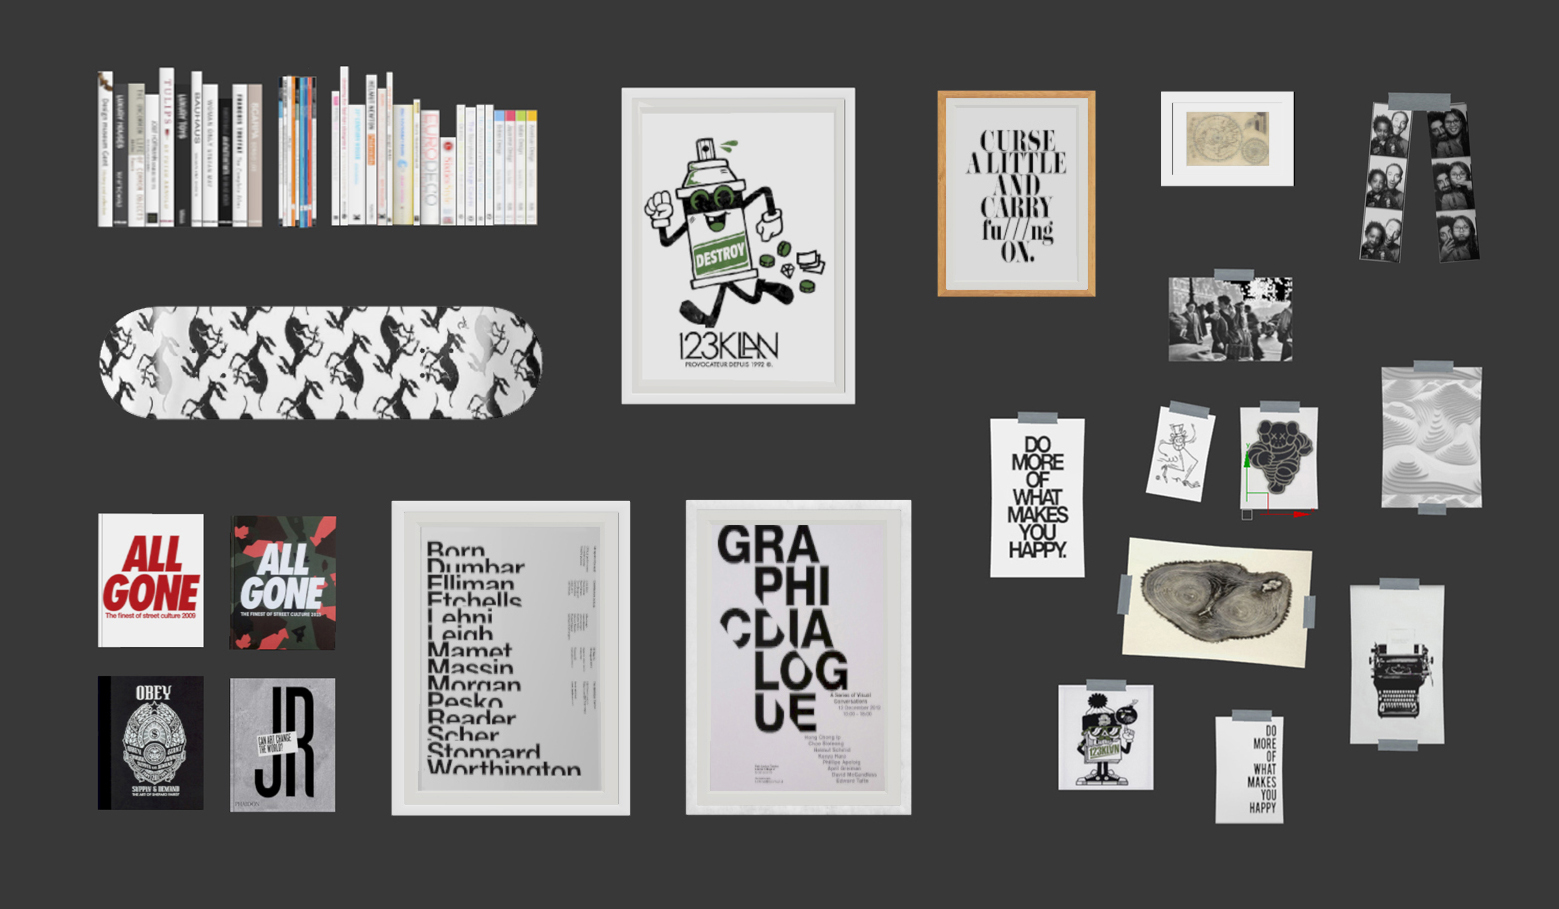
Here is the result when I mix the objects, plants and prints together.
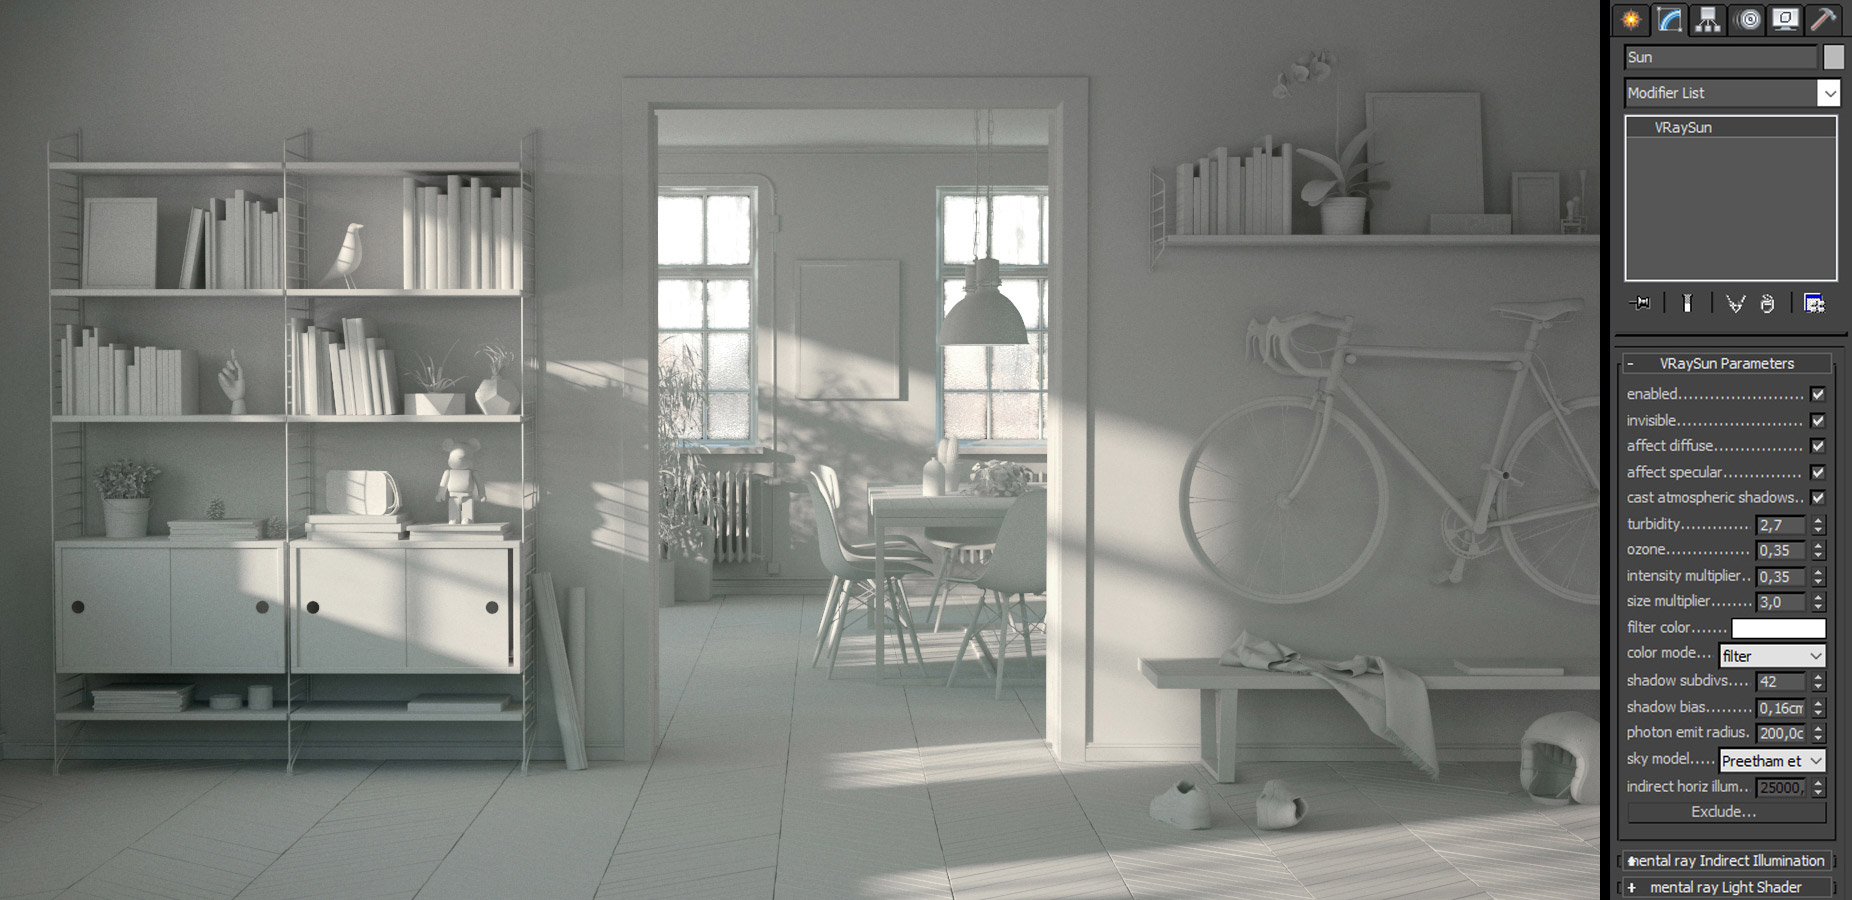
For the lighting, I’ve used a Vray sun to create the sunset I want and the V-ray light with a skylight portal for the windows. According to me, an HDRI would probably give a more realistic result but it was faster with a V-ray sun and I was satisfied with my lighting during my test render. You can see below the setting for the V-Ray Light and the V-ray Physical Camera.

In some camera views, I used a depth of field effect. At first, I did a test with an DOF pass and the plugin Frischluft but finally, I decided to calculate it directly with Vray camera as I get a better result than created it in postproduction. There isn't a way better than the other one, but it really depends on the scenario.
For the buildings around the scene, I created a map and I put it to a cylinder. I chose a panorama of New York that I downloaded from Google. To get the final result, I removed the sky from the panorama by creating an alpha map in order to let the sky appearing over the buildings. Regarding the sky, I added a VRaySky map into environment slot.

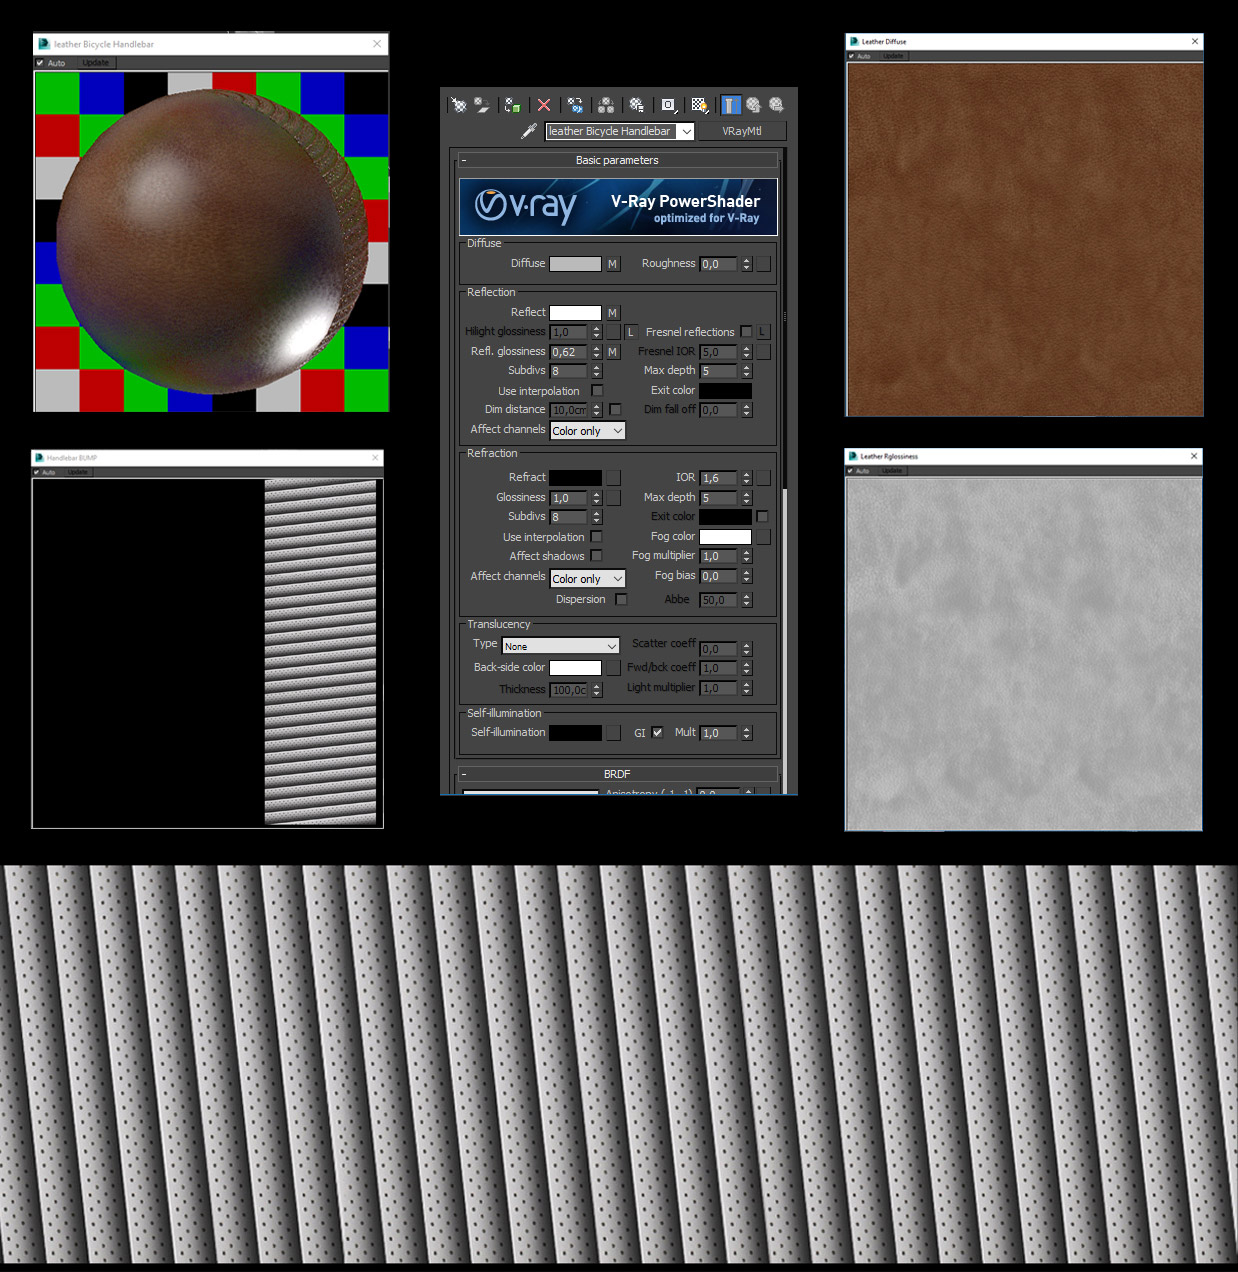
The material was a huge part of this project trying to have a final render as closed as possible to the final image and avoid too much postproduction. I worked on every material to get the correct brightness and color. Most of my models had already a good material. So I worked more on specific materials like Metal, Leather, Glass and Woods. For the bicycle, I unwrapped the handlebar and I used a specific bump map on it.
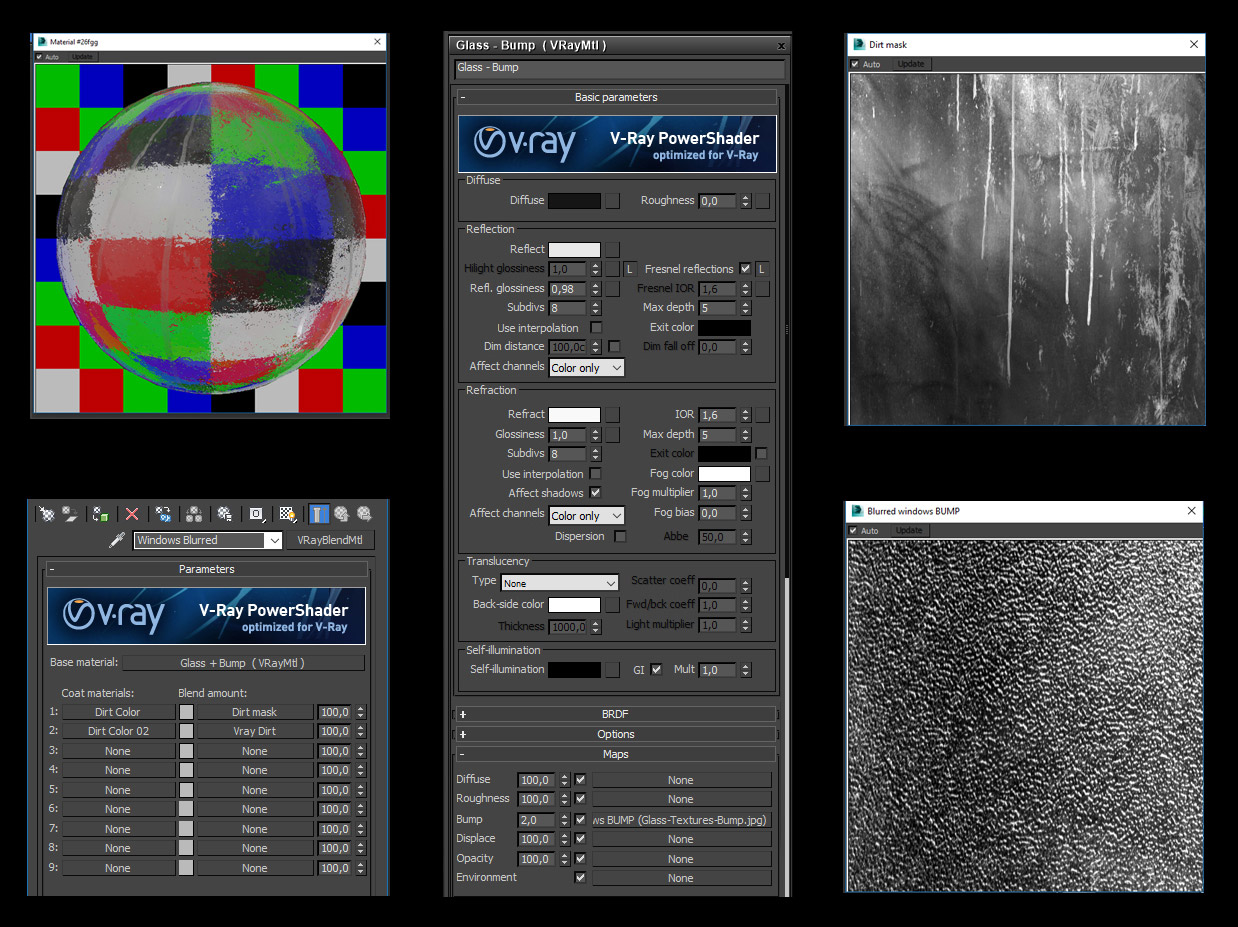
For the windows, I applied a blurred and dirty map to focus on the scene and not on the exterior. I really like this ‘blurred effect’ because it gives realism to the scene.
I Usually render using ‘Irradiance Map’ and ‘Light Cache’ with moderated settings and without AO pass except sometimes for the depth of field.
However, as it was a personal project and I was not in hurry, I decided to render with ‘Brute force’ instead of ‘Irradiance map’ to have a better quality image even if I knew that the render time was longer. I finally have a good result but the render time was insane as it took hours and hours. It's probably better to do it with a good render farm if you want to use “Brute force” for a commercial project.
In addition, I noticed some light leak around the windows. So I activated the retrace threshold with low value in the light cache setting to avoid it.
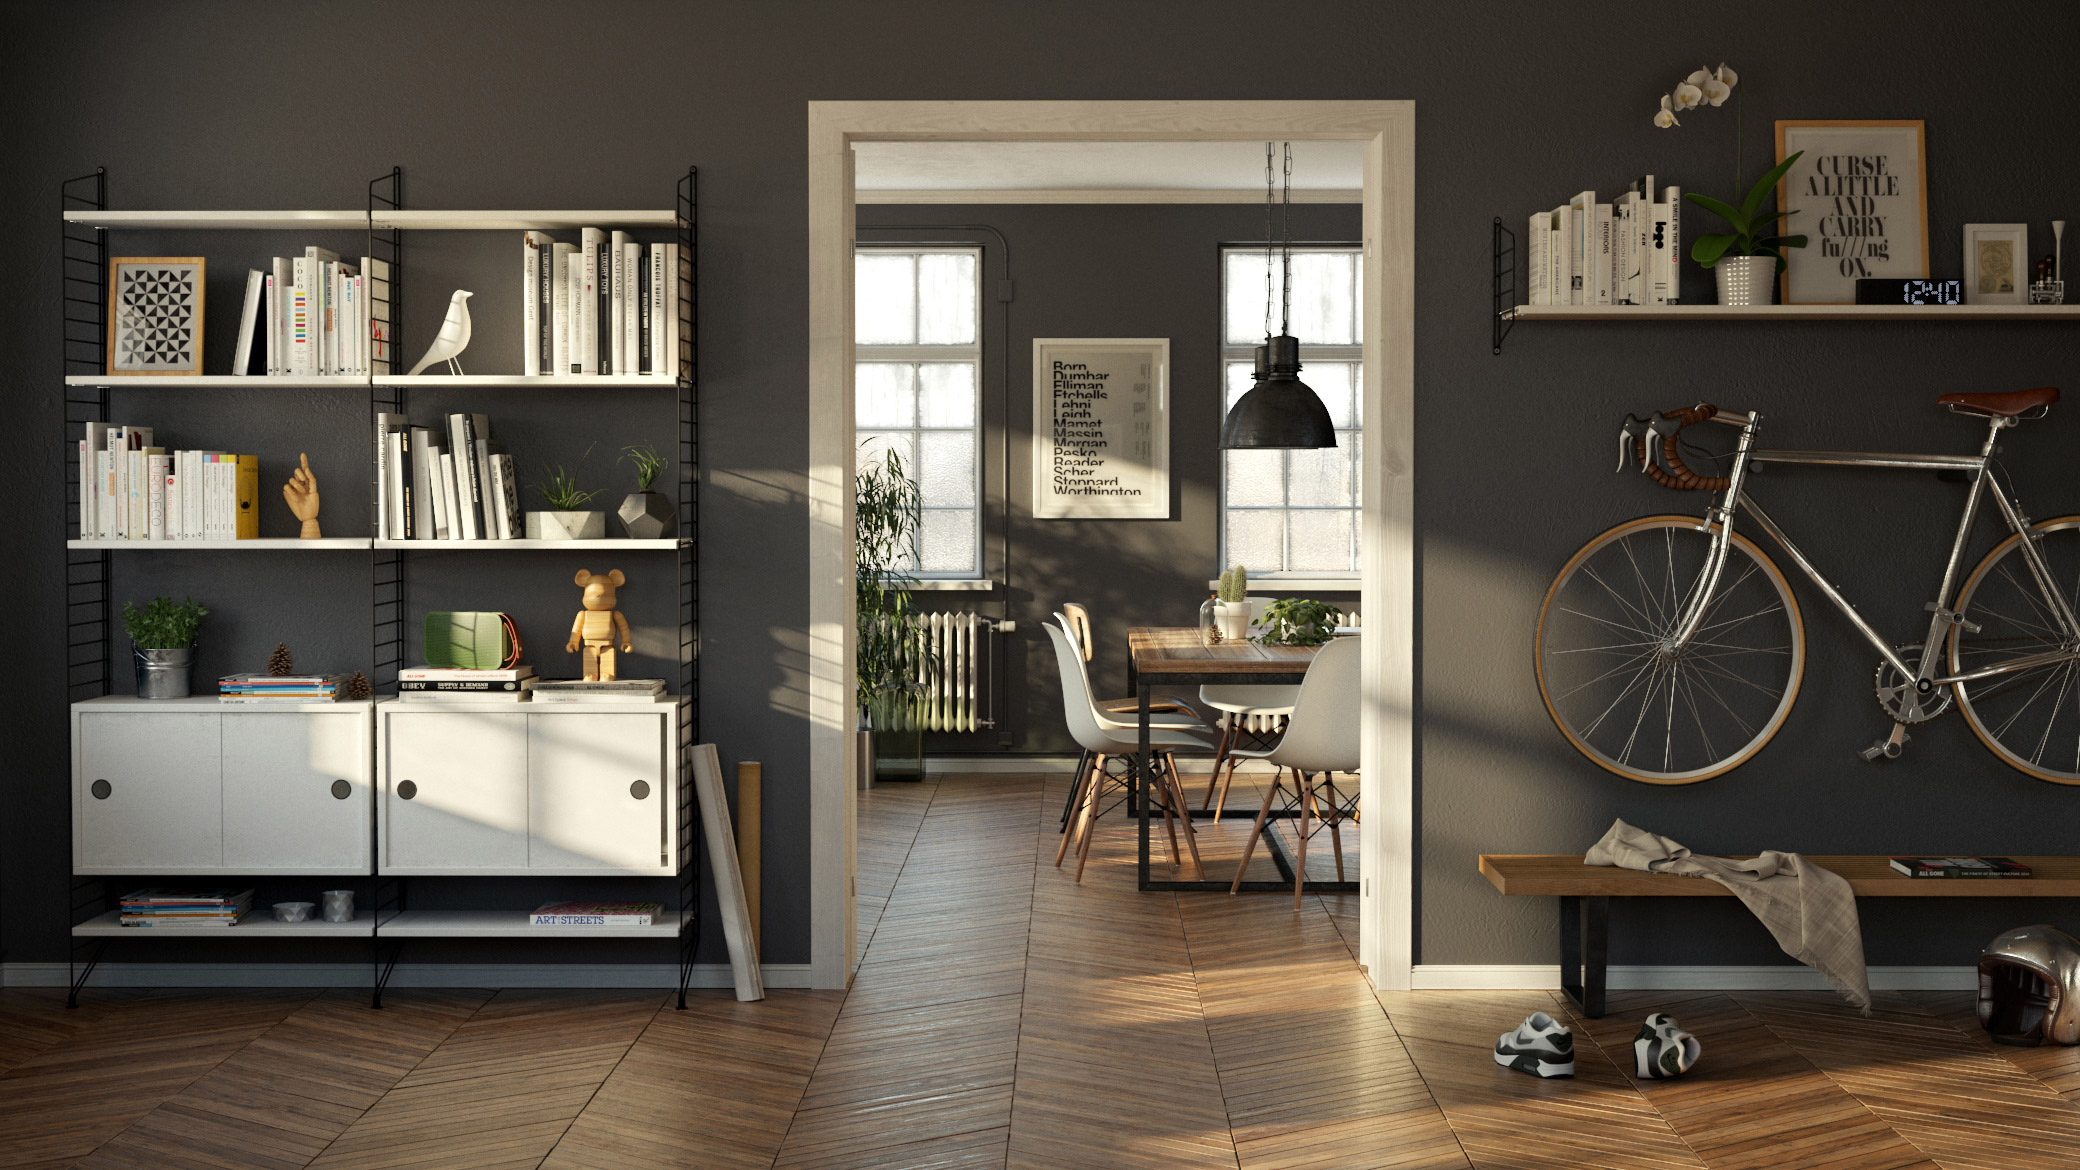
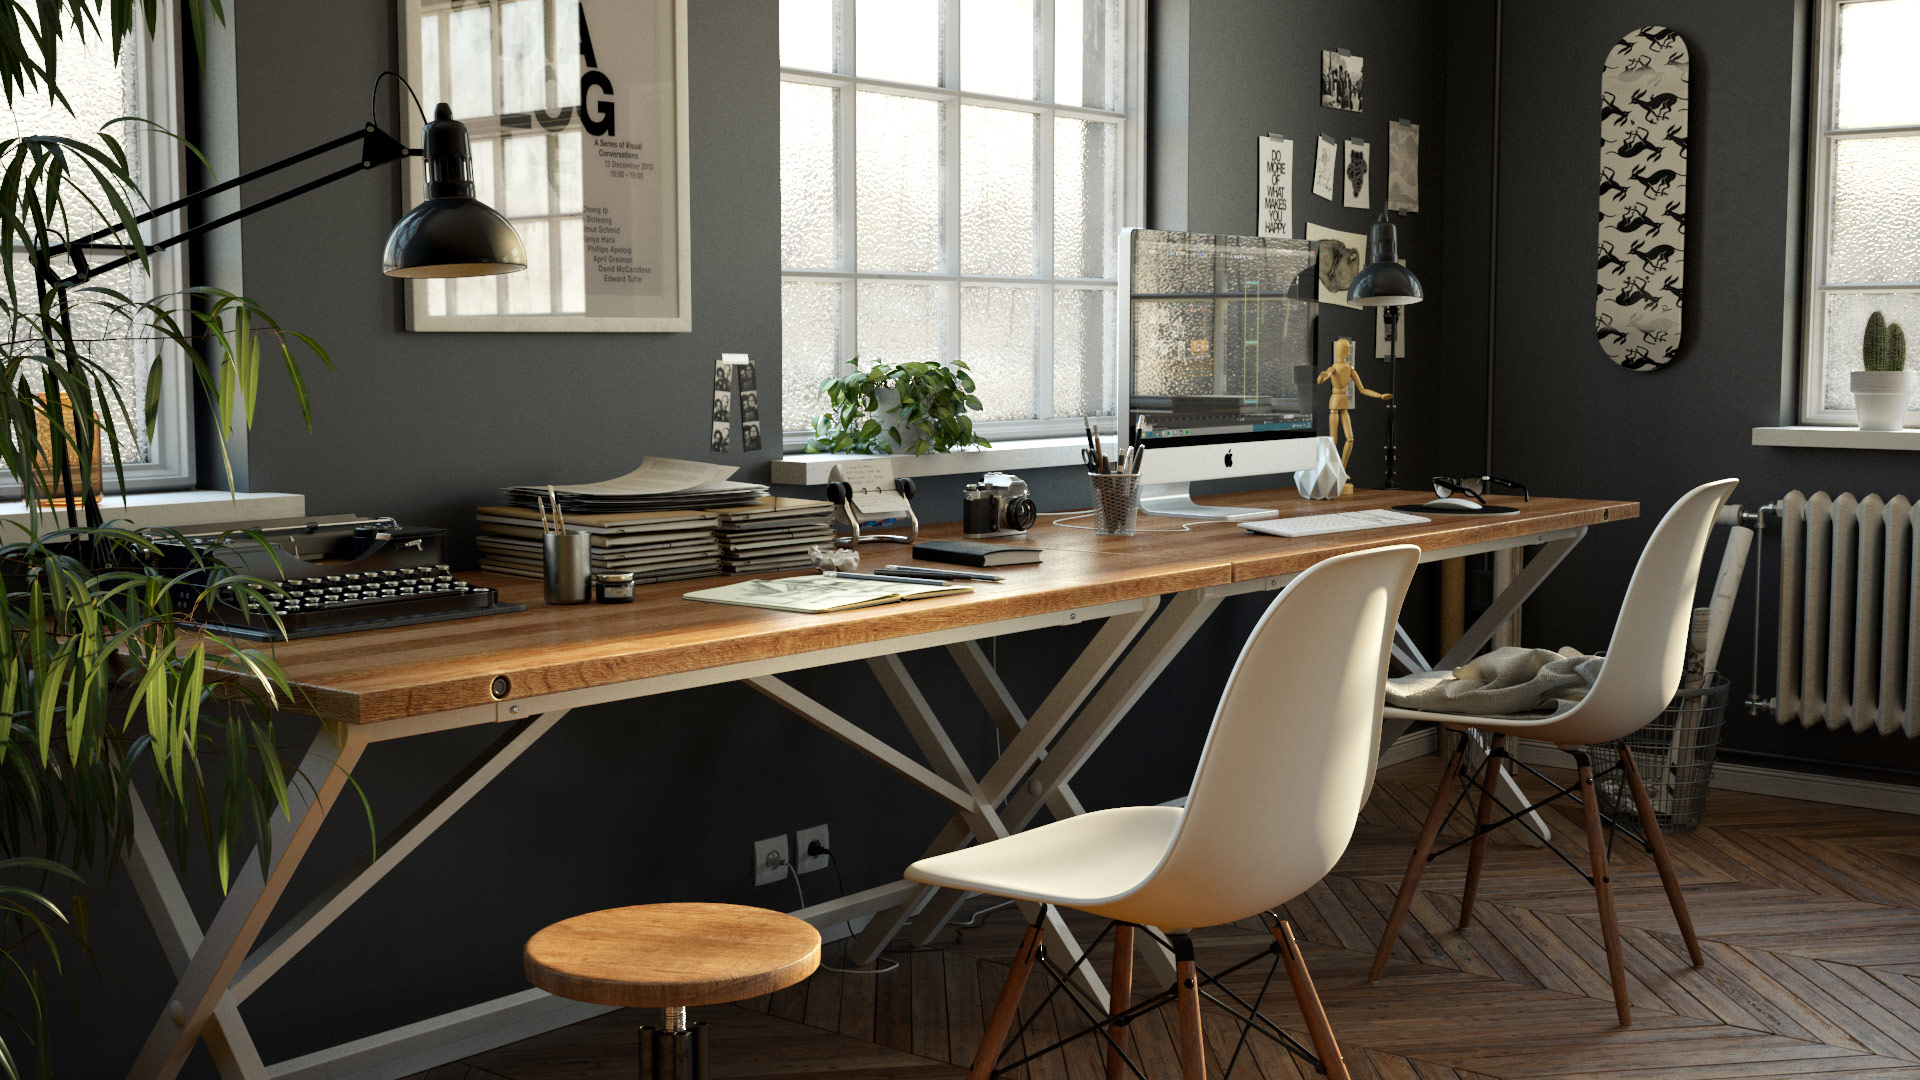
Here is the final render using this setting without post-production.

I was quite satisfied with my final render. However, I made some postproduction to correct the Exposition and I also added some Contrast, Saturation and Level in Photoshop in order to get the final result.

Thank you all for reading this making of and I hope that you found this article useful somehow!
Best regards, Thomas!