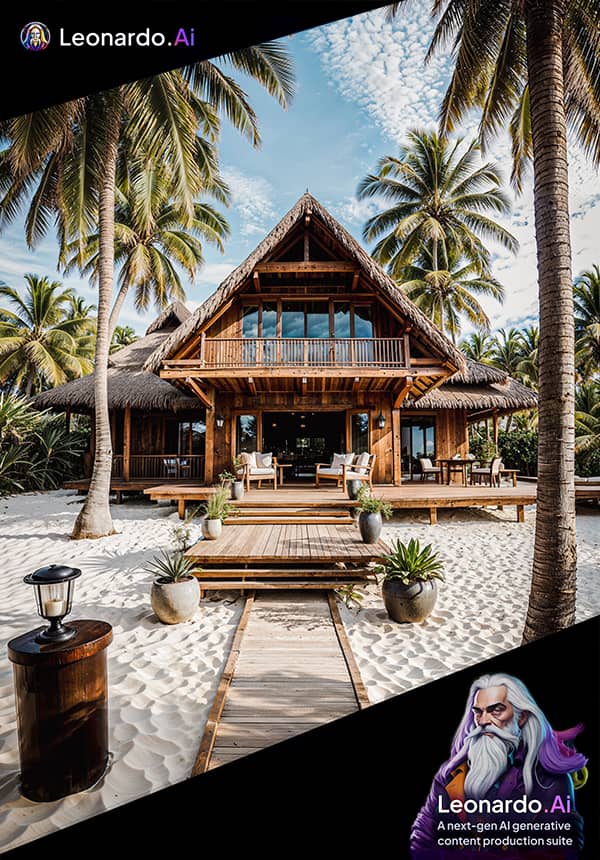
As 3d artists we love close-up photography because no matter where we are, no matter the season or the time of the day. We can find our close-up subject everywhere near us even we are sitting on the chair of our balcony !
Autumn morning by Samun Maksym.
Not many other kinds of photography can make that claim! 3D Photographers who pursue Close Up photography can find endless inspiration in the details and patterns that surround them. In exchange their photos reveal a tiny world that normally falls below our perception.
So let's start with a few theory as usually :)
What does macro and micro refer to ?
There is a bit confusion over the terms macro, micro and close up photography ... How they differ ?
Macro and micro usually refers to the same thing, in that Nikon names their range of ‘macro lenses’ with the word ‘micro’. On the other hand, Canon calls them macro lenses. For example:
What is macro (micro) photography?
Macro photography is taken with a dedicated macro lens which has the capability of achieving in the least a 1:1 magnification. Just because a camera has the word macro written on it, doesn’t make it a true macro lens. Both the Nikon and Canon lenses mentioned above, are considered real macro lenses.
What is close up photography?
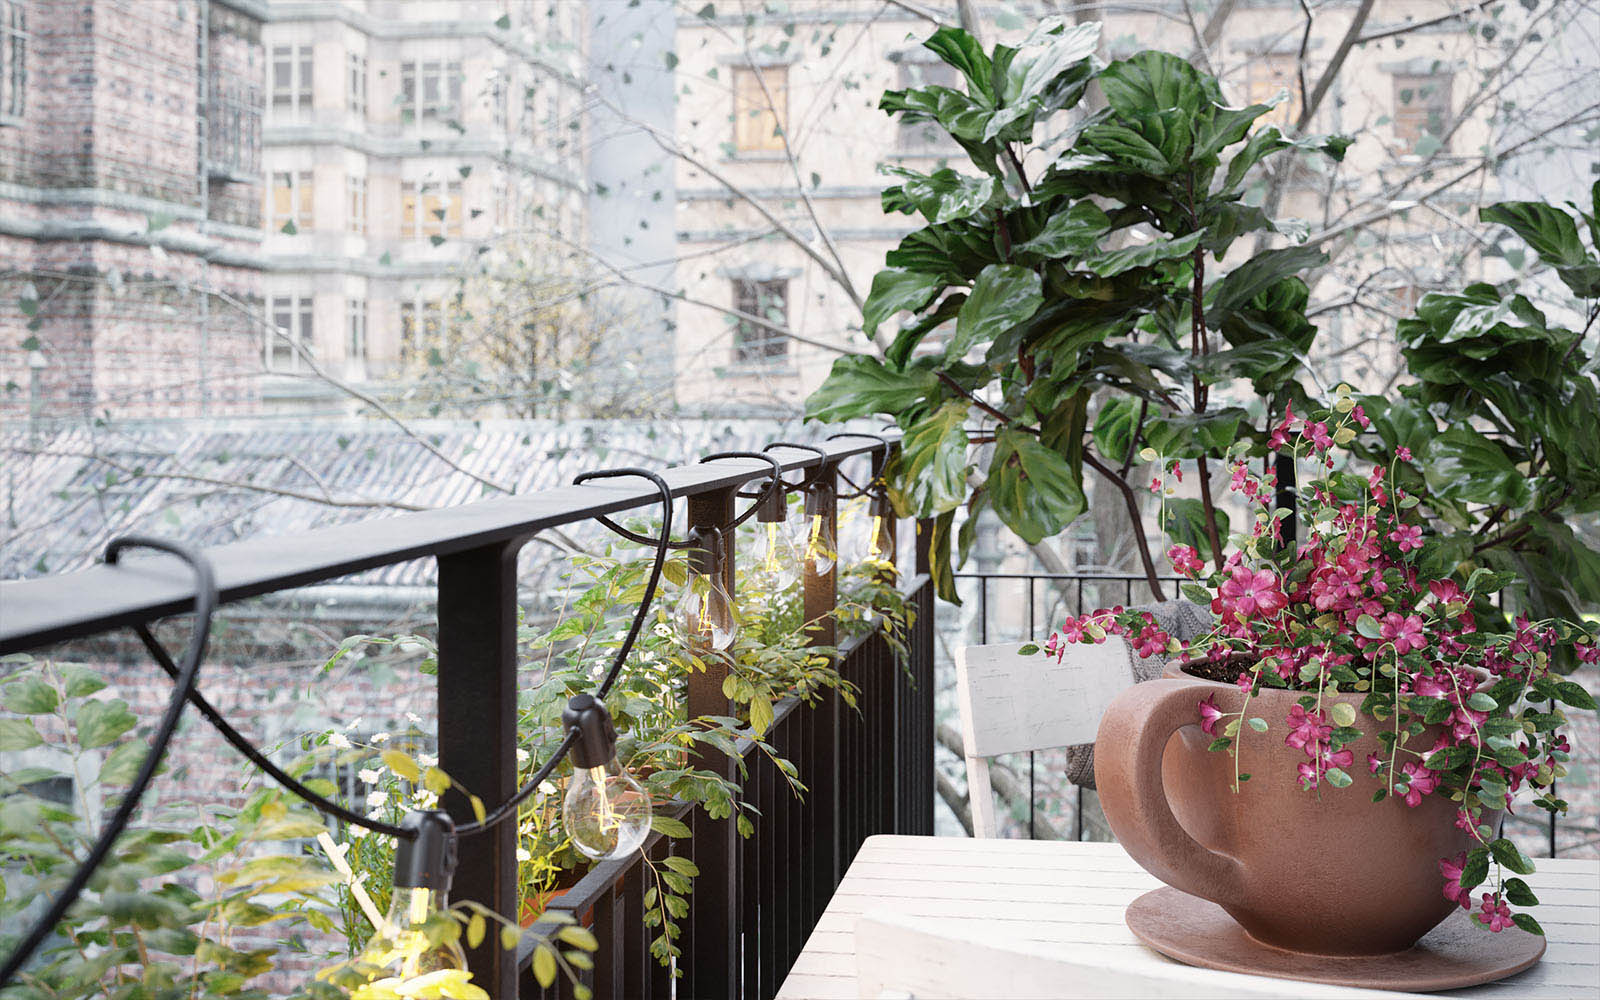
Close up photography, is the act of photographing objects such as flowers or insects, furniture or decors in close range so the subject you are photographing fills the frame. A close-up isolates the subject from its environment. Any lens or any camera is capable of taking a close-up even a 300mm telephoto lens!
Luxury Interior by Jardkerd Kritsada.
Macro photography is in essence close up photography as well. However, close up photography is not always considered as true macro photography. For example, if you have a lens that is NOT considered a real macro lens, yet offers a macro setting, this is usually referred to as being close up photography, and not true macro.
Enough with the theory and as 3d photographers we all called this action as "Close Up Shots". Here are a few tips which I learned on my close up photography journey around the web trying to find my best shots, first theoretically and then practically!
1. Choose the best lens.
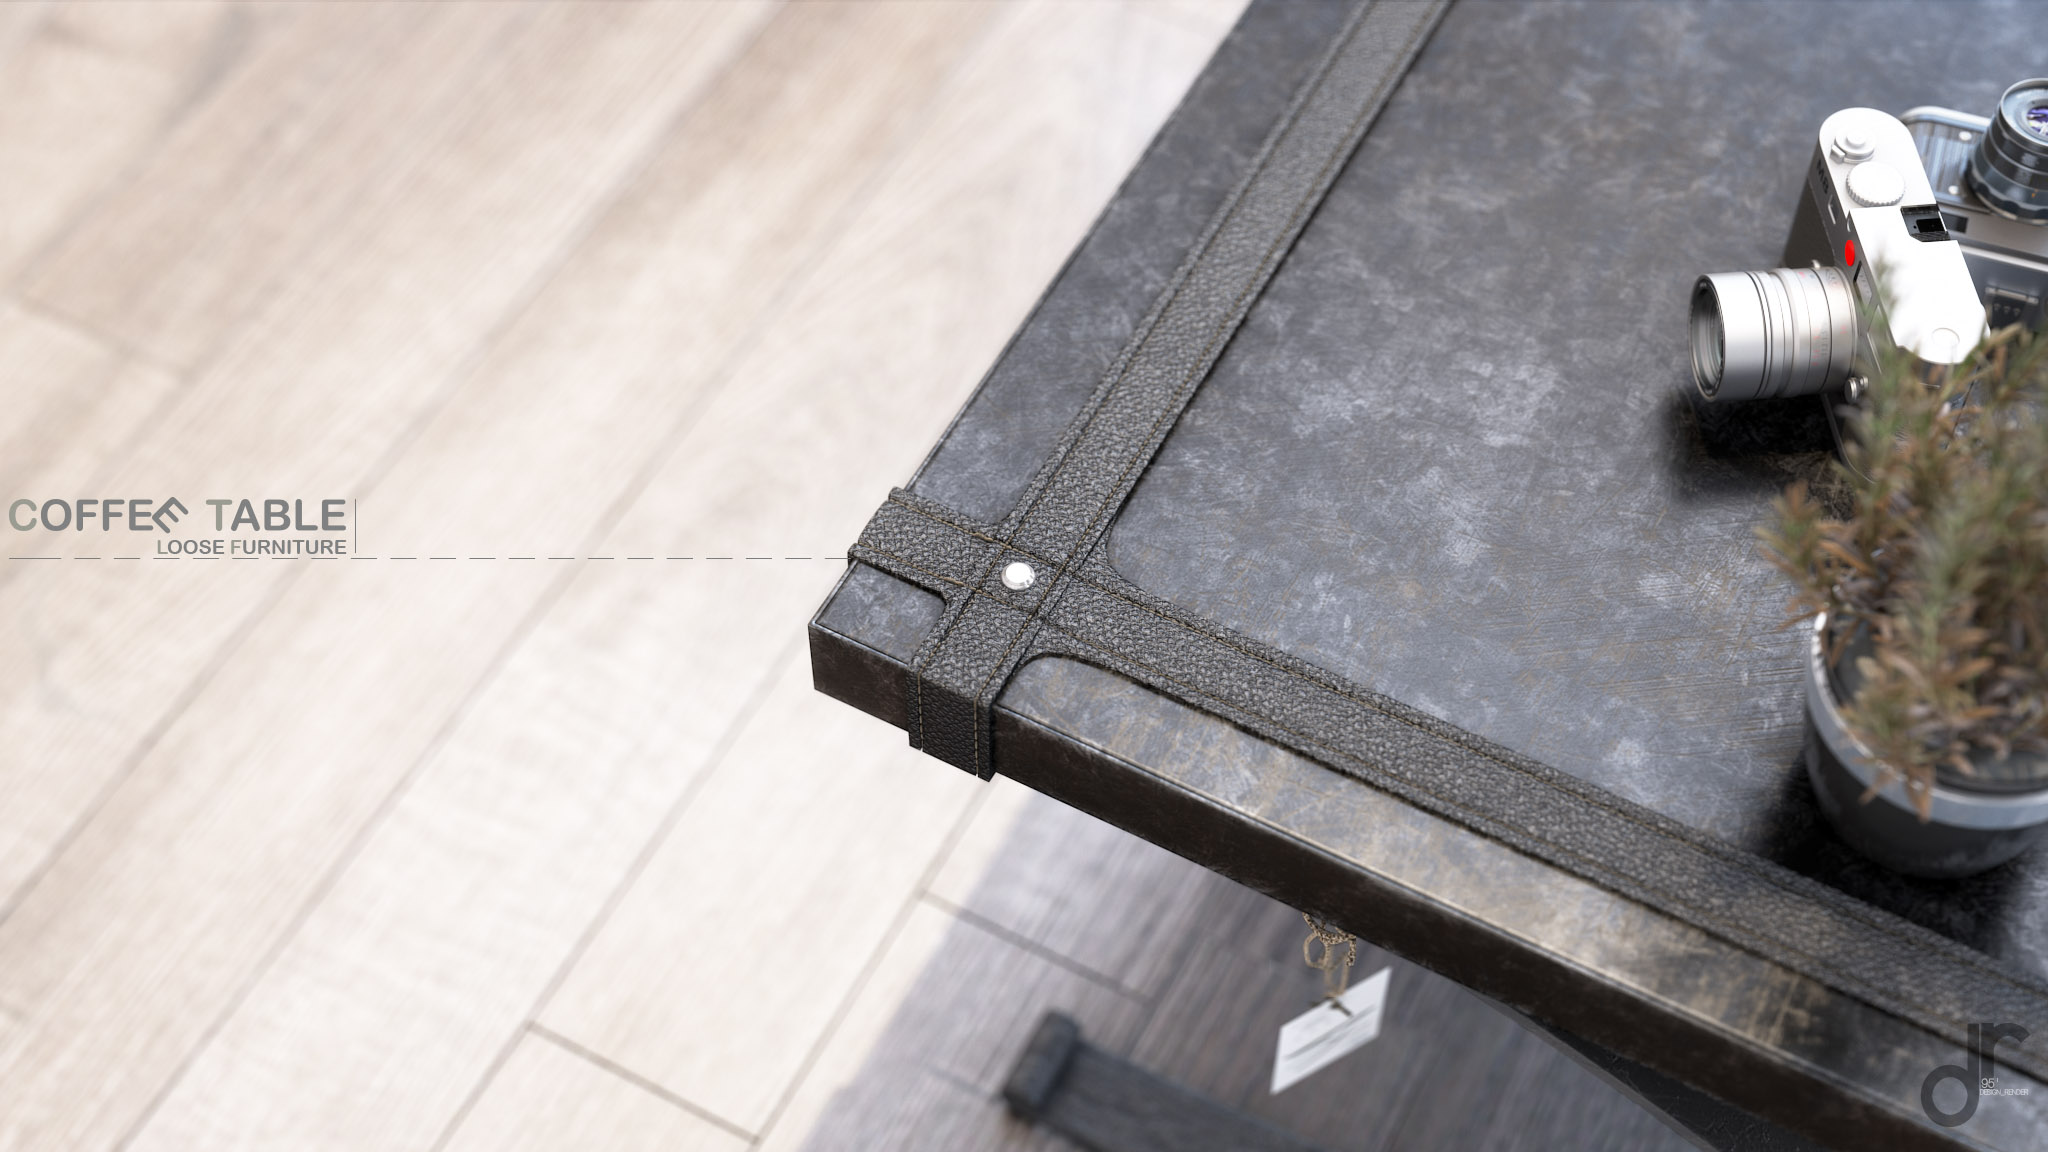
In real photography the focal length of macro lenses ranges from 50mm to 200mm. A 50-60mm lens is suitable for general macro work but if you want greater subject-to-lens distance a 100mm lens will give you this at a price. Of course in architectural interior shots we usually don't have enough space in order to use more than 50-60mm focal length. Additionally if we will use a focal length less than 35mm we will probably get some stretched objects in the scene. So we have to select the correct point of view for a non wide lens.
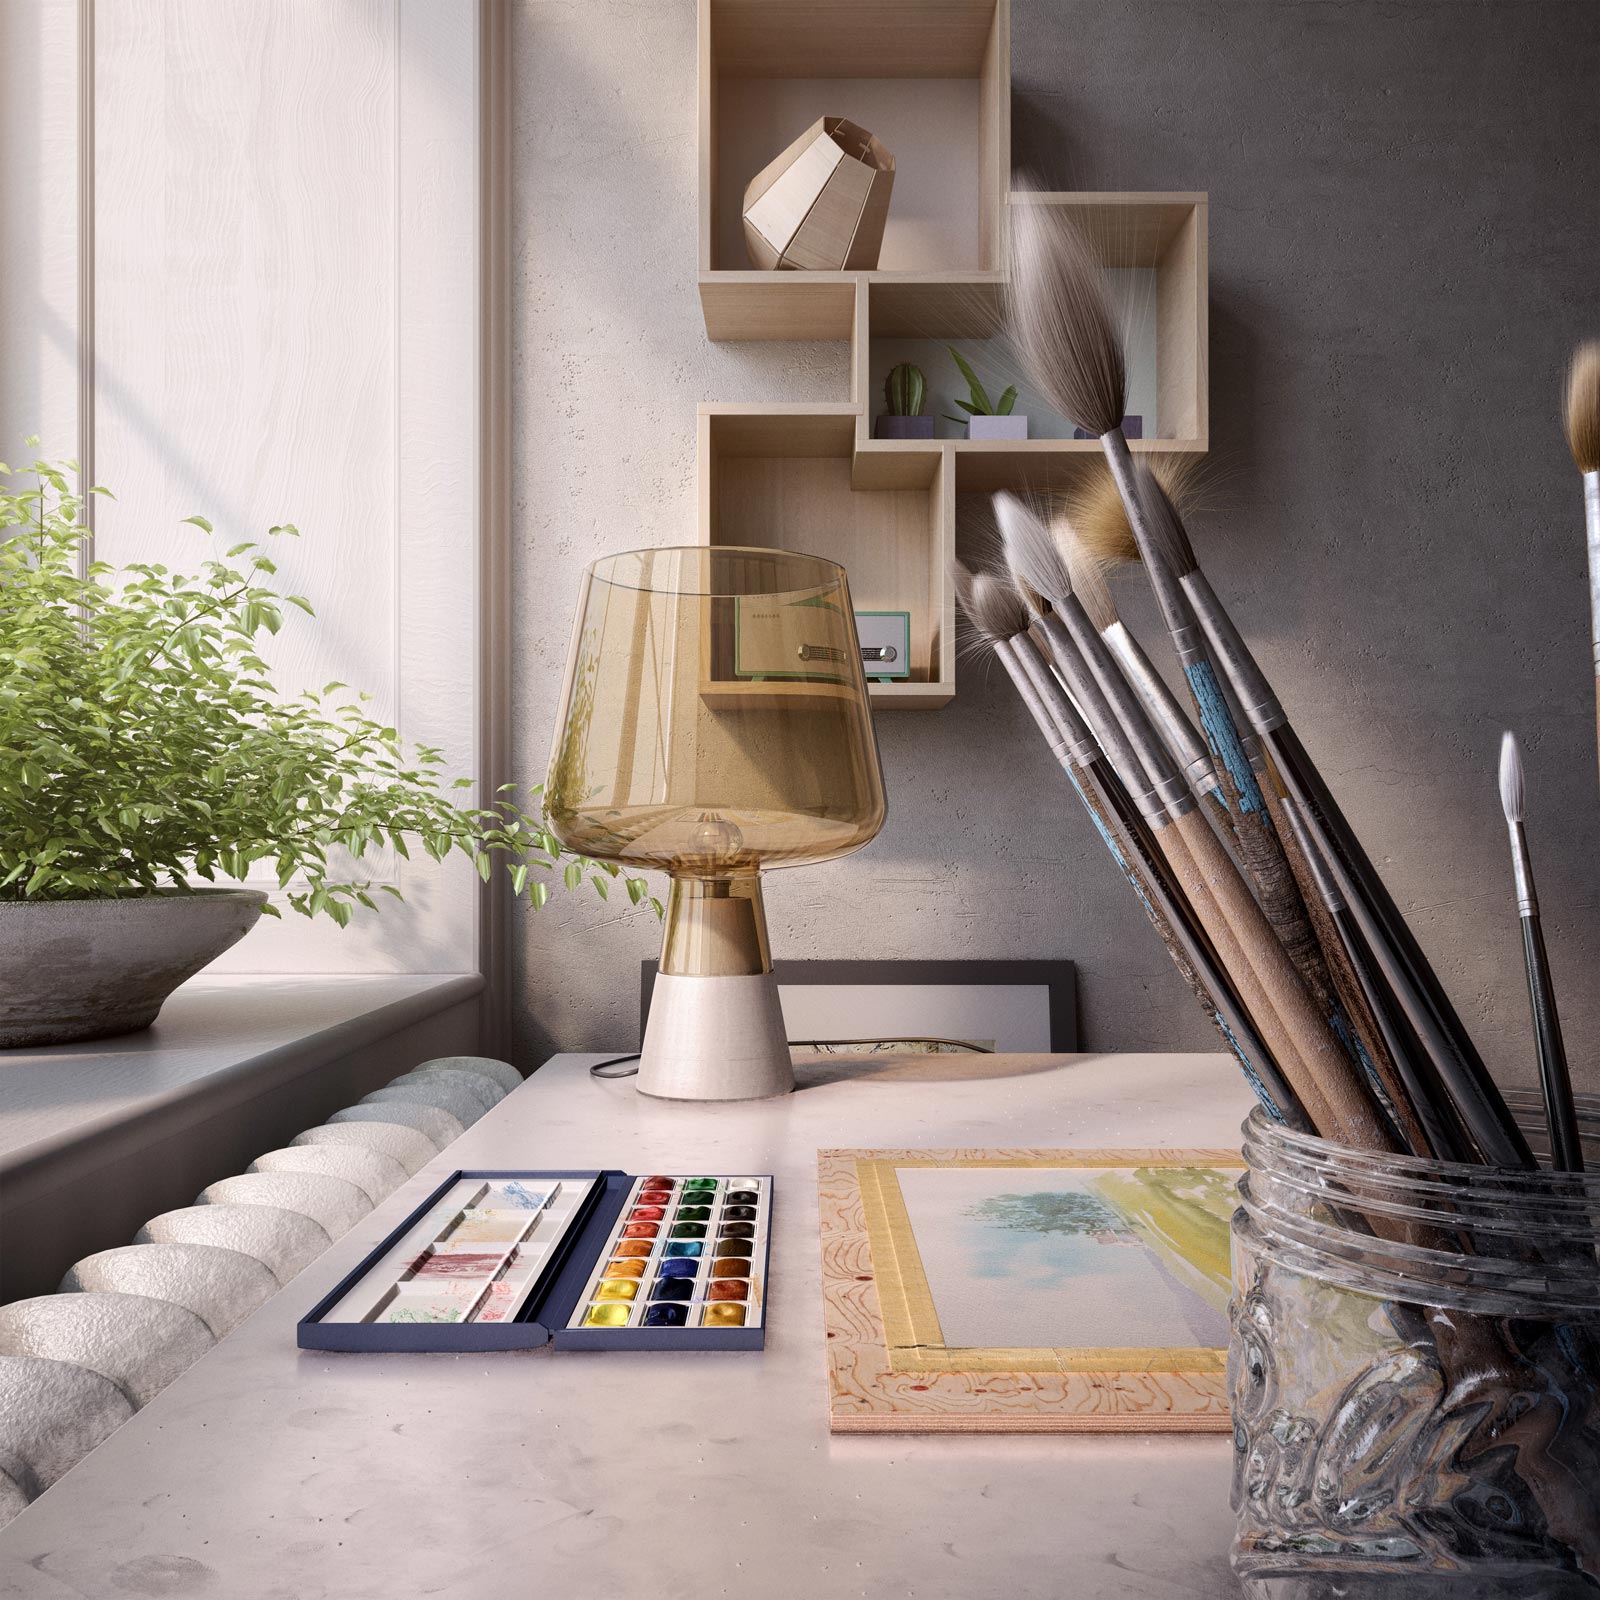
Artist's studio still life by Groves Ryan.
2. "Zooming in".
There is a whole world right in front of us that we usually are not able to see! Tiny little details, patterns, and shapes that we are blinded from seeing.
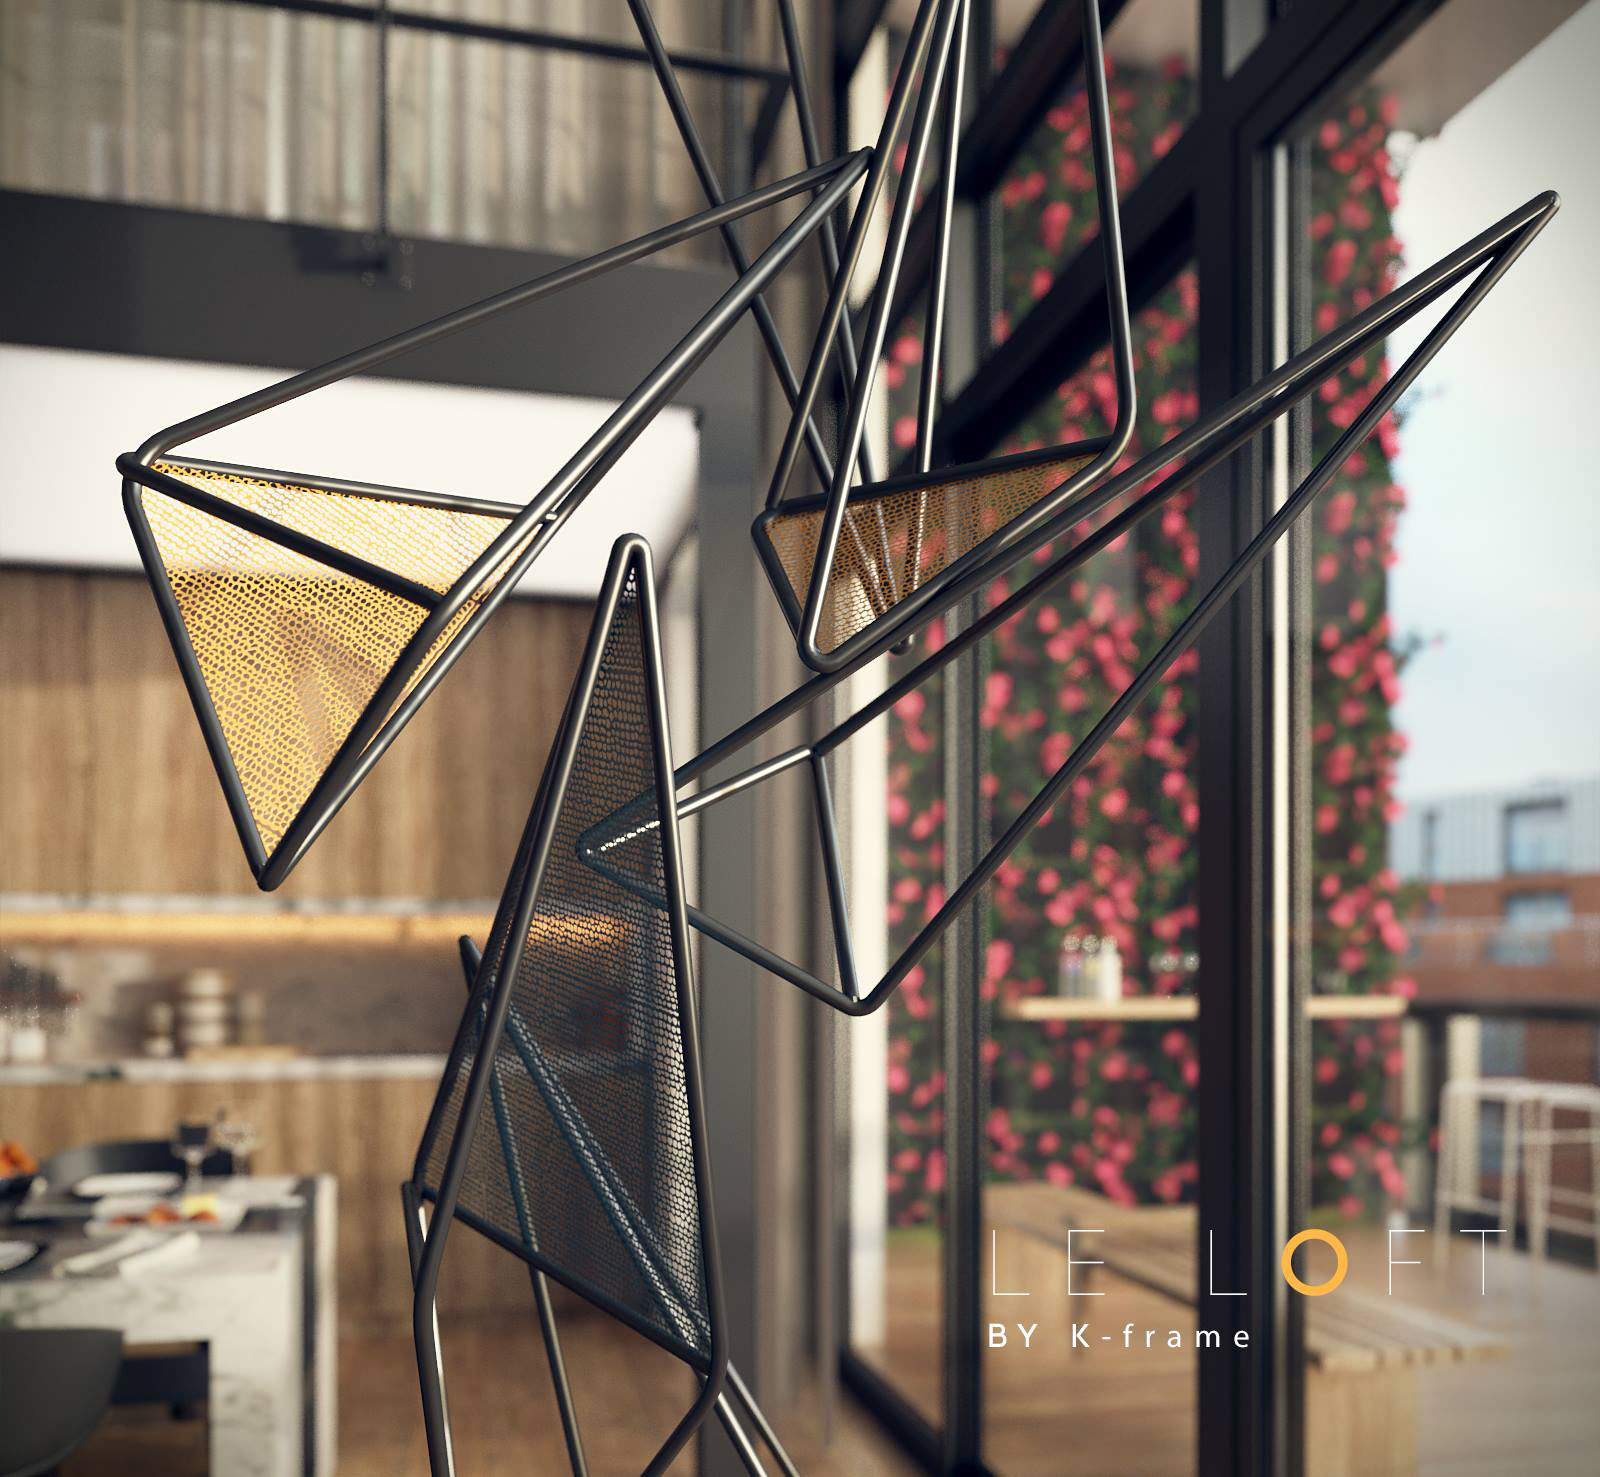
Le Loft by Sbeih Sleiman.
The reason is simple. We’re taught from an early age to see the forest and loose the tree. When we walk into a room, we can see several furniture such as chairs, tables, couches, decors and so on. We do not notice the dust on the table or the details of the wooden decor above our heads!
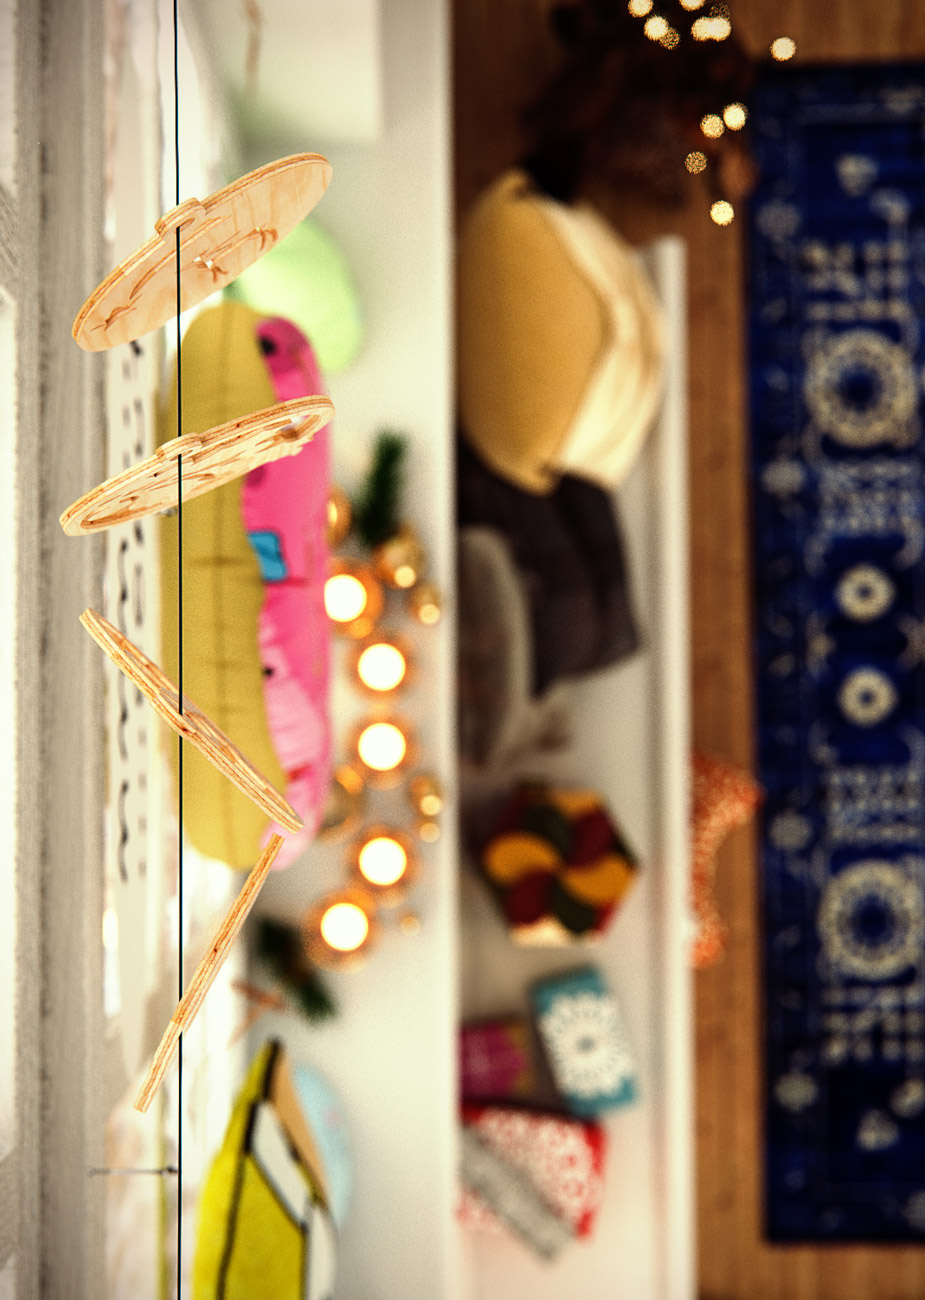
A Happy Christmas by Caloi Giovanni.
A critical step to close up photography is training ourselves to fist imagine and then see all these details. To force our eyes to zoom in on all the details lying right in front of us!
3. Discover your Subject.
As with any type of photography, it is important to define what subject you are shooting. Take your time to decide what exactly you want to shoot, may be the details of the wood on your chair, the texture, thecolor the lines? The answer is what you have chosen as your Subject. For examplethis image below is a good example of the lines both curved and straight combined with the main subject which is a beautiful chair!
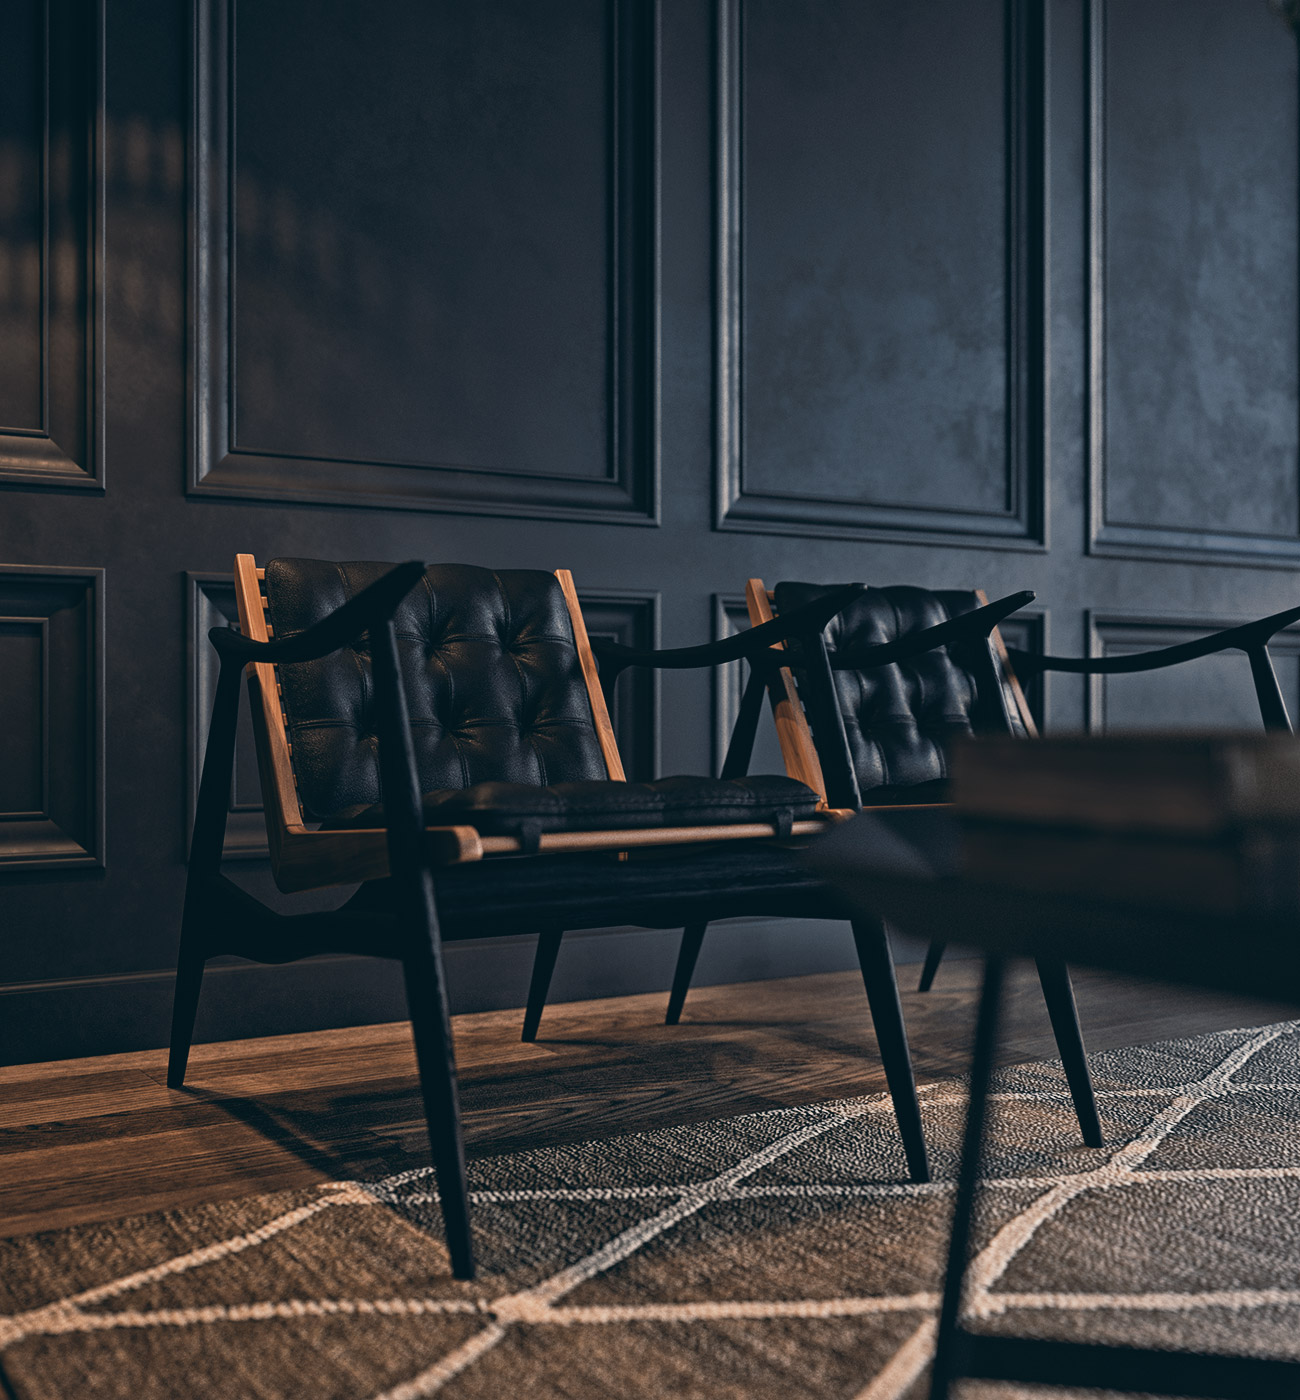
Vignettes by Troudi Hani.
Once you have decided your subject, think of the composition rule of simplicity. You want one specific point of interest. Then, you want to compose your shot to really concentrate on that subject. For example the bread on a breakfast table!

Breakfast by Vukcevic Dusan.
4. Use Aperture to Control Depth of Field.
To get the most out of available depth of field, select a small aperture like f/8 or f/16. In this way even you present a close up shot there is not a visible focus point. A well composed image is the Subject.
Lakeside Room - Hodidu by Hoang Dinh Dung.
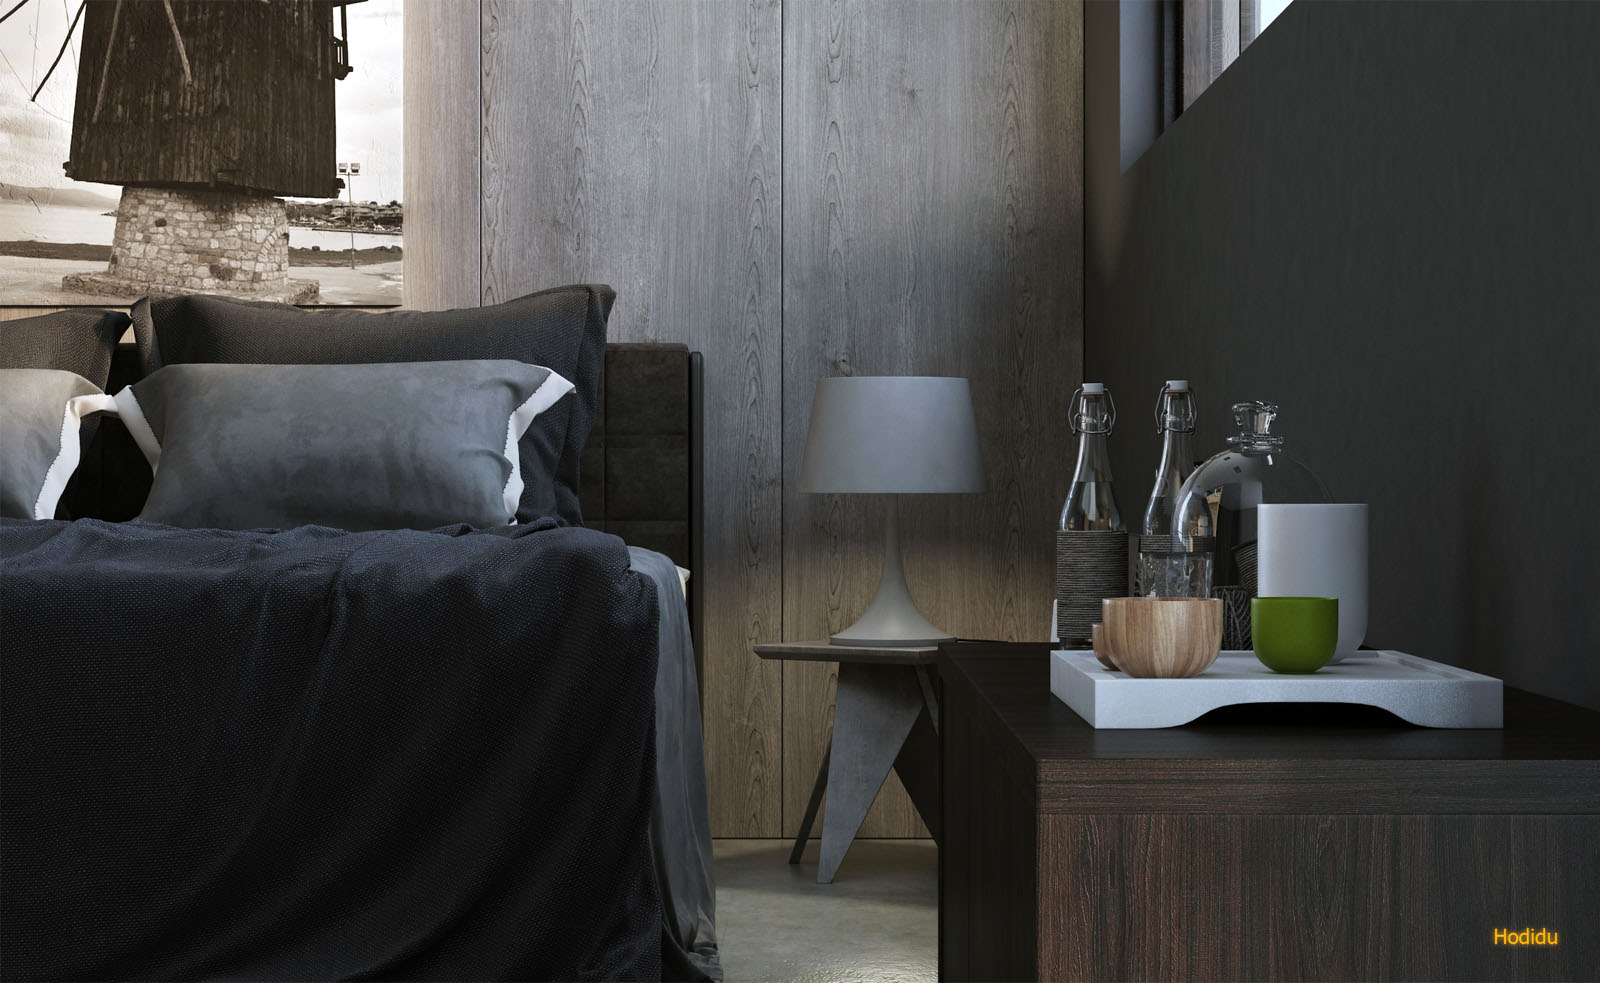
On the other hand you may wish to go to the other extreme and show as little sharpness as possible by opening up to full aperture like f/2.8 or f/4. In this way you present a close up shot with a visible focus point - Subject.
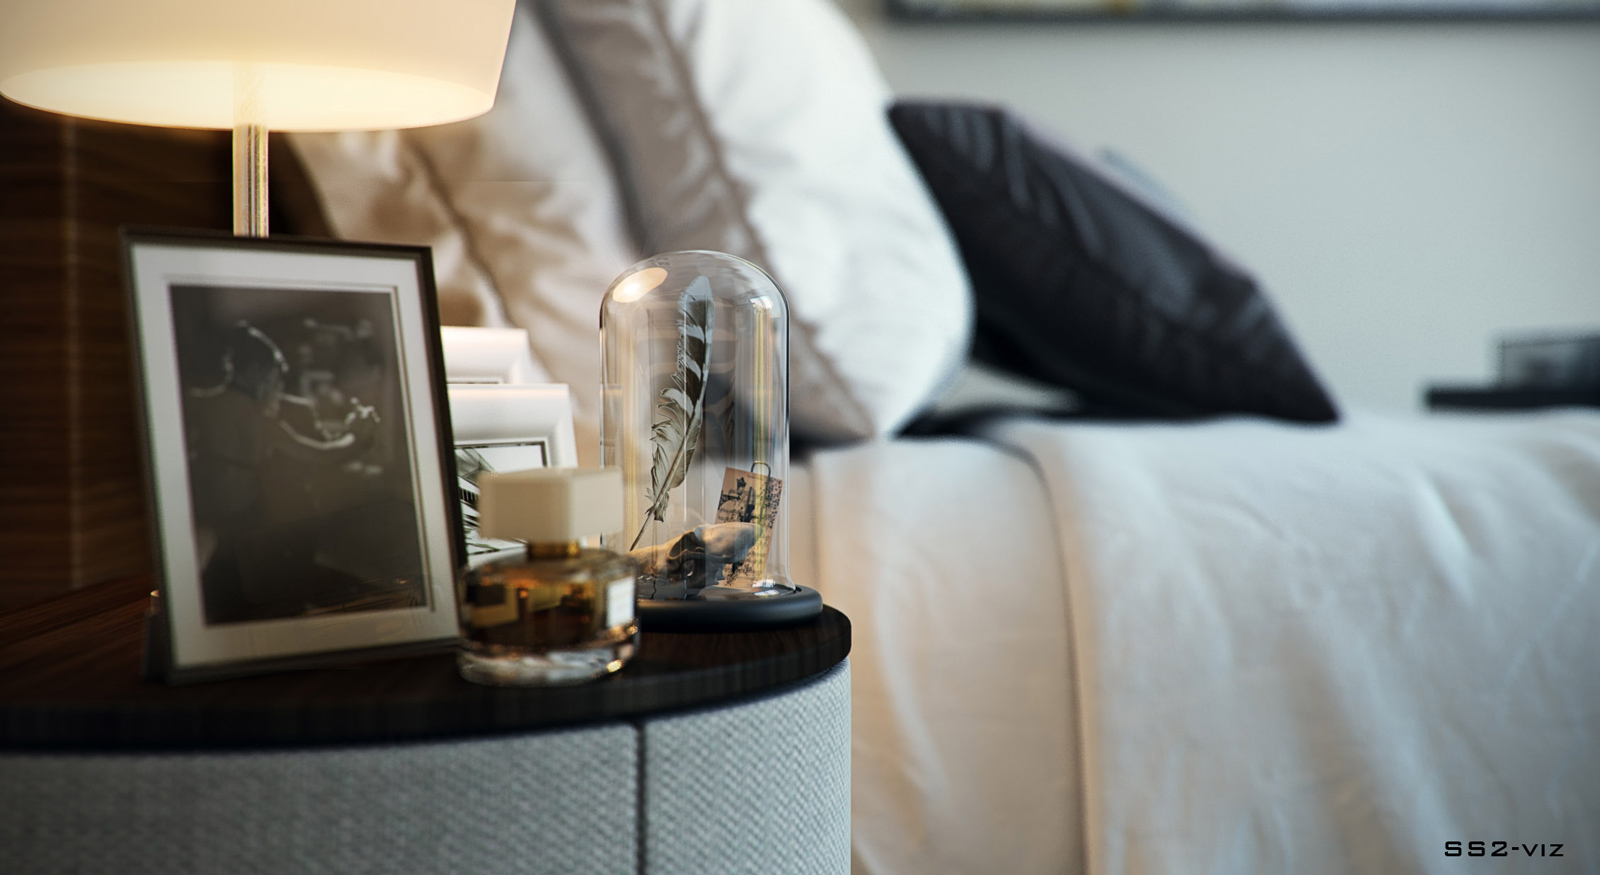
Bedroom by Shaikh Shahrukh.
If you are a new 3d photographer and you would like to know more about aperture - Depth Of Field (DOF) and how to apply it in V-Ray Physical Camera visit the links below.
5. The Point of Focus is imperative sometimes.
The point of focus can dramatically alter how your image appears. Take careful consideration when deciding where to focus your image. Depth of field is greatly magnified when up-close. A simple couple millimeters produces an entirely different visual effect.

10. Spa by Grendelmeier Tobias.
For example Look at this shot above. We consider that the main Subject is the faucet. But this is not 100% correct as the water coming from the faucet is included in the main subject too. It was a great choose to blur the half part of the faucet and the background as well using DOF. Now the viewer is able to understand the Subject of the photo in only one second, "Running Water".
6. Observe the Background.
Our background can make or break the shot. A good tip is to choose backgrounds that accentuate the features of the subject without detracting from it. Complementary or contrasting colors work well as backgrounds to bring out the subjects color.

11. Allied Works - Guesthouse by Springer Benjamin.
7. Enhanced Materials.
As we are going close to the subject it may be necessary to enhance a bit some of our materials. That means we will need higher resolution textures and increased subdivisions for reflection or refraction according to the type of materials which are included in our scene.
Finally a general Tip which you could use to improve your project's presentation on the forums is to try some close up shots even after finishing a commercial project. Usually the selected cameras by the client are a bit awful due to the desire of a wide lens which shows all the space, as I used to say "the six sides of a cube" If you have time just try one or two close up shots and enjoy them ;)